I’ll be honest with you: the first time I decorated for Halloween as an adult, my apartment looked like a costume shop had exploded in it. Orange plastic pumpkins from the dollar store. A string of blinking purple lights. One of those life-size skeletons hanging on my front door that scared exactly one person — my landlord.
Here’s what I’ve figured out since then. Halloween decor doesn’t look tacky because it’s Halloween. It looks tacky for three very fixable reasons: too many colors fighting each other, too much stuff crammed everywhere, and materials that look cheap in daylight. Fix those three things and you can go as spooky as you want — your house will look intentional instead of accidental.
These are the eight principles I actually use in my own home every October.
1. Pick One Color Story and Commit
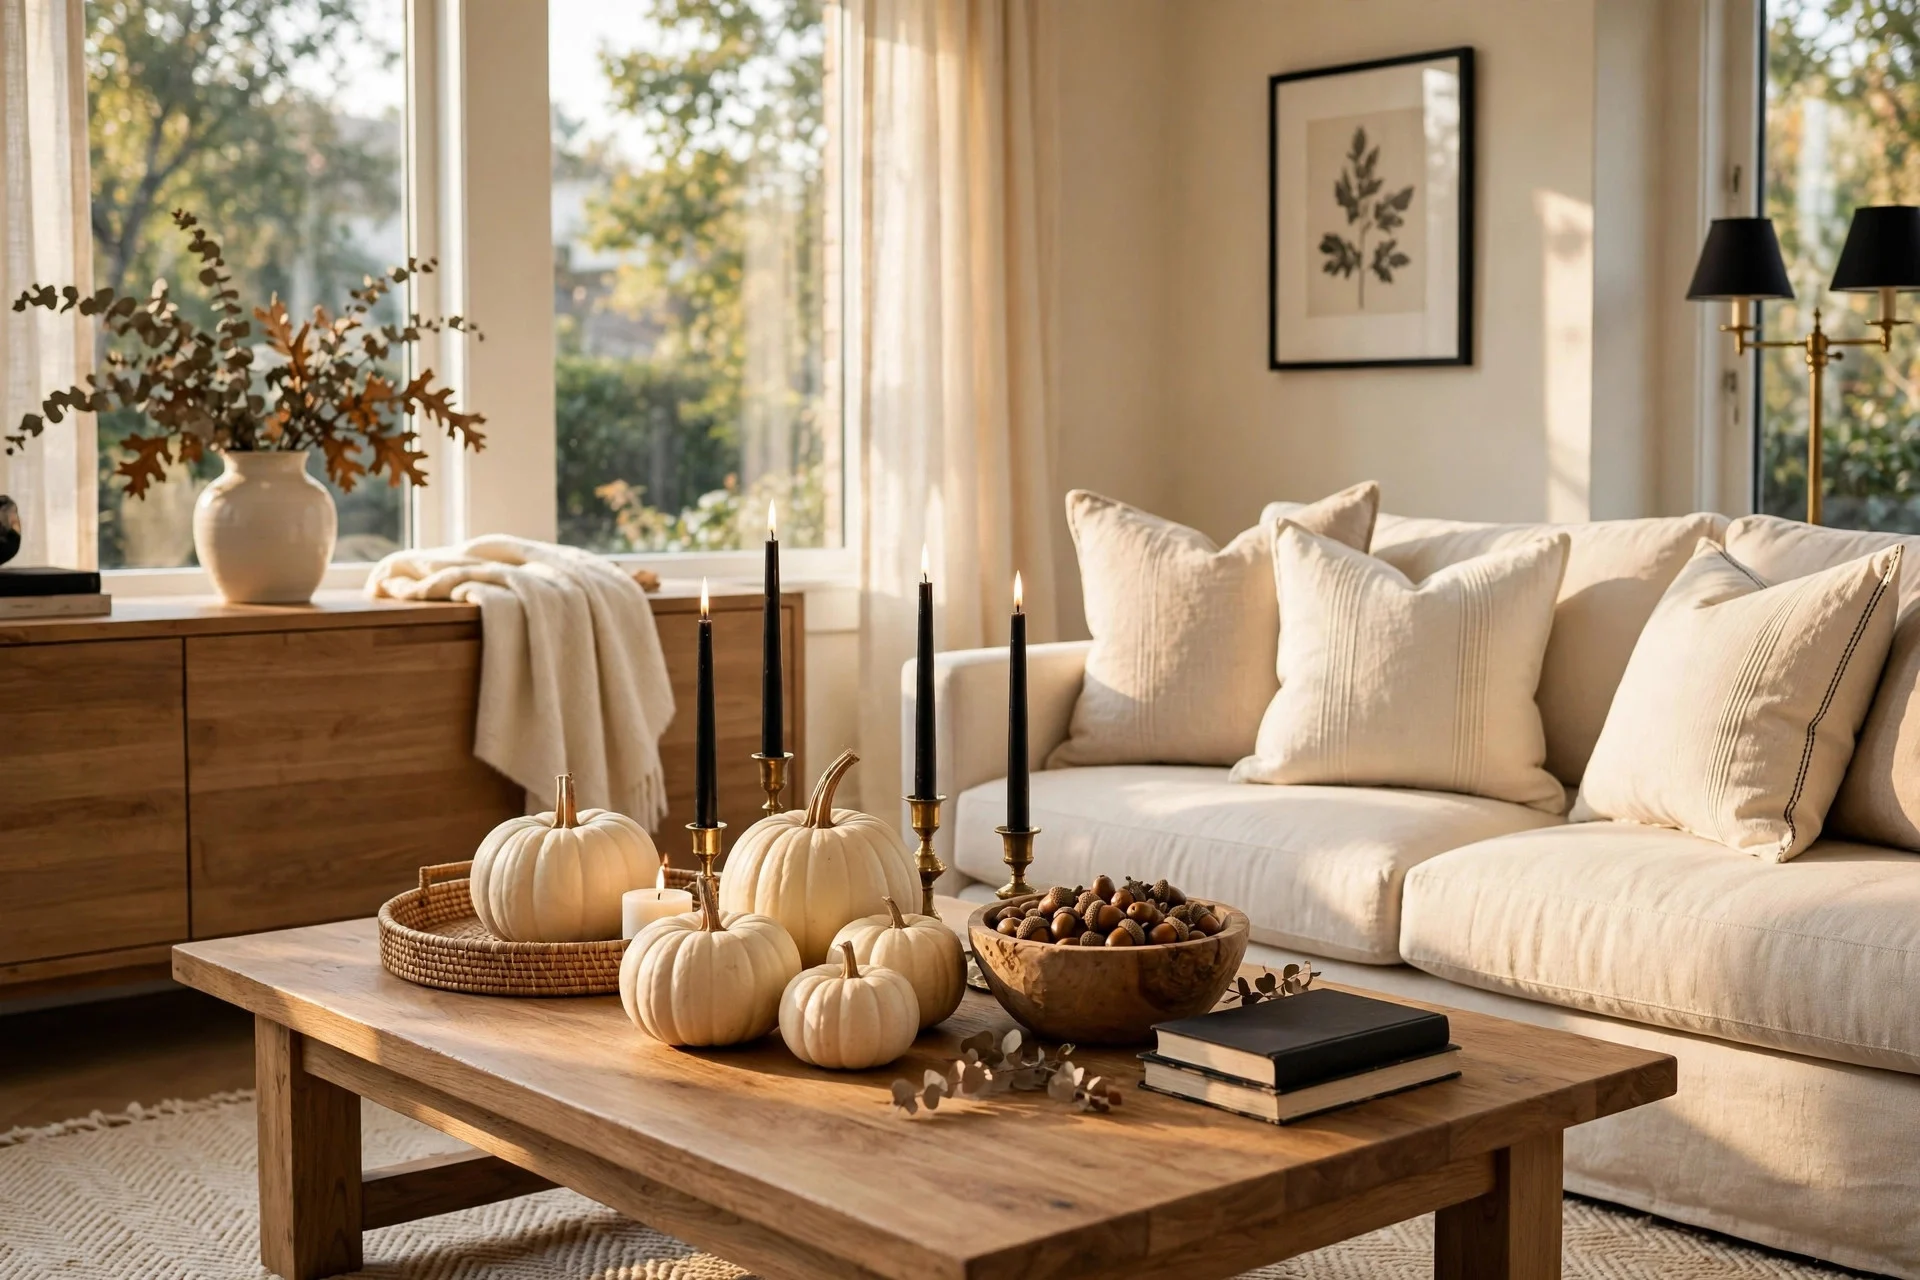
This is the single biggest difference between classy Halloween decor and the chaotic kind. Most tacky setups fail right here: orange plus purple plus green plus black plus blood-red, all shouting at once. Your eye doesn’t know where to land, so everything reads as clutter.
Pick two or three colors and commit to them everywhere. Some combinations that always work:
- Black + cream + natural wood. The safest bet. Cream pumpkins, black candle holders, a wooden bowl of acorns. Looks good in every room.
- Charcoal + brass + dried wheat. Moody and a little glamorous. Brass candlesticks from a thrift store, wheat stalks in a tall vase, charcoal throw pillows you already own.
- Deep plum + black + candlelight. For the dramatic types. Plum taper candles, black picture frames, everything else dark.
My rule is the grocery-cart test: if something doesn’t fit the palette, it doesn’t come home, no matter how cute it is in the store. I learned this the hard way after buying neon-green spider webs “because they were only $3.” They matched nothing. They looked like nothing. They went straight to donation.
If you’re building a palette from scratch, my guide on how to decorate with neutral colors walks through the same thinking — Halloween is just neutrals with a darker mood.
2. Scale Beats Quantity
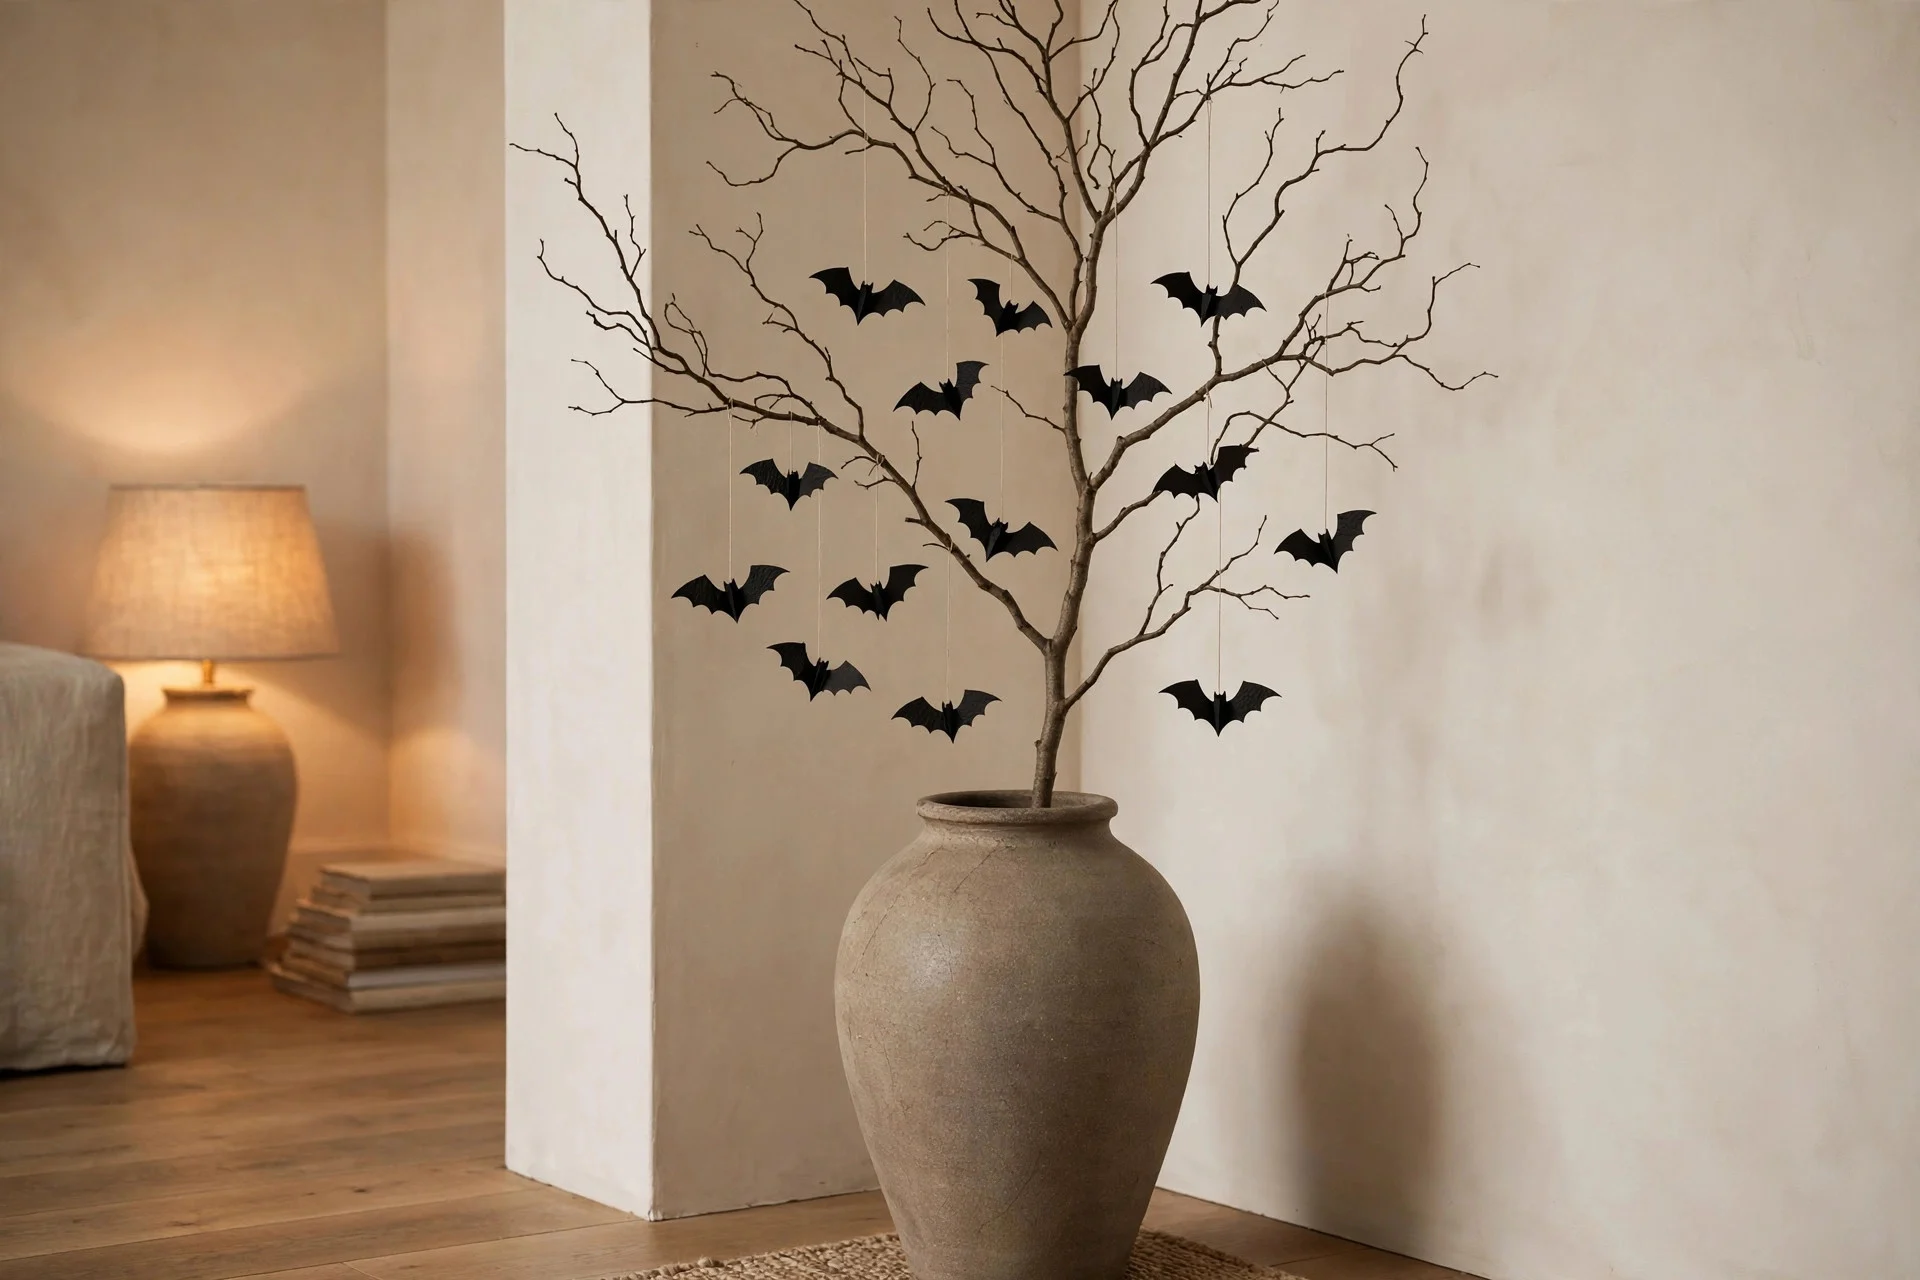
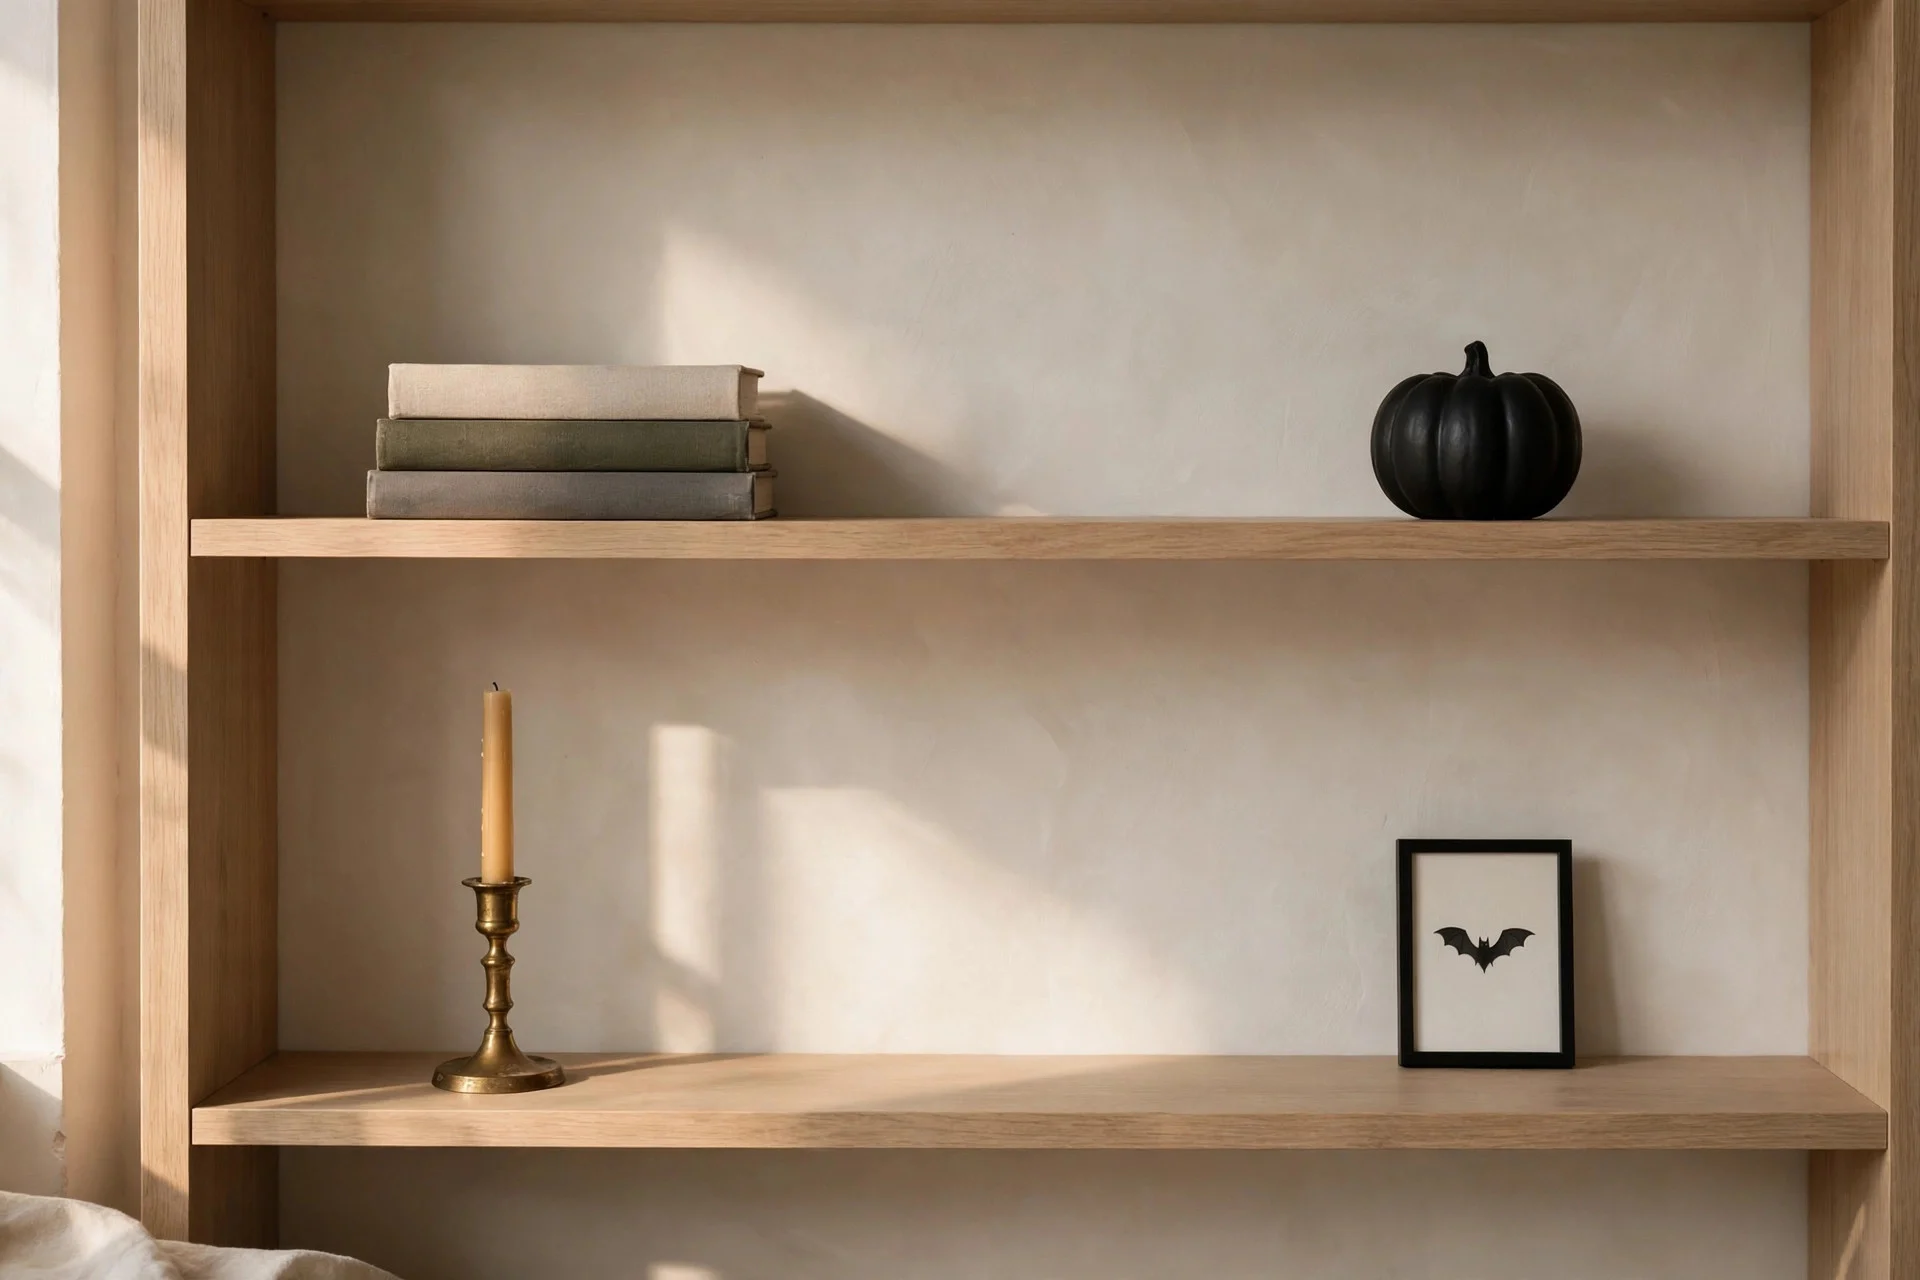
Here’s a weird truth about decorating: one big thing always looks more expensive than twenty small things. A single tall branch in a floor vase with a dozen paper bats hanging from it looks like a design choice. Thirty plastic spiders scattered across every surface looks like a clearance aisle.
Think in statements, not sprinkles. One dramatic arrangement on the mantel instead of five small ones fighting for attention. One oversized wreath on the front door instead of a wreath plus a sign plus a garland plus two small pumpkins plus a doormat with a joke on it. (I love a funny doormat as much as anyone, but pick the doormat OR the wreath moment — not both.)
This works indoors too. Last year I put exactly one thing on my dining table for all of October: a low wooden tray with three black taper candles, a small white pumpkin, and a handful of dried eucalyptus. Guests kept complimenting “the Halloween decor” like I’d done a whole production. I had done one tray.
3. Mix Spooky With Natural Textures
This is the real secret, and it’s embarrassingly simple: pair every spooky item with something natural. A plastic skeleton on its own looks like a party store. That same skeleton leaning against a bundle of dried eucalyptus in a stoneware vase looks like a still life.
Natural textures do the heavy lifting because they add the warmth and weight that cheap decor lacks. Keep a stash of these around in October and you’ll use them constantly:
- Dried wheat stalks, pampas grass, or preserved eucalyptus
- A wooden bowl filled with acorns, pinecones, or chestnuts
- Linen or burlap runners and napkins
- Real branches from the yard (free, and better than anything at Michaels)
- Stone, clay, or unfinished wood vessels
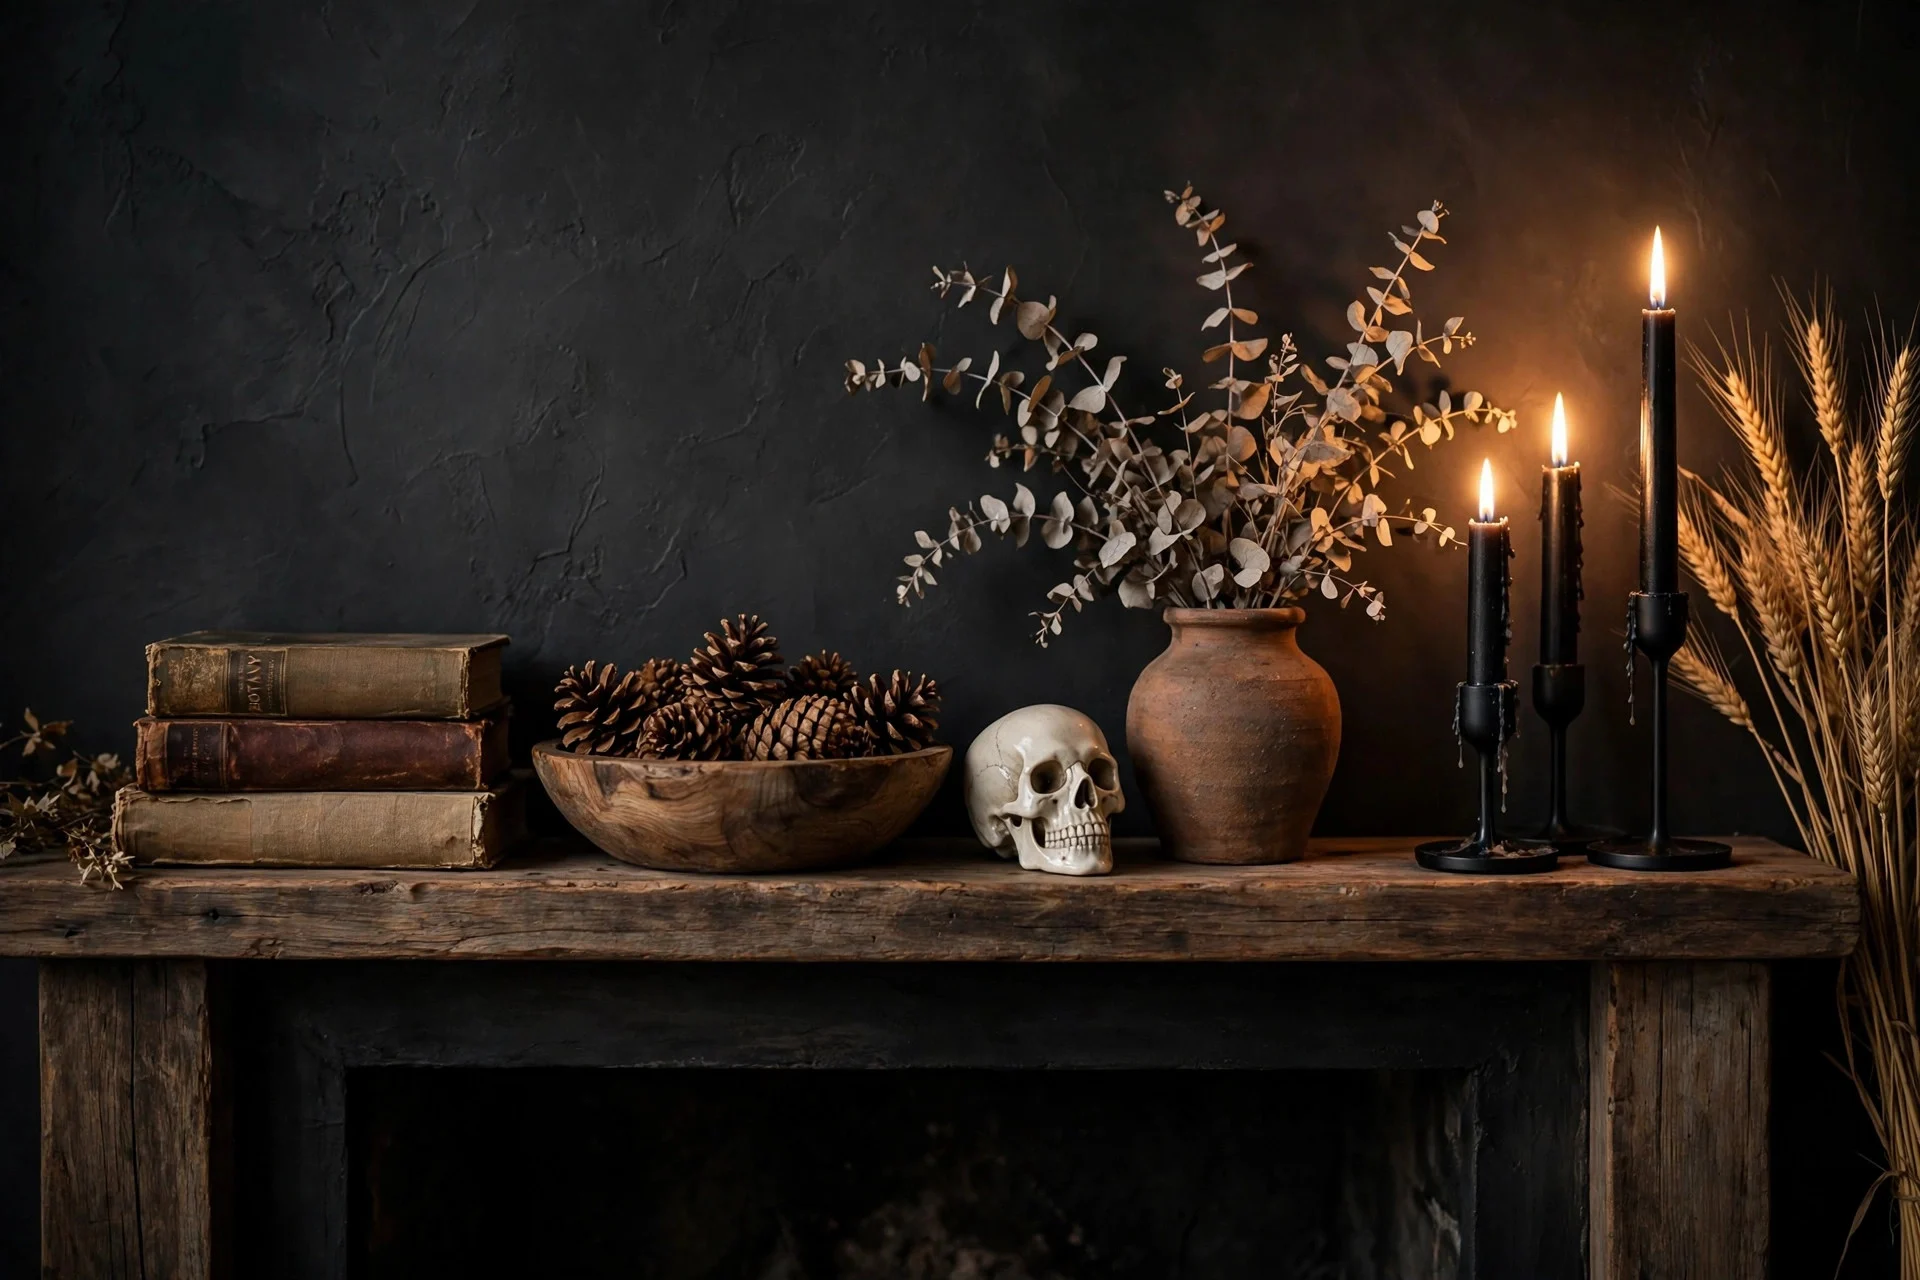
The formula is one-to-one. Black candles go in a wooden bowl of acorns. A ceramic skull sits on a stack of old books next to dried lavender. Faux cobwebs — used sparingly — drape over a real branch, not over your TV. Every time something looks a little too “costume,” add something that grew in the ground next to it. Balance restored.
4. Light It Like You Mean It
Cheap decor has one mortal enemy: harsh daylight. And one best friend: candlelight. I’m only half joking when I say that half of “tasteful Halloween decorating” is just turning off the overhead lights.
After 7 p.m., your house should glow. Clusters of candles in amber, cream, and black on the mantel, the dining table, the bathroom counter — anywhere guests will actually be. Swap your cool-white bulbs for warm ones (2700K or lower) for the whole month; a $12 four-pack from Target changes every room. String lights aren’t just for Christmas — warm fairy lights inside a glass pumpkin or along a bookshelf give you that flickering glow without a single open flame.
Here’s my after-dark test: turn off every overhead light, light the candles, and stand in the doorway. If the room feels moody and intentional, you’re done. If you can still see that one plastic thing you regret buying, either move it somewhere the candlelight doesn’t reach or — be honest with yourself — put it back in the box.
I go deeper on the mechanics of this in 21 bedroom lighting ideas that instantly transform your space — the principles are the same, just with more cobwebs.
5. Keep the Gore Outside — or Skip It Entirely
I have nothing against scary Halloween. But gore is the fastest way to make indoor decor look cheap, because fake blood and plastic body parts are almost impossible to make look good up close. Indoors, you’re viewing everything from three feet away. Every seam shows.
Distance is your friend. The porch is ten feet from the sidewalk — that’s where the scarier stuff lives, if you love it. A well-placed skeleton on the porch steps at dusk looks genuinely eerie. That same skeleton on your coffee table looks like a gag gift.
Inside, go for implied spookiness instead of literal spookiness. Silhouettes instead of corpses. Shadows instead of blood. A black cat figurine, an apothecary jar labeled something ominous, a mirror with a crackled finish — these suggest a story without showing you the whole horror movie. Suggestion is always classier than exposition. Hitchcock knew it, and your living room knows it too.
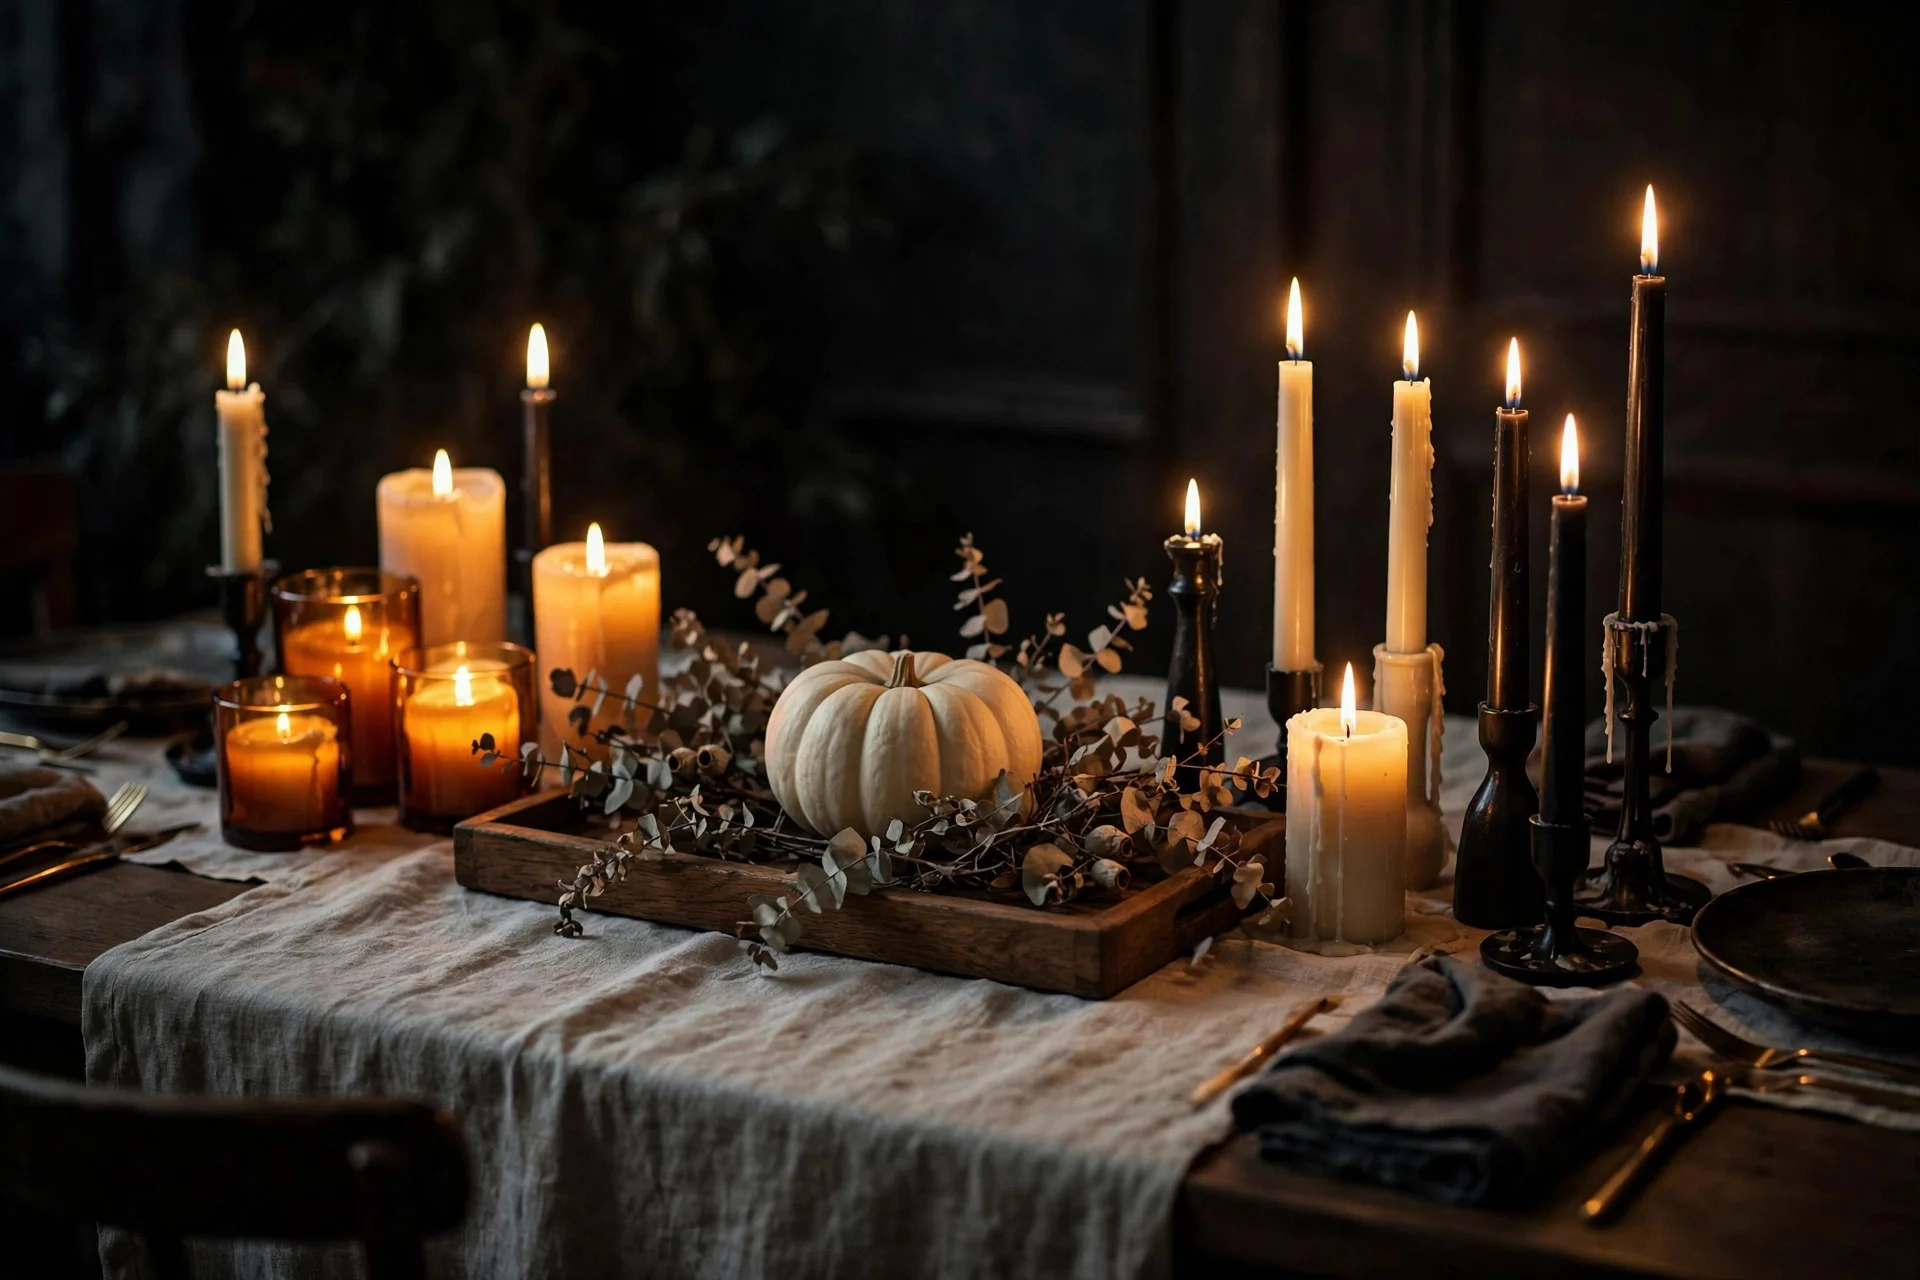
And if gore just isn’t your thing at all? Skip it completely. Some of the best Halloween homes I’ve seen had zero scary elements — just black, candlelight, dried botanicals, and pumpkins. Nobody walked in and thought “this isn’t Halloween enough.” They thought “this is beautiful.”
6. The 3-Foot Rule: Edit Like a Stylist
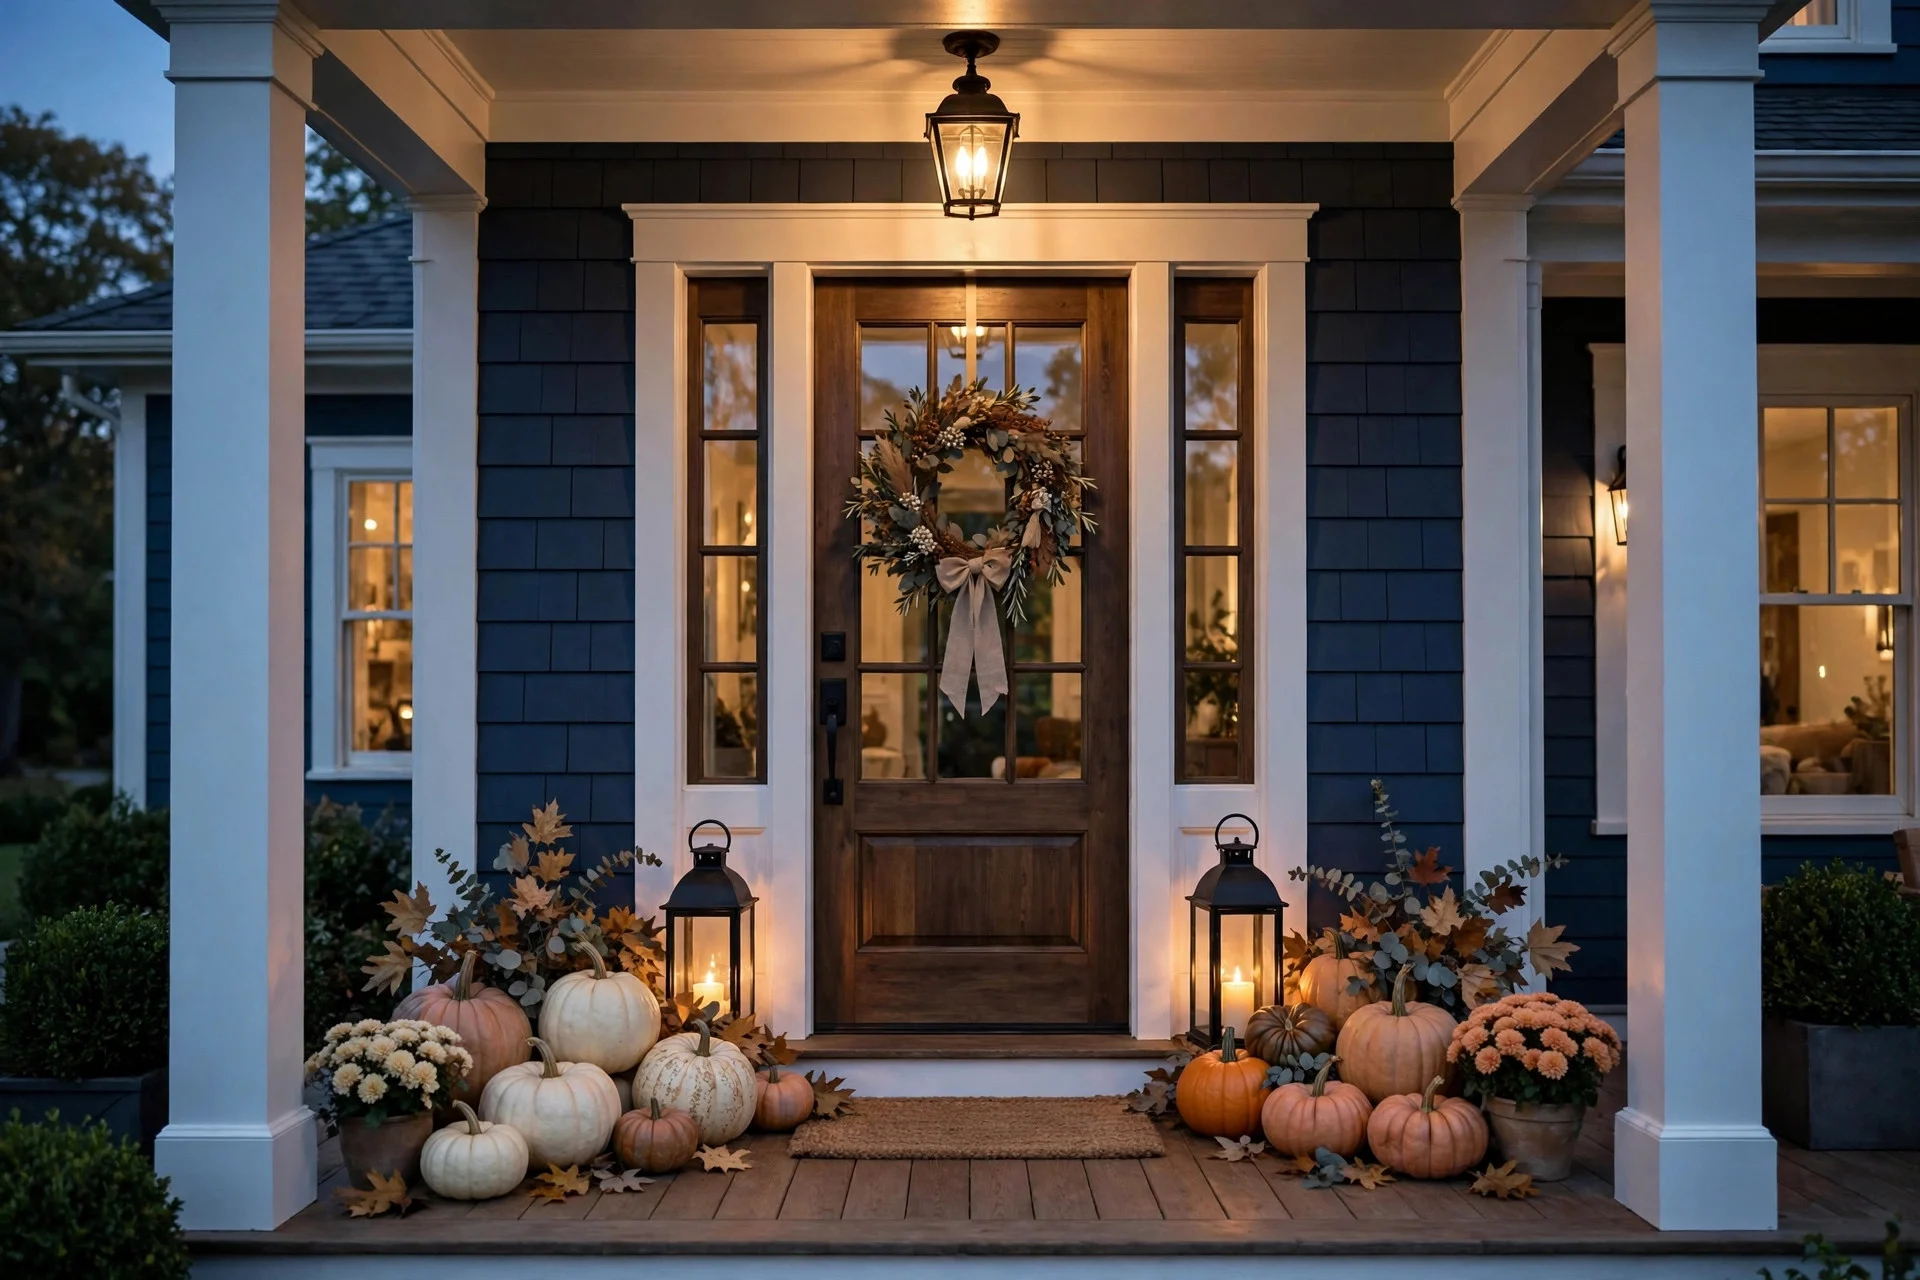
Professional stylists have a rule I stole years ago and now apply to everything: step three feet back from any arrangement, and if your eye doesn’t land somewhere specific within three seconds, remove one thing. Then step back again.
Most Halloween decor fails this test because we keep adding. One more pumpkin. One more sign. One more string of lights. Every addition feels small, but together they turn a vignette into a yard sale.
Try it on your mantel or entryway table this week. Arrange everything, then physically walk three feet back. What’s the first thing you see? That’s your focal point — good. Now what’s the second thing you see? If the answer is “everything at once,” start removing. The piece you hesitate over is usually the piece that needs to go.
This is the same muscle you use when decluttering your home room by room — Halloween decorating is just seasonal decluttering with better lighting.
7. Pumpkins: The No-Carve Upgrade
Let’s talk about carved pumpkins honestly: they look great for about 48 hours, then they start caving in, and by day five you’re displaying a rotting science experiment on your porch. The no-carve route looks better and lasts the entire month.
My favorite upgrades, all cheap:
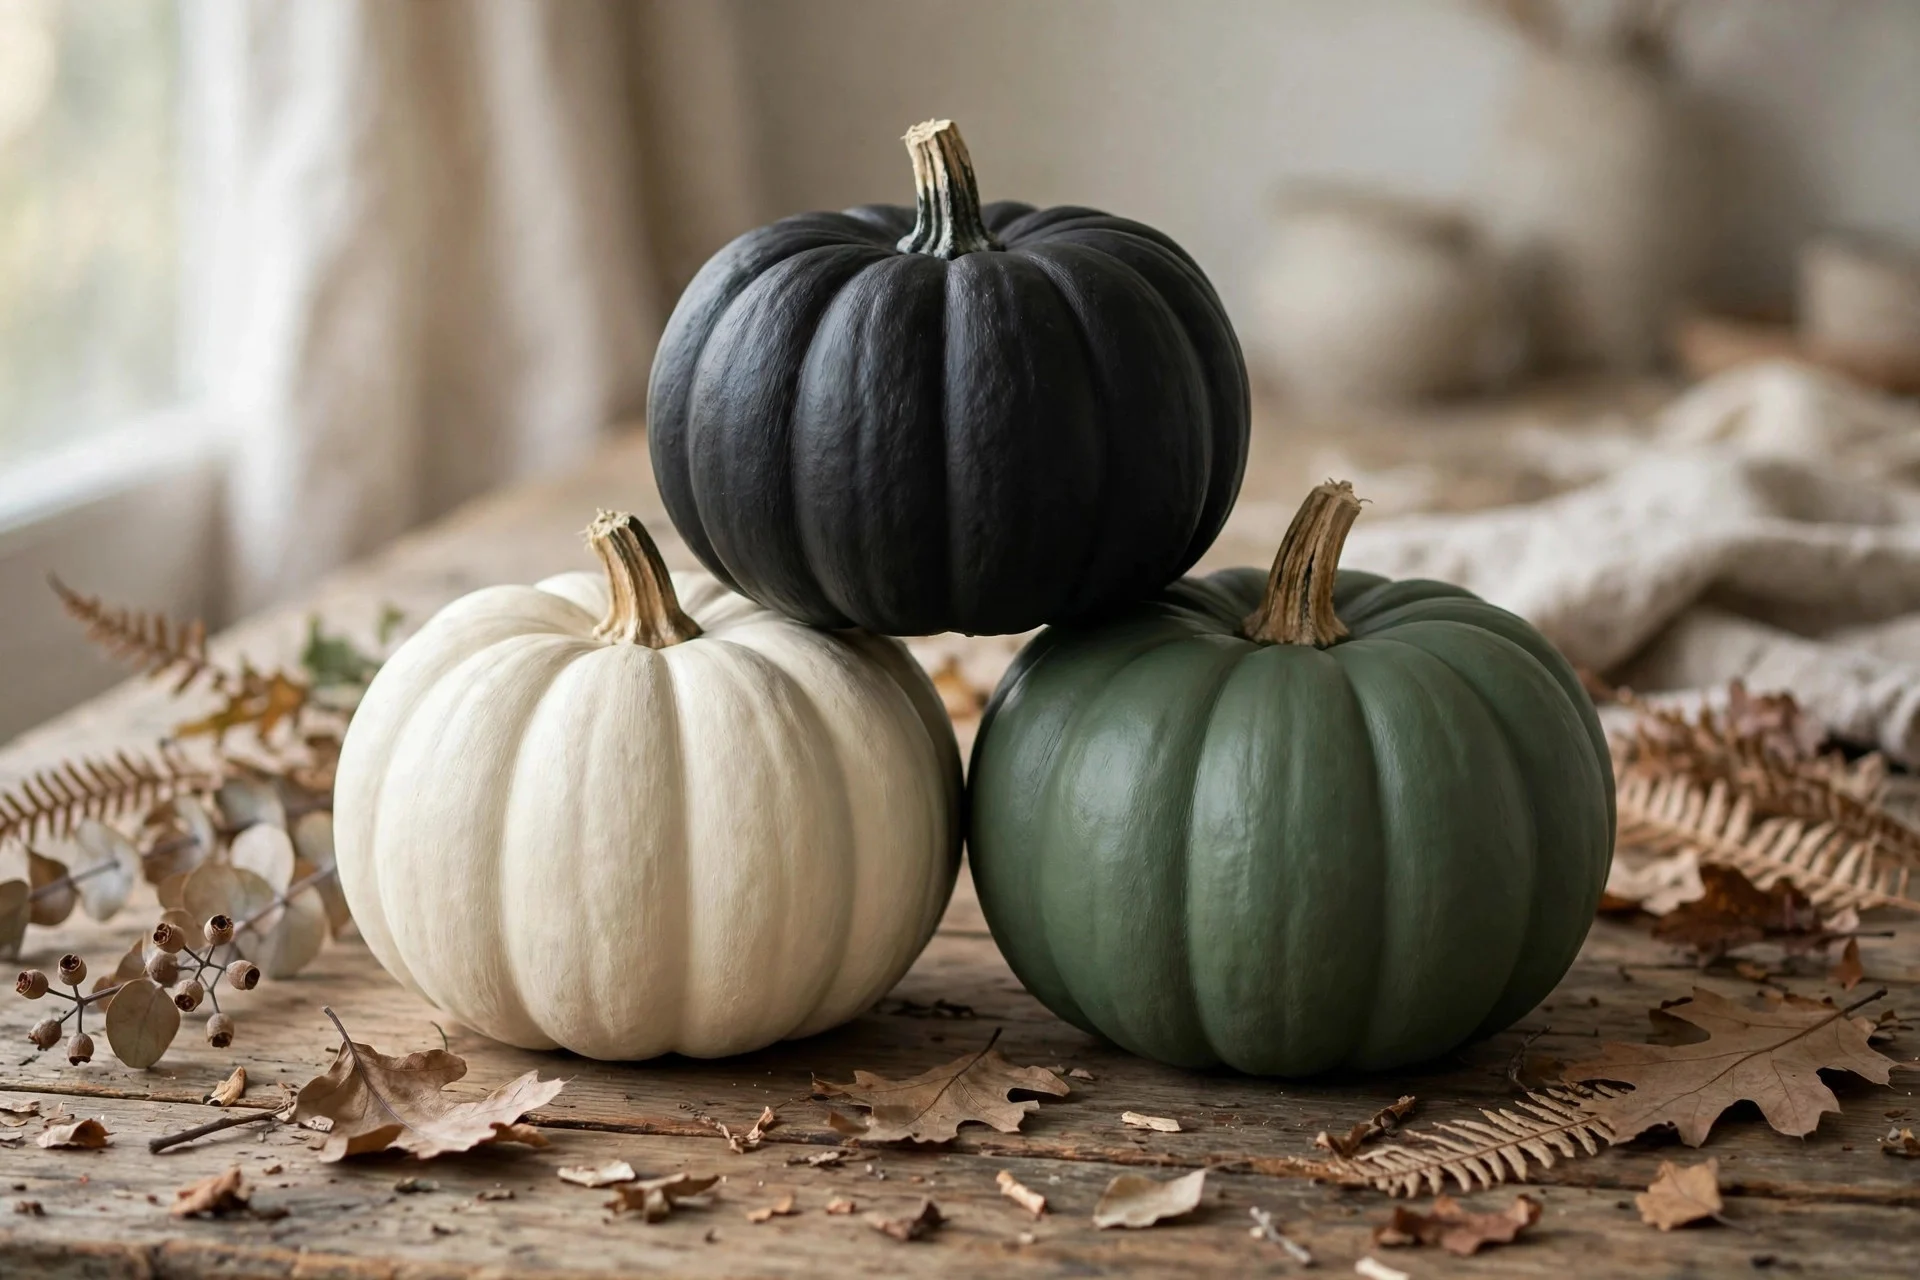
- Paint them. Matte black, cream, or deep green spray paint ($6 a can, covers 4–5 pumpkins). One color per pumpkin, no designs. They look like ceramics.
- Stack them. Three pumpkins in descending sizes, largest on the bottom. Instant topiary, zero skill required.
- Buy the weird ones. Heirloom varieties — Cinderella (flat and ribbed), white Baby Boo, blue Jarrahdale — cost $3–5 at Trader Joe’s or any farm stand and look like they were styled by someone with taste, because they were: nature.
- Add one texture. Wrap twine around the stem, press dried leaves onto wet paint, or nestle them into a bed of moss from the craft store.
A cluster of painted and heirloom pumpkins by the front door will get more compliments than any carved face, and you’ll still be happy looking at them on October 30th.
8. Sound and Scent Finish the Job
Here’s what separates a decorated house from an atmosphere: the stuff you can’t photograph. Two senses most people forget, and both are nearly free.
Scent. A simmer pot on the stove — orange slices, cinnamon sticks, cloves, a splash of vanilla — costs almost nothing and makes the whole house smell like October. Or one good candle: look for cedar, clove, smoked woods, or “bonfire” type scents rather than anything labeled “pumpkin spice explosion.” One strong scent, not three competing ones. I wrote more about layering home fragrance in how to make your home smell good naturally.
Sound. On Halloween night (or any October evening you’re having people over), put on a crackling fireplace video on the TV with the sound up low, or a rain-and-thunder ambient track. It sits underneath conversation and makes everything feel cinematic. Total cost: zero. Total effect: people will say your house “feels like Halloween” without being able to point at a single decoration.

Your Quick Checklist
Before October 31st, run through this once per room you’re decorating:
- ☐ One color story — two to three colors, committed everywhere
- ☐ One statement piece per surface, not twenty small things
- ☐ Something natural next to everything spooky
- ☐ Candlelight plan — overheads off after dark
- ☐ Gore stays outside (or skipped entirely)
- ☐ 3-foot rule — step back, remove one thing, repeat
- ☐ No-carve pumpkins — painted, stacked, or heirloom
- ☐ Scent and sound — simmer pot plus something crackling
That’s it. No plastic overload, no color chaos, no regrets on November 1st. And if you want to keep the seasonal momentum going, my cozy fall decor ideas pick up right where Halloween leaves off — most of the natural textures in this post transition straight into November without changing a thing.