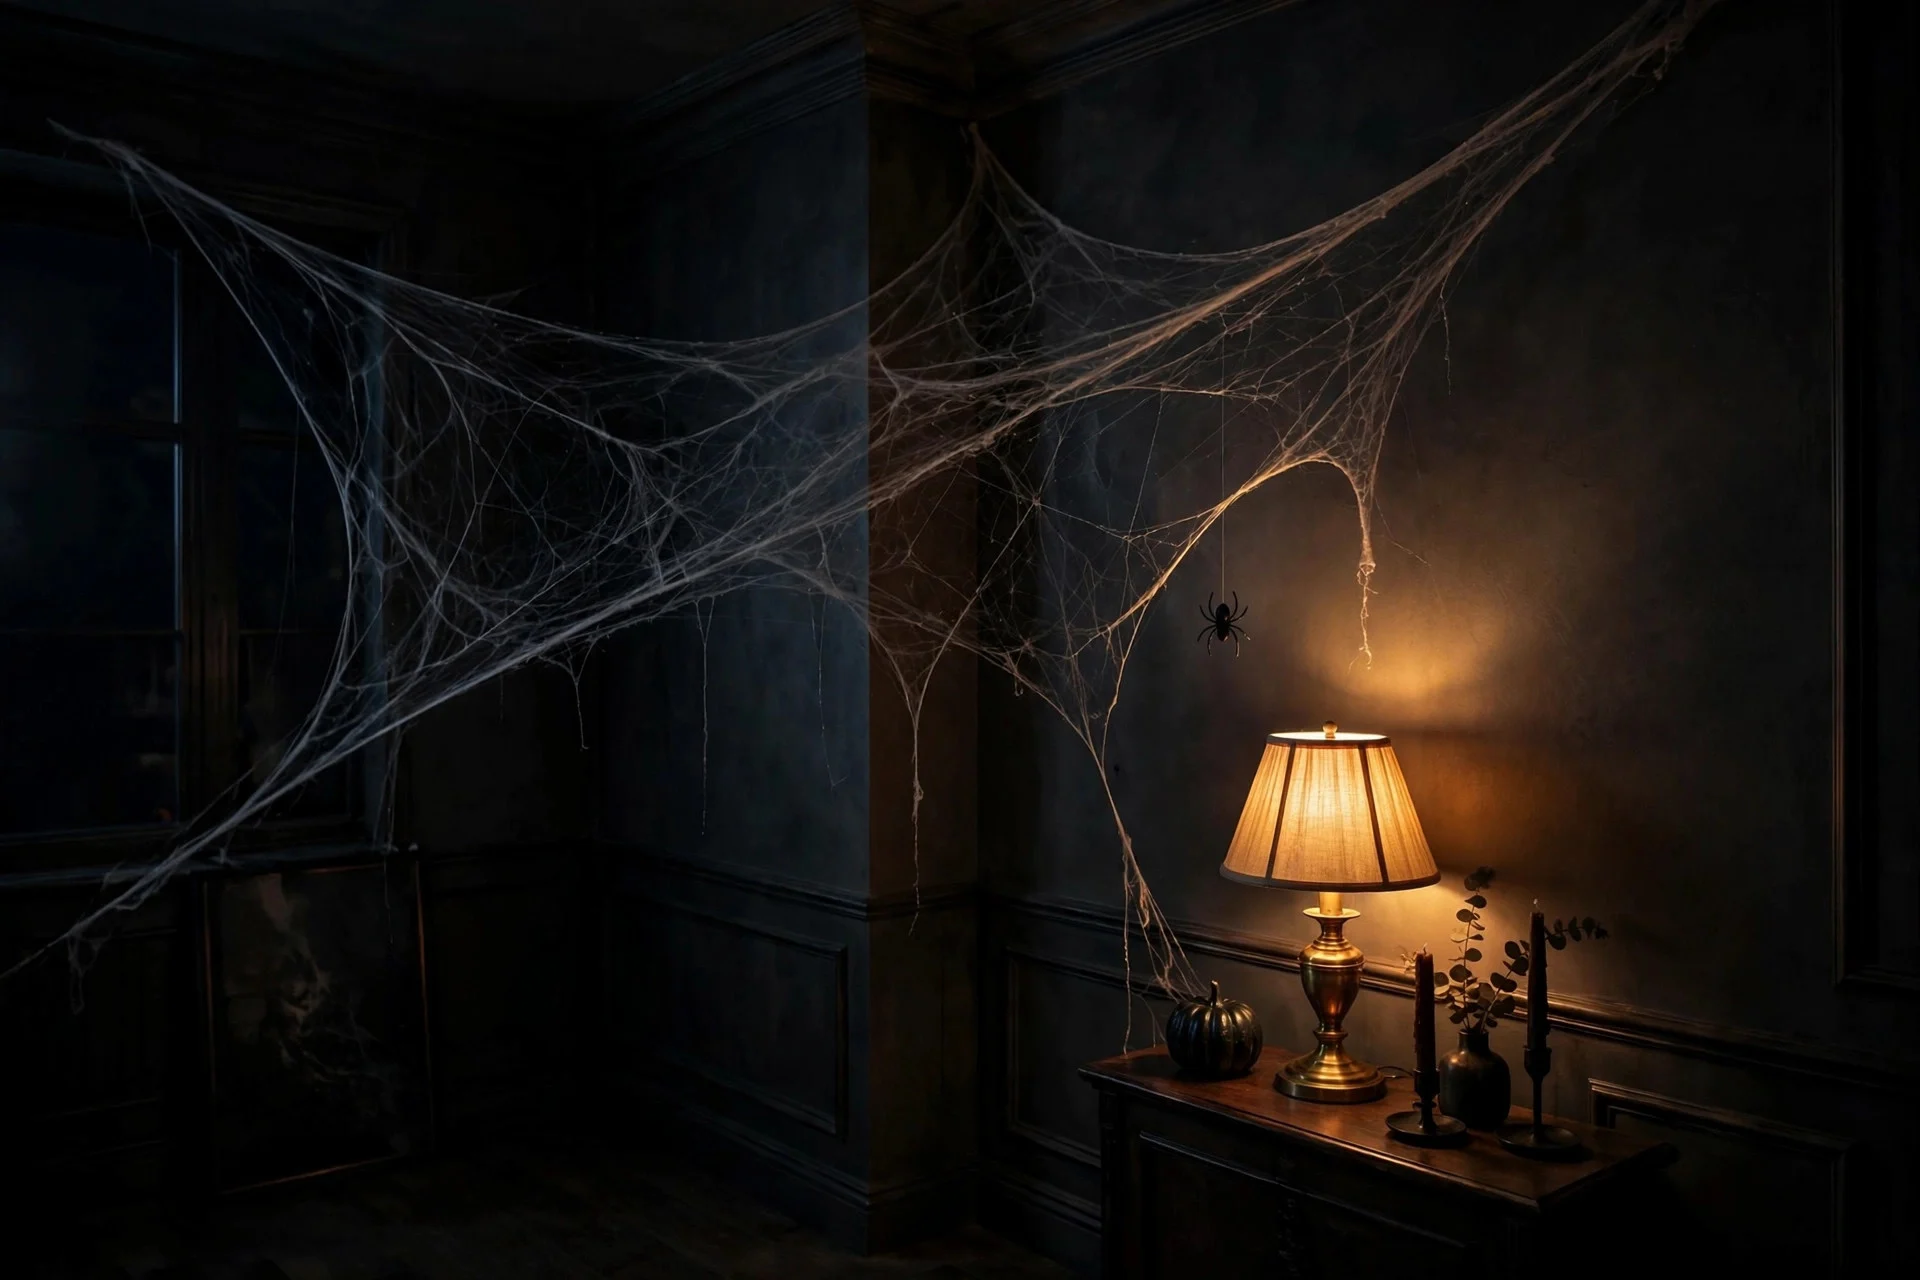
The first time I decorated with fake spider webs, I bought two bags, dumped both on my porch railing in about four minutes, and stepped back expecting haunted elegance. What I got looked like someone had thrown cotton candy at my house and left it there. My neighbor laughed. Not with me.
Here’s the thing nobody tells you: the web material is fine. It’s the same stuff in every spooky Instagram photo. The difference between “creepy haunted porch” and “abandoned laundry” is entirely in how you handle it. I have done this wrong enough times now that I can tell you exactly what makes it look real, and it comes down to six habits that take maybe fifteen extra minutes.
The One Rule Everything Below Depends On
Stretch, don’t drape. Bagged web material straight out of the package is a dense white clump, and if you drape that clump anywhere it reads as pillow stuffing, not spiderweb. A real web is nearly invisible until light catches it. Your job is to pull the material until it is almost gone, just a whisper of fibers between two anchor points. If you take nothing else from this post, take that. Every tip below is just a different way of applying it.
Tip 1: Start With Half the Bag You Think You Need
The single biggest mistake is using too much. One standard bag of webbing is enough for an entire porch, honestly, if you stretch it properly. Pull out a clump the size of a golf ball for each spot. I used to grab fistfuls, and every fistful ended up looking like snowdrifts. Small amounts stretched far apart always look more convincing than big amounts bunched together.
How to do it: open the bag and pull off a small piece, about golf-ball size. Stretch it between your hands first to feel how far it goes. Then carry only that piece to your corner or railing. When it runs out, go back for more. This one habit forces you to use less, and less is the whole aesthetic.
The mistake to avoid: don’t pre-plan coverage like you’re frosting a cake. Webs are random in nature. A few sparse patches in the right places beat full coverage every time.
Tip 2: Stretch It Until It Nearly Disappears
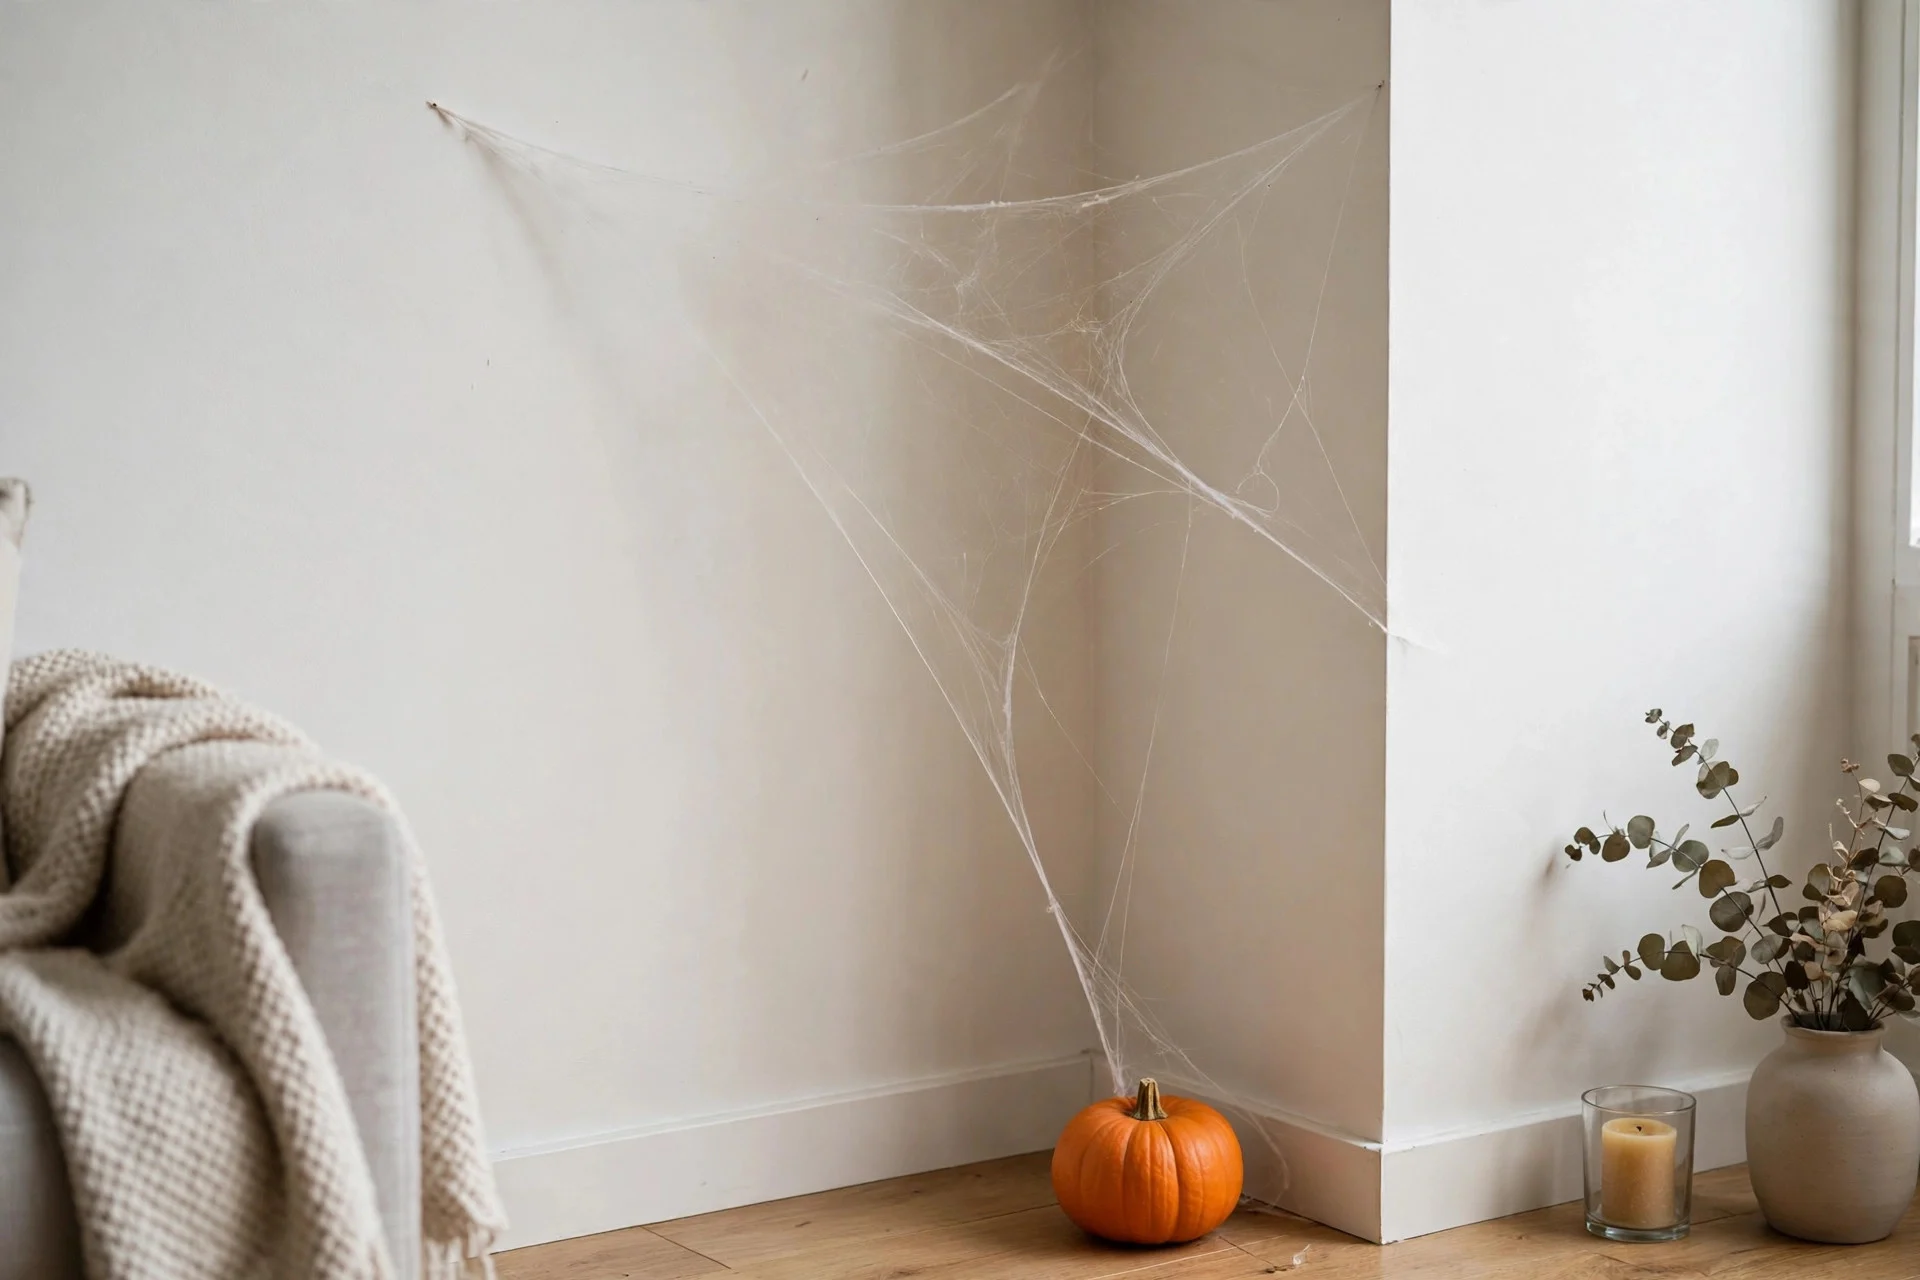
This is the technique that changes everything. Hold a clump with both hands and pull slowly, then pull the strands outward in every direction, then pull again. You want the fibers so thin you can barely see them. When you think it’s thin enough, stretch it a little more. I timed myself once: proper stretching takes about three minutes per section. The four-minute whole-porch job I used to do was the problem.
How to do it: first, pull the clump apart into a flat sheet between your palms. Second, anchor one edge where you want it, then walk the other edge out to its anchor point, letting the fibers elongate as you go. Third, tease the edges with your fingertips, pulling wispy strands outward so there’s no hard line where the web ends.
The mistake to avoid: working too fast. If the material still looks white and opaque anywhere, it isn’t stretched enough. Thin webs catch light; thick webs just sit there looking like cotton.
Tip 3: Anchor It on Real Shapes
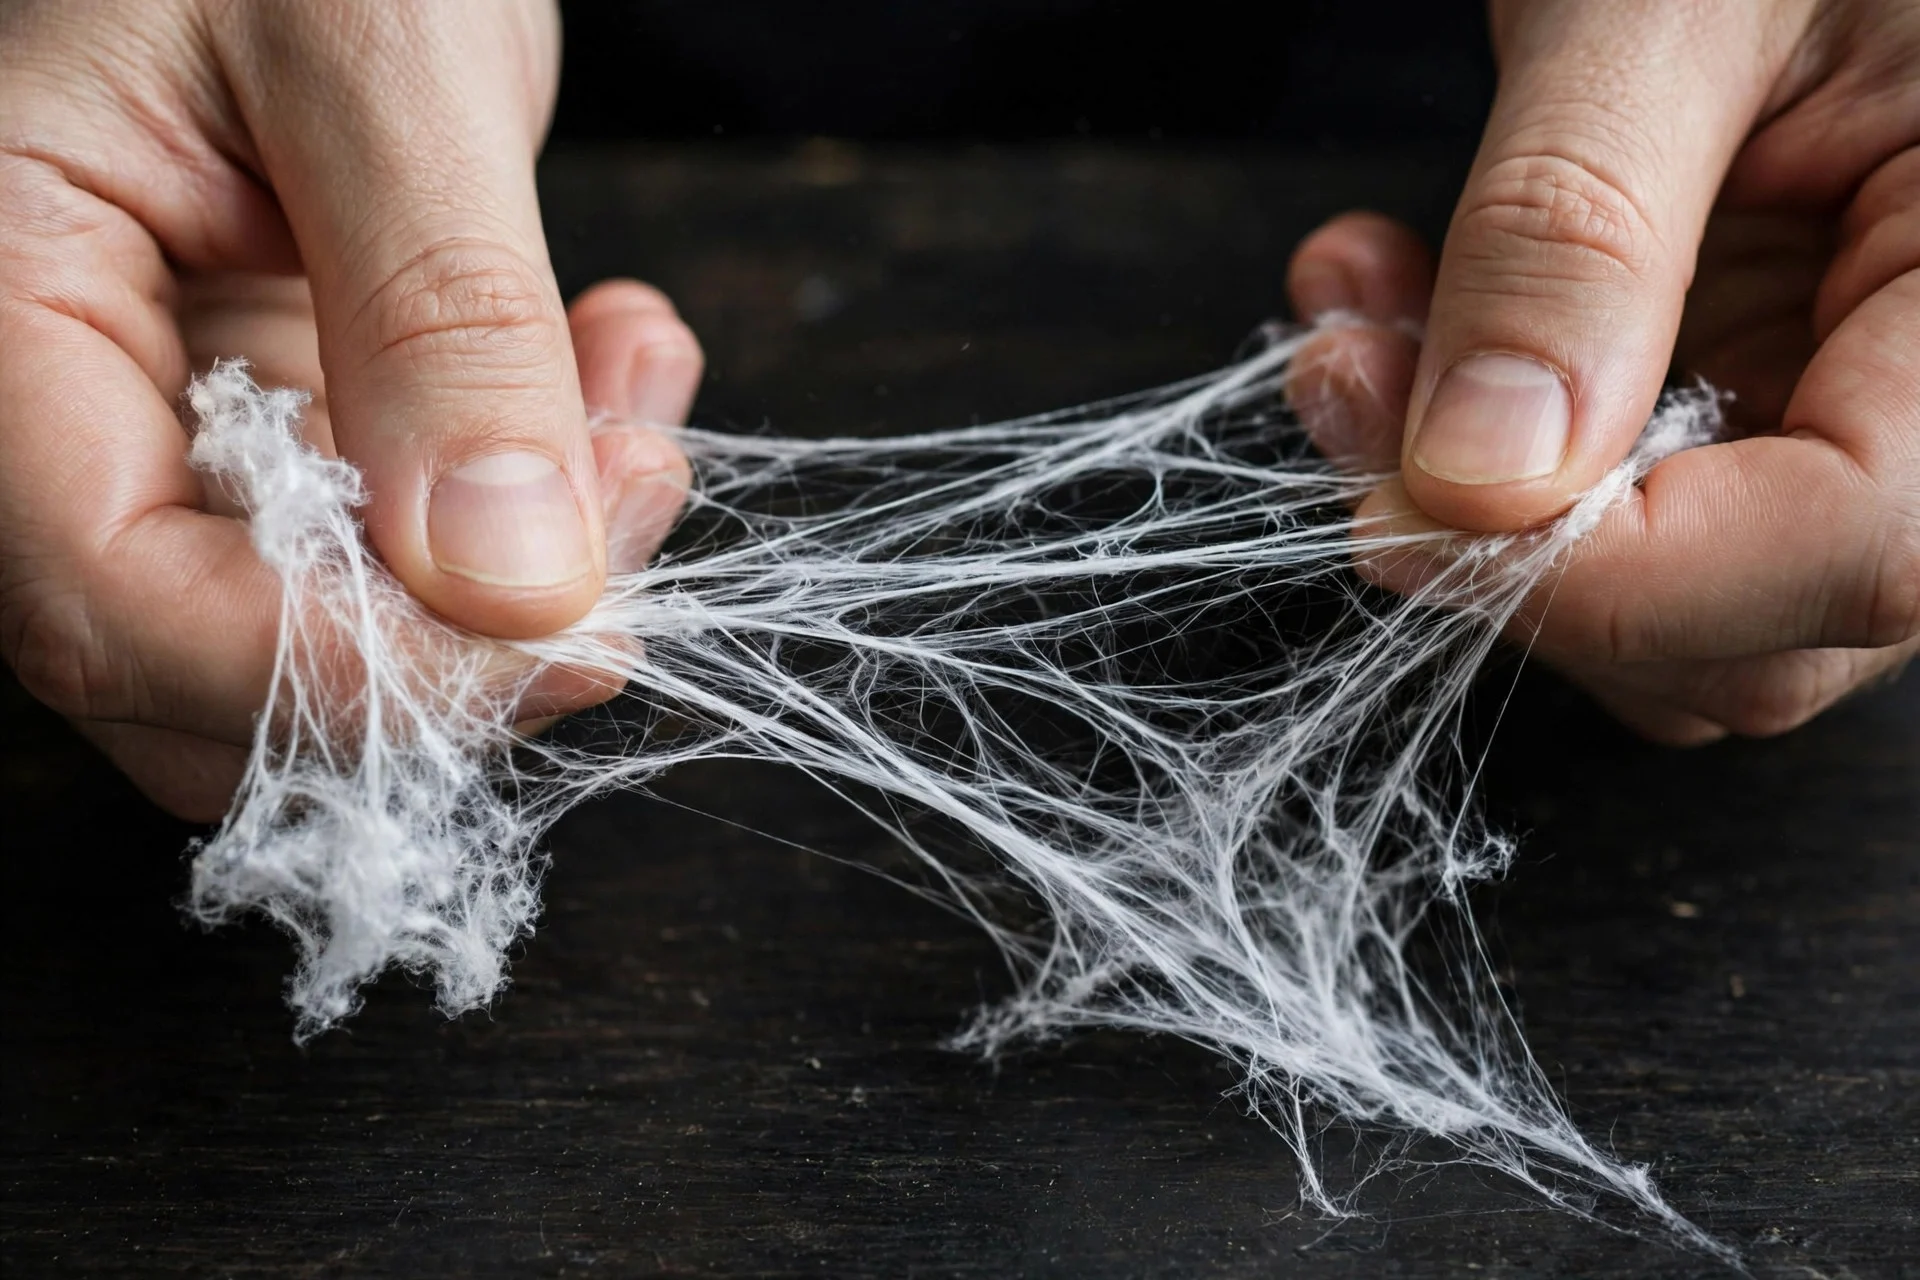
Real spiders build on corners, posts, branches, and railings, never floating in midair. Fake webs look fake when they hang in space with nothing to attach to. The most convincing webs I’ve ever made were on my porch, where the posts, railing, and a bare branch from the yard gave the fibers natural anchor points. If you’re decorating indoors, corners, mirror frames, bookshelf edges, and chandelier arms work the same way.
How to do it: first, pick your spot and find at least three solid anchor points forming a rough triangle, like a corner where two walls meet plus a shelf edge. Second, press the stretched webbing firmly onto each anchor point; the fibers grip surprisingly well on rough surfaces. Third, run a few loose strands between the anchors to suggest the web’s support threads before filling in the middle.
Where this shines: porches, with posts and railings everywhere. If you haven’t set up your porch yet, my last-minute Halloween porch ideas pair perfectly with this, and most of it uses stuff you already own.
Tip 4: Layer It Back to Front for Depth
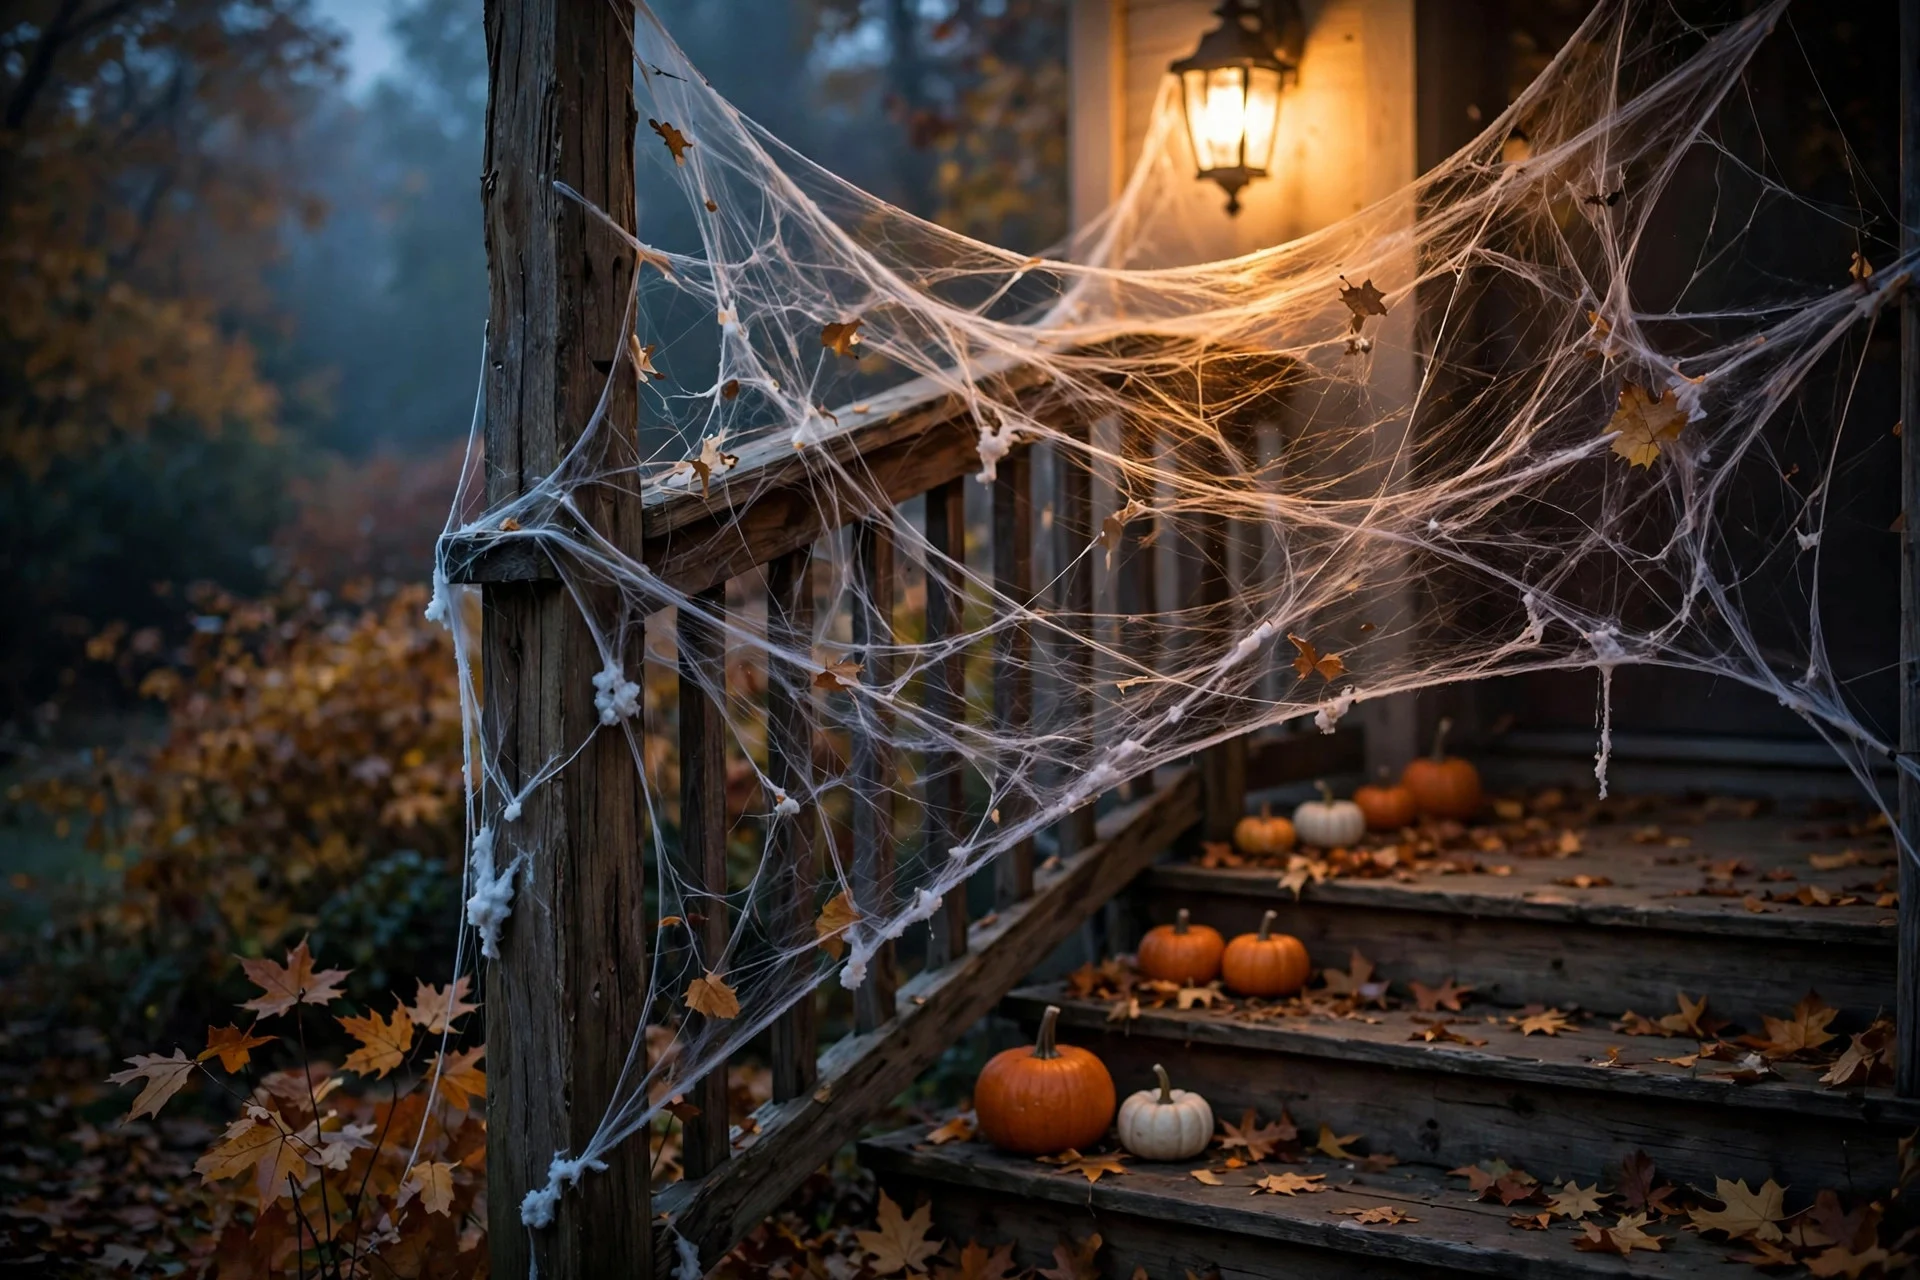
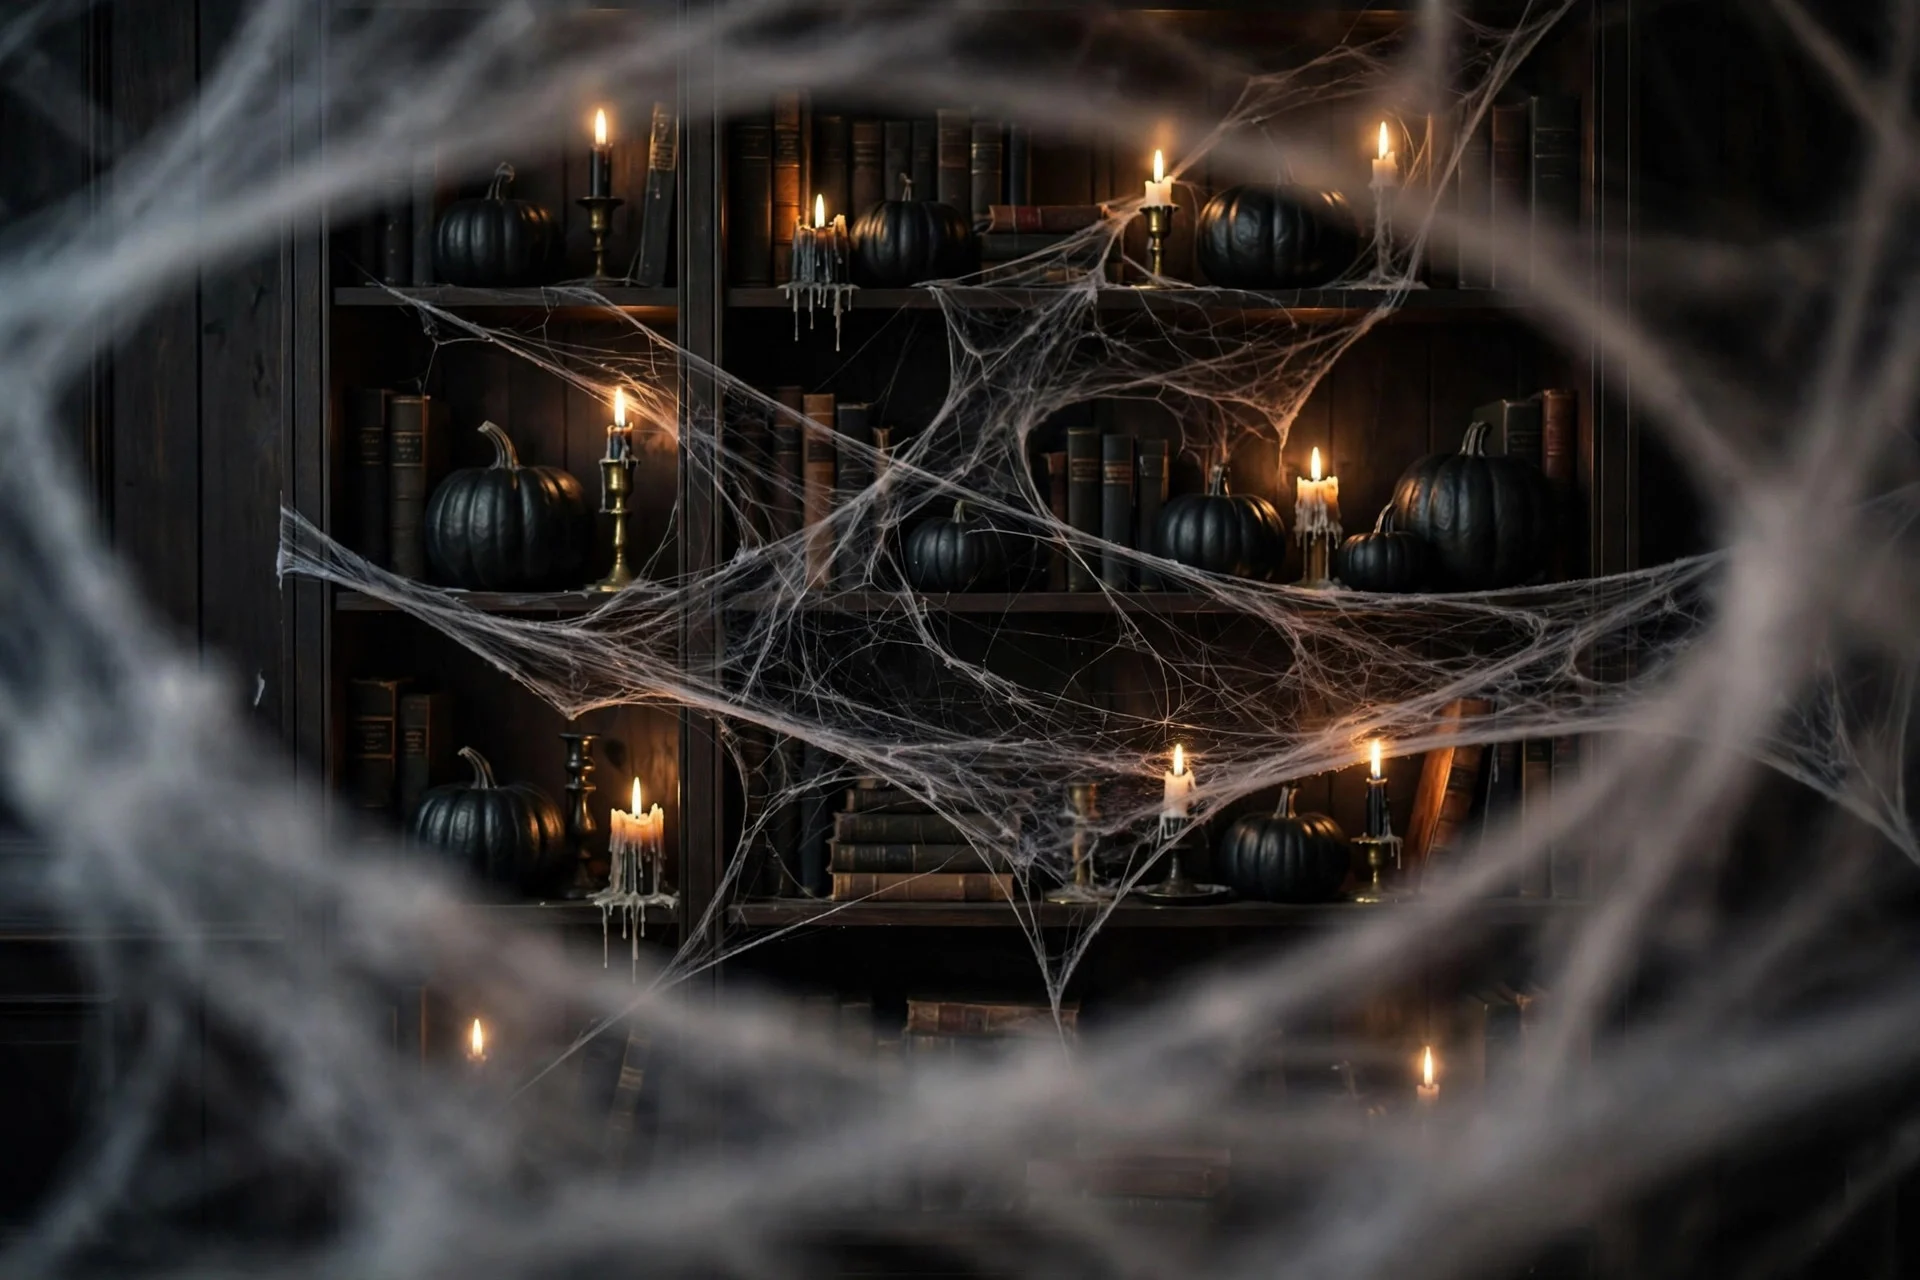
A flat single sheet of webbing looks like a decal. Real webs have depth because they’re built in layers, and you can fake that beautifully. Put one stretched layer behind your display, against the wall or window, and a second, looser layer in front of your pumpkins or candles. From across the room, the overlap reads as a genuinely three-dimensional web. I did this behind my mantel display last year and had two guests ask if it was real before they got close enough to see the plastic spider.
How to do it: first, stretch a thin layer flat against the back surface. Second, place your decor, pumpkins, candles, whatever you’re styling. Third, add a second layer draped loosely in front, with the fibers hanging a few inches forward. Keep the front layer even thinner than the back one.
The mistake to avoid: making both layers the same density. If the front and back match, it flattens out again. Back layer slightly fuller, front layer barely there.
Tip 5: One Spider Beats a Dozen
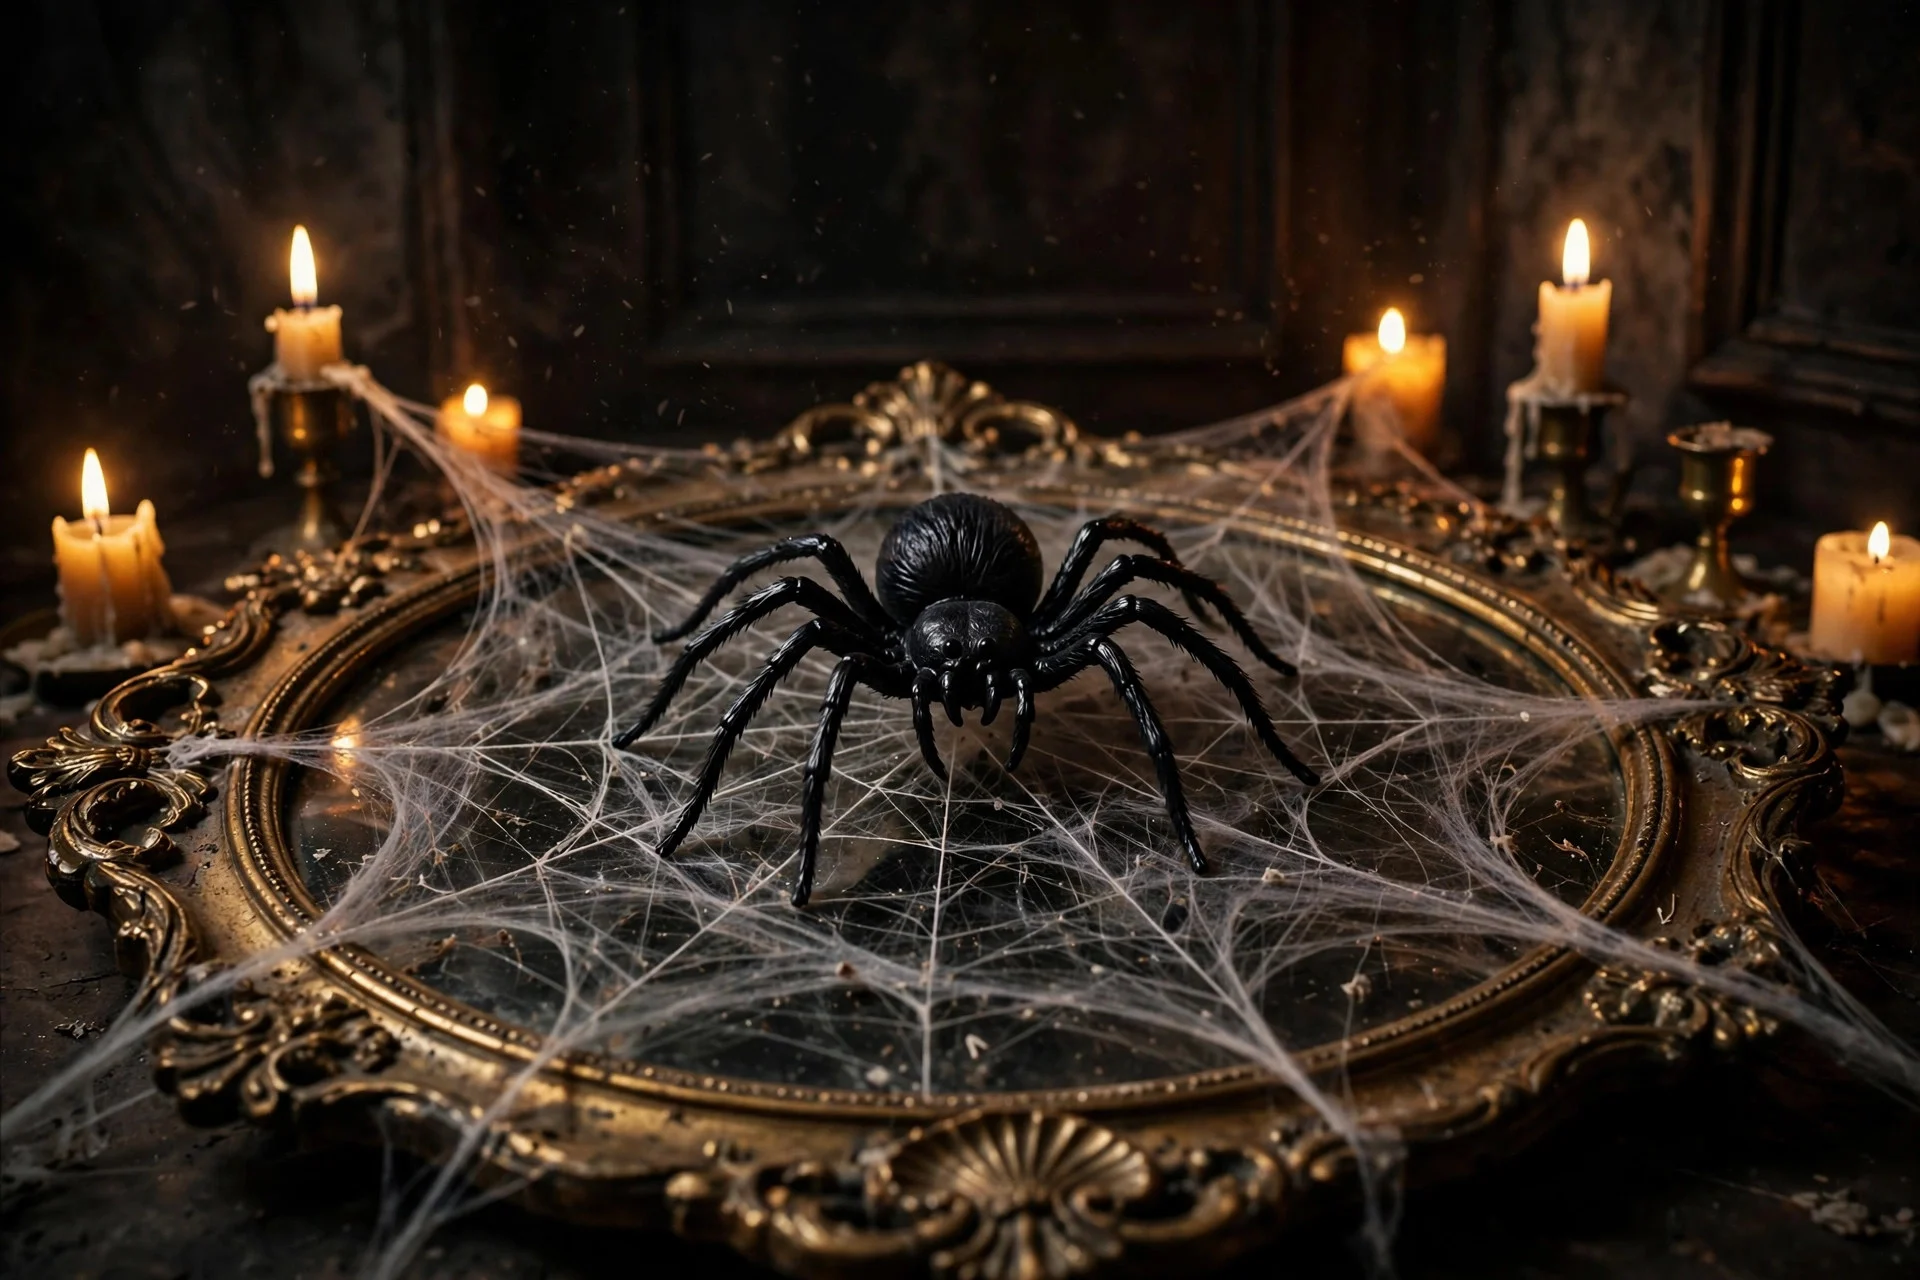
A web without a spider looks unfinished, like a prop. A web with twelve spiders looks like a toy aisle. One spider, placed where the light catches it, is the detail that sells the whole illusion. I buy the cheap bags of assorted plastic spiders and honestly use one or two per web, then keep the rest for the kids’ treat bags. Placement matters more than size: put it slightly off-center, hanging from a single thread or sitting where two strands cross, never dead center like a bullseye.
How to do it: first, finish your web completely before adding any spider. Second, step back and find the spot your eye lands on naturally. Third, hang the spider on a single visible thread just off that spot, or tuck it into a corner of the web where it looks like it’s waiting. A tiny dot of the webbing pressed onto the spider’s back holds it in place.
Budget note: this whole project costs almost nothing. A bag of webbing and a bag of spiders run a few dollars total, which is why webs are a staple of my dollar store Halloween decor roundup. The expensive-looking part is the technique, and that’s free.
Tip 6: Trim and Tuck the Edges
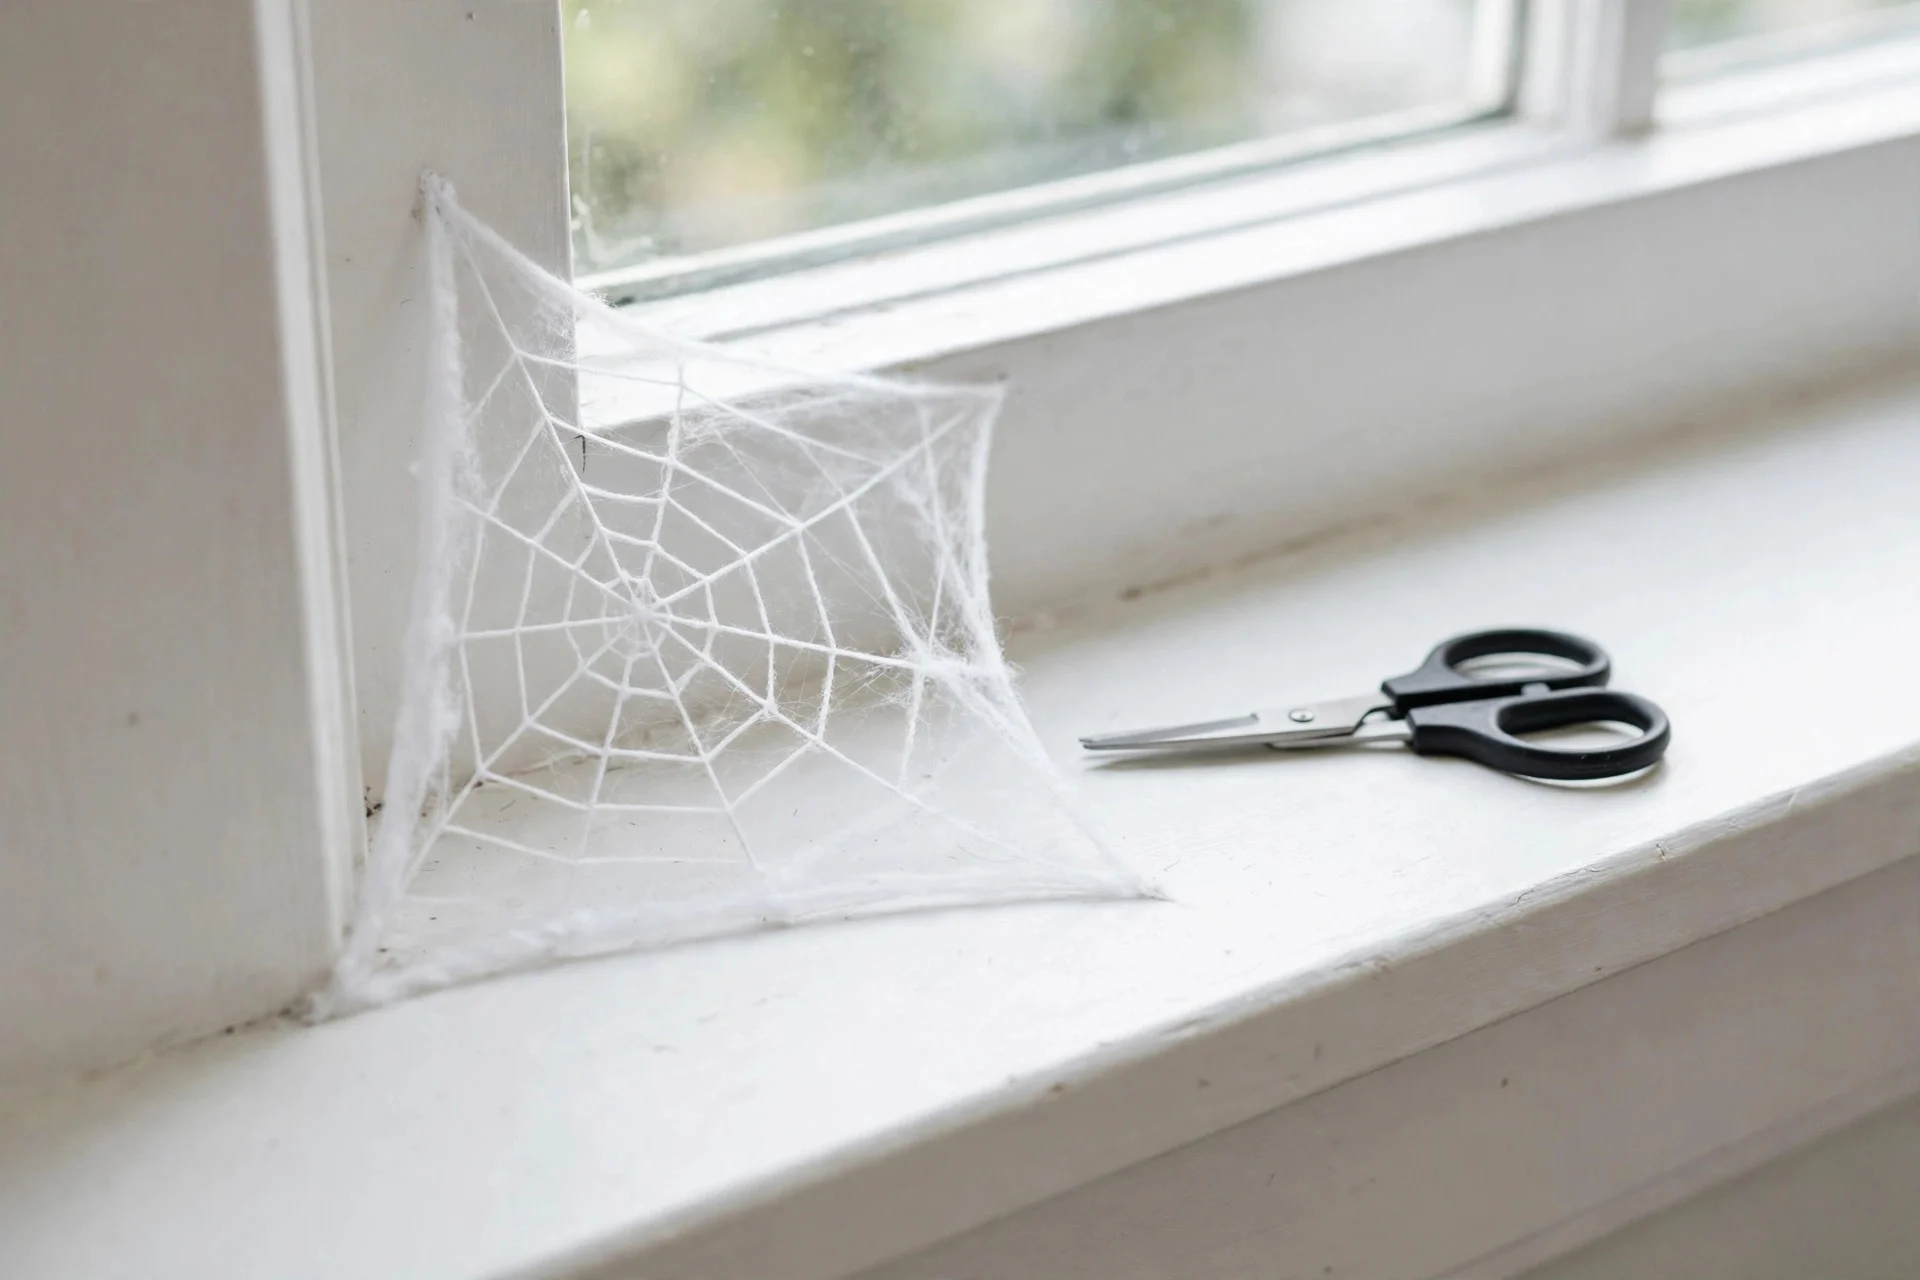
This is the step everyone skips, and it’s the difference between “intentional decor” and “forgot to dust.” Fake webbing leaves ragged edges and stray clumps wherever you tear it. Take thirty seconds with scissors to cut clean edges where the web meets a surface, and tuck the loose ends behind the anchor point so they don’t dangle. I also run my hand lightly over the finished web to knock off any thick patches I missed during stretching. Clean edges make the whole thing look deliberate, which is what separates tasteful Halloween from the cluttered look I wrote about in my Halloween decorating mistakes post.
How to do it: first, step back and look for dangling clumps and hard white edges. Second, snip the dangles and press the cut ends into the anchor point. Third, check it from the angle guests will actually see it from, the front door, the couch, not from the ladder you were standing on.
Cleanup bonus: webbing comes off cleanest if you remove it the week after Halloween rather than letting it sit through November weather. Roll it off in one piece instead of picking at it, and most of it lifts away together.
Quick Recap
If your webs have been reading as cotton balls, the fix is almost always the same: use half as much, stretch it twice as far, anchor it on something real, layer two thin sheets for depth, add exactly one spider, and trim the edges. Fifteen minutes of patience turns the cheapest Halloween decoration in the store into the one people actually photograph. Now go make your porch look haunted on purpose.