I used to walk past the Halloween aisle at the dollar store with my nose slightly in the air. The plastic pumpkins looked plastic. The skeletons looked like they’d melt in sunlight. Everything had that unmistakable sheen of “this cost a dollar and it shows.”
Then one October I had a party to decorate for, a budget of basically nothing, and no time to be precious about it. So I bought the cheap stuff — and discovered the secret nobody tells you: dollar store decor doesn’t look cheap because it’s cheap. It looks cheap because of how it’s used. Straight out of the bag, lined up in a row, under bright light? Dollar store. But with three specific treatments — paint, grouping, and candlelight — the same items start looking like they came from a boutique. I’ve been doing it for years now, and guests regularly ask where things are from. I tell them. They never believe me.
Twelve ideas below. None of them require craft skills. Most of them require a can of spray paint.
1. Spray-Paint the Plastic Pumpkins
The trick: Matte spray paint erases the “plastic” look instantly.
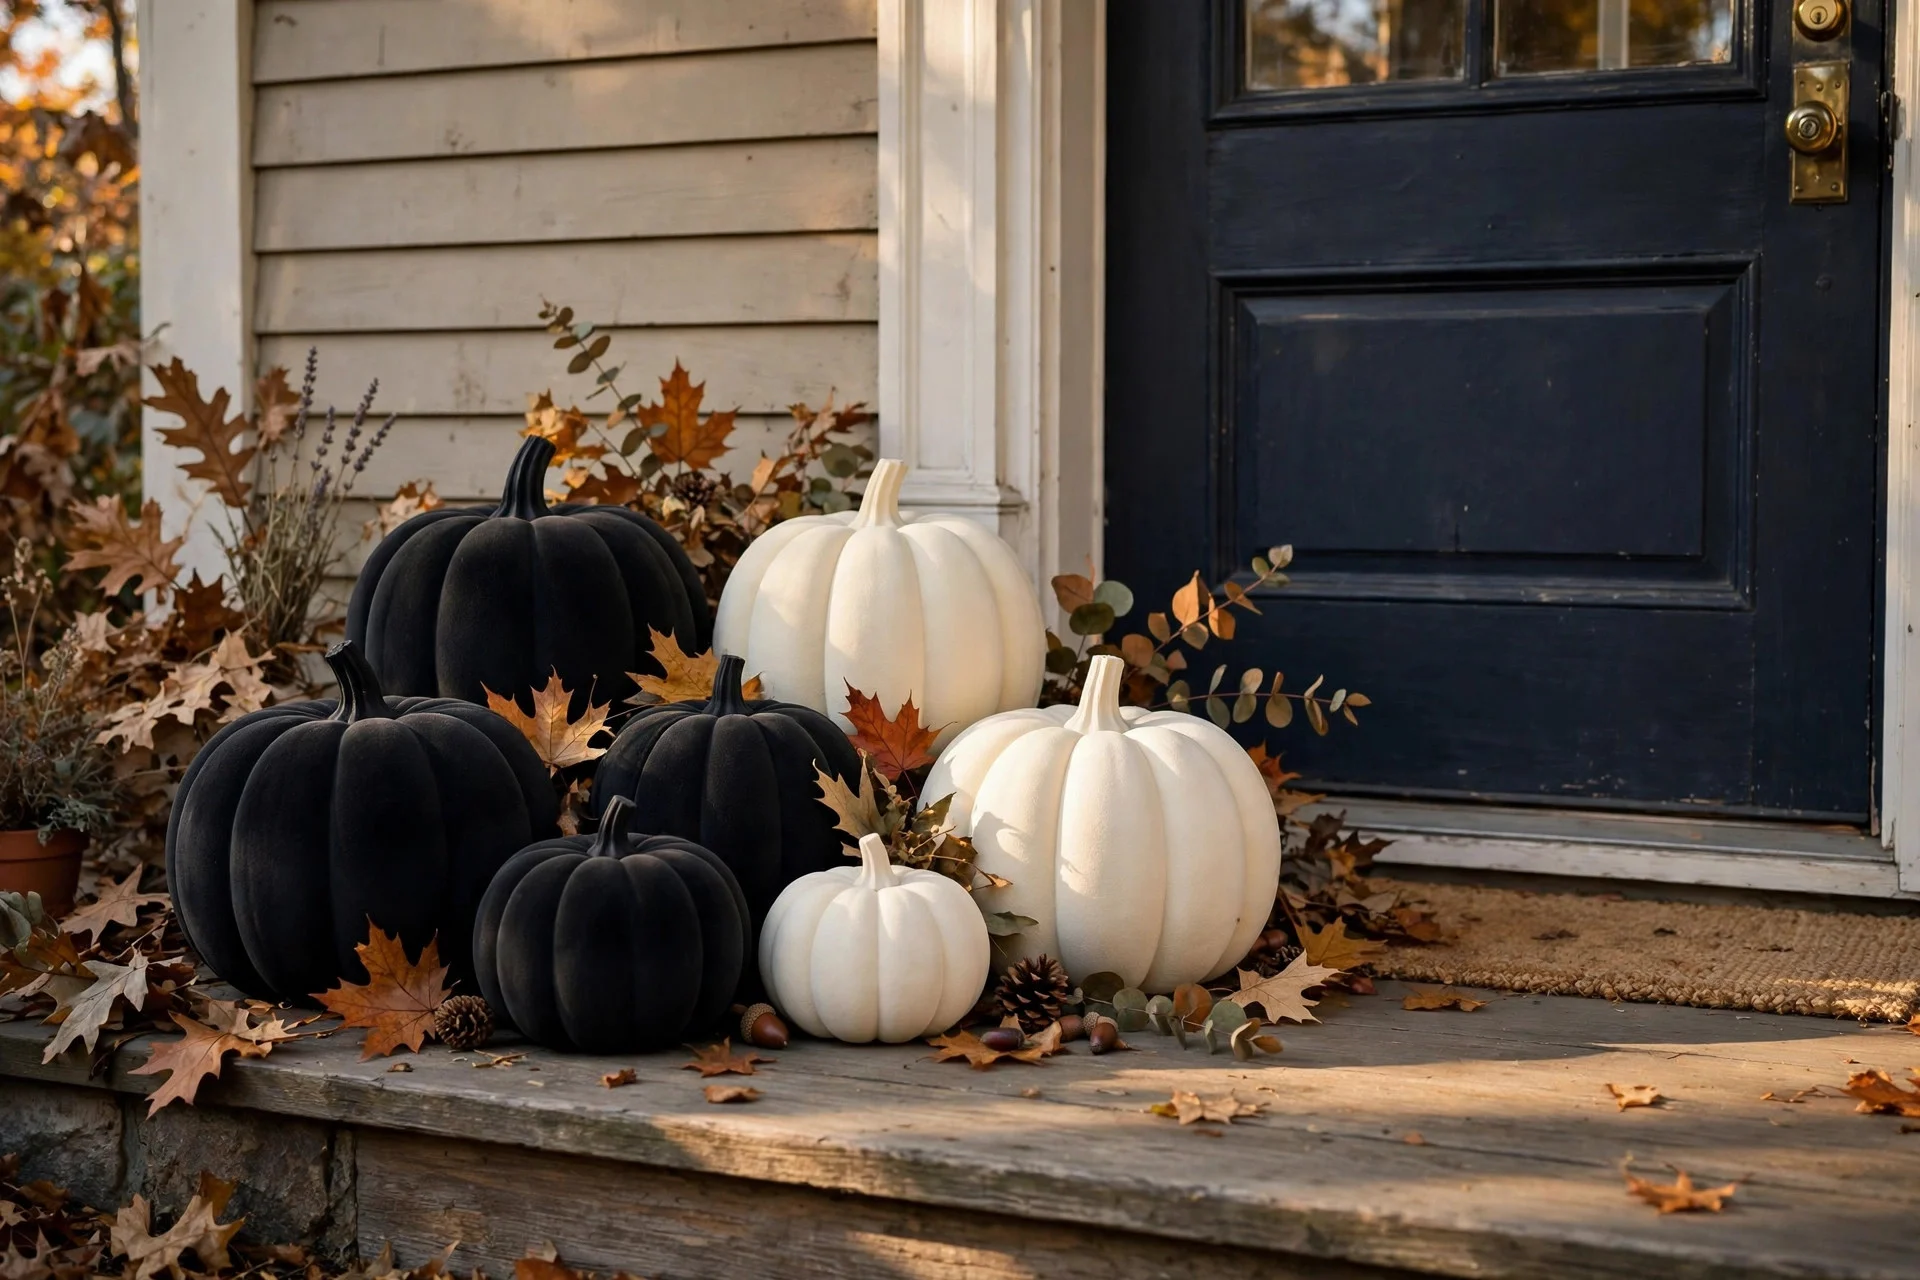
Those orange foam pumpkins are actually well-shaped — the problem is the glossy orange finish that screams mass-produced. A coat of matte black, cream, or warm white spray paint changes everything. The matte finish kills the plastic sheen and suddenly the shape is all you see. I do mine in batches on newspaper in the garage: one coat, flip, second coat. Twenty minutes of actual work.
The mistake I made the first year was buying the fancy “pumpkin paint” kits. Don’t. A $4 can of matte spray paint covers six pumpkins and looks better than any brush-on craft paint, which always shows strokes. Stick to matte or chalk-finish — glossy spray paint just gives you shiny pumpkins in a different color, which defeats the purpose.
2. The Apothecary Jar Trick
The trick: Plain glass jars + aged labels = instant spooky apothecary.
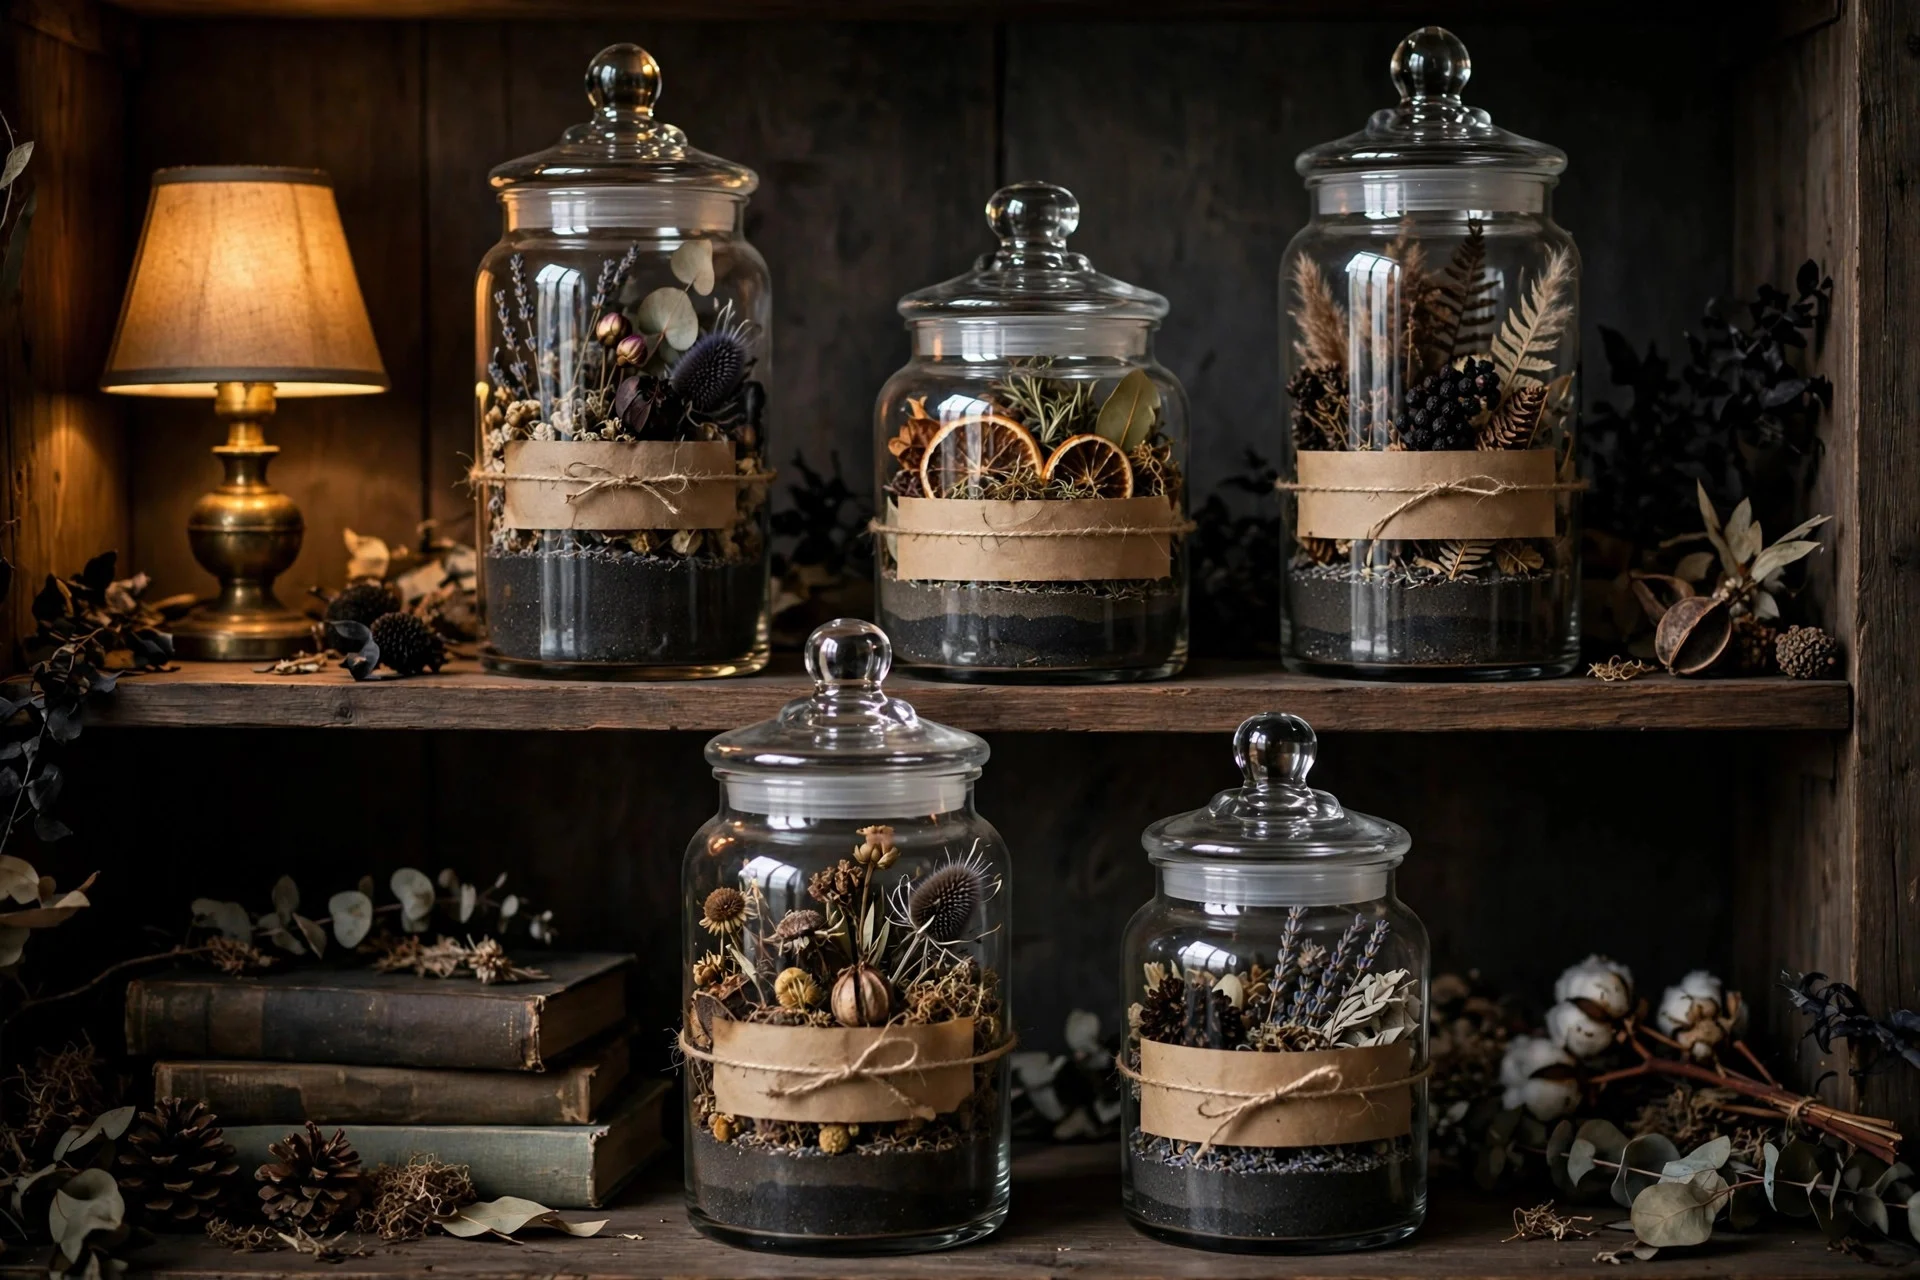
Dollar stores sell glass canisters and jars for a dollar that look remarkably like the apothecary bottles home stores sell for $15. The difference is entirely in the styling. Fill them with dried beans, black sand, fake moss, or even just water with a drop of food coloring. Then add a label — print “Wolfsbane,” “Bat Wings,” “Eye of Newt” on kraft paper, tea-stain it, and stick it on with a glue dot.
I keep a set of these on a bookshelf year-round (minus the labels, they’re just nice jars), and every October the labels come out. It takes ten minutes and it is the single most-commented-on thing in my living room every Halloween. People assume I bought them at some vintage shop. They cost me four dollars total.
3. Group the Skeletons in Odd Numbers
The trick: One plastic skeleton looks cheap. Three looks like a collection.
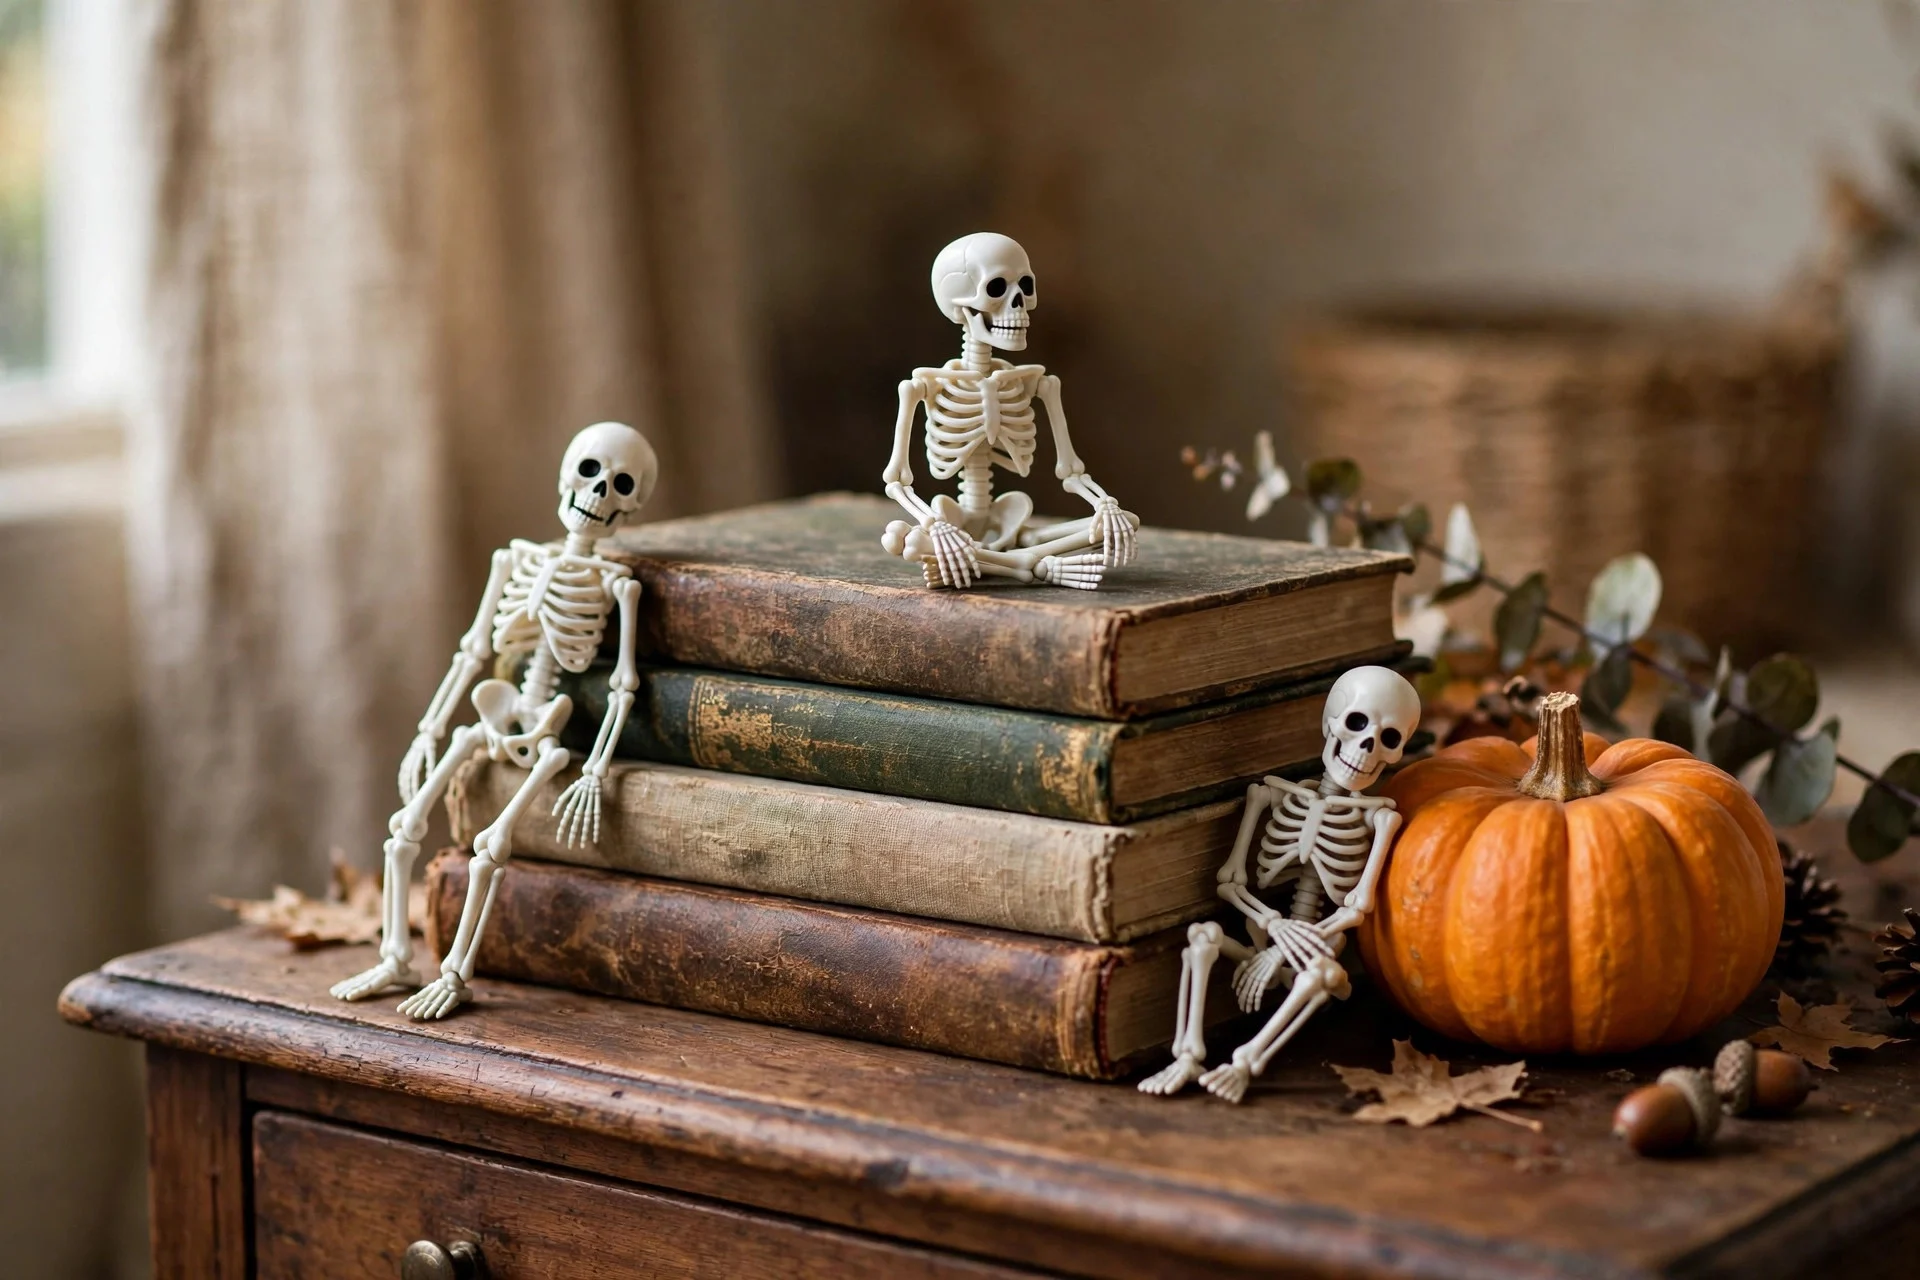
This is the rule-of-three at work, and it’s the fastest way to upgrade any small cheap item. A single two-dollar skeleton on a shelf looks like a two-dollar skeleton. But three of them — posed differently, one leaning on a stack of books, one hanging off a picture frame, one tucked into a plant — suddenly reads as a deliberate little scene. Odd numbers look curated; single items look accidental.
I learned this the year I bought five mini skeletons on clearance and scattered them around the house one per room. Every room looked slightly sad. The next year I put all five on the mantel together in a little vignette and people thought it was one of those expensive articulated skeleton sets. Same skeletons. Different math.
4. Drape Black Cheesecloth Everywhere
The trick: Gauzy fabric hides a multitude of sins — including cheap furniture.
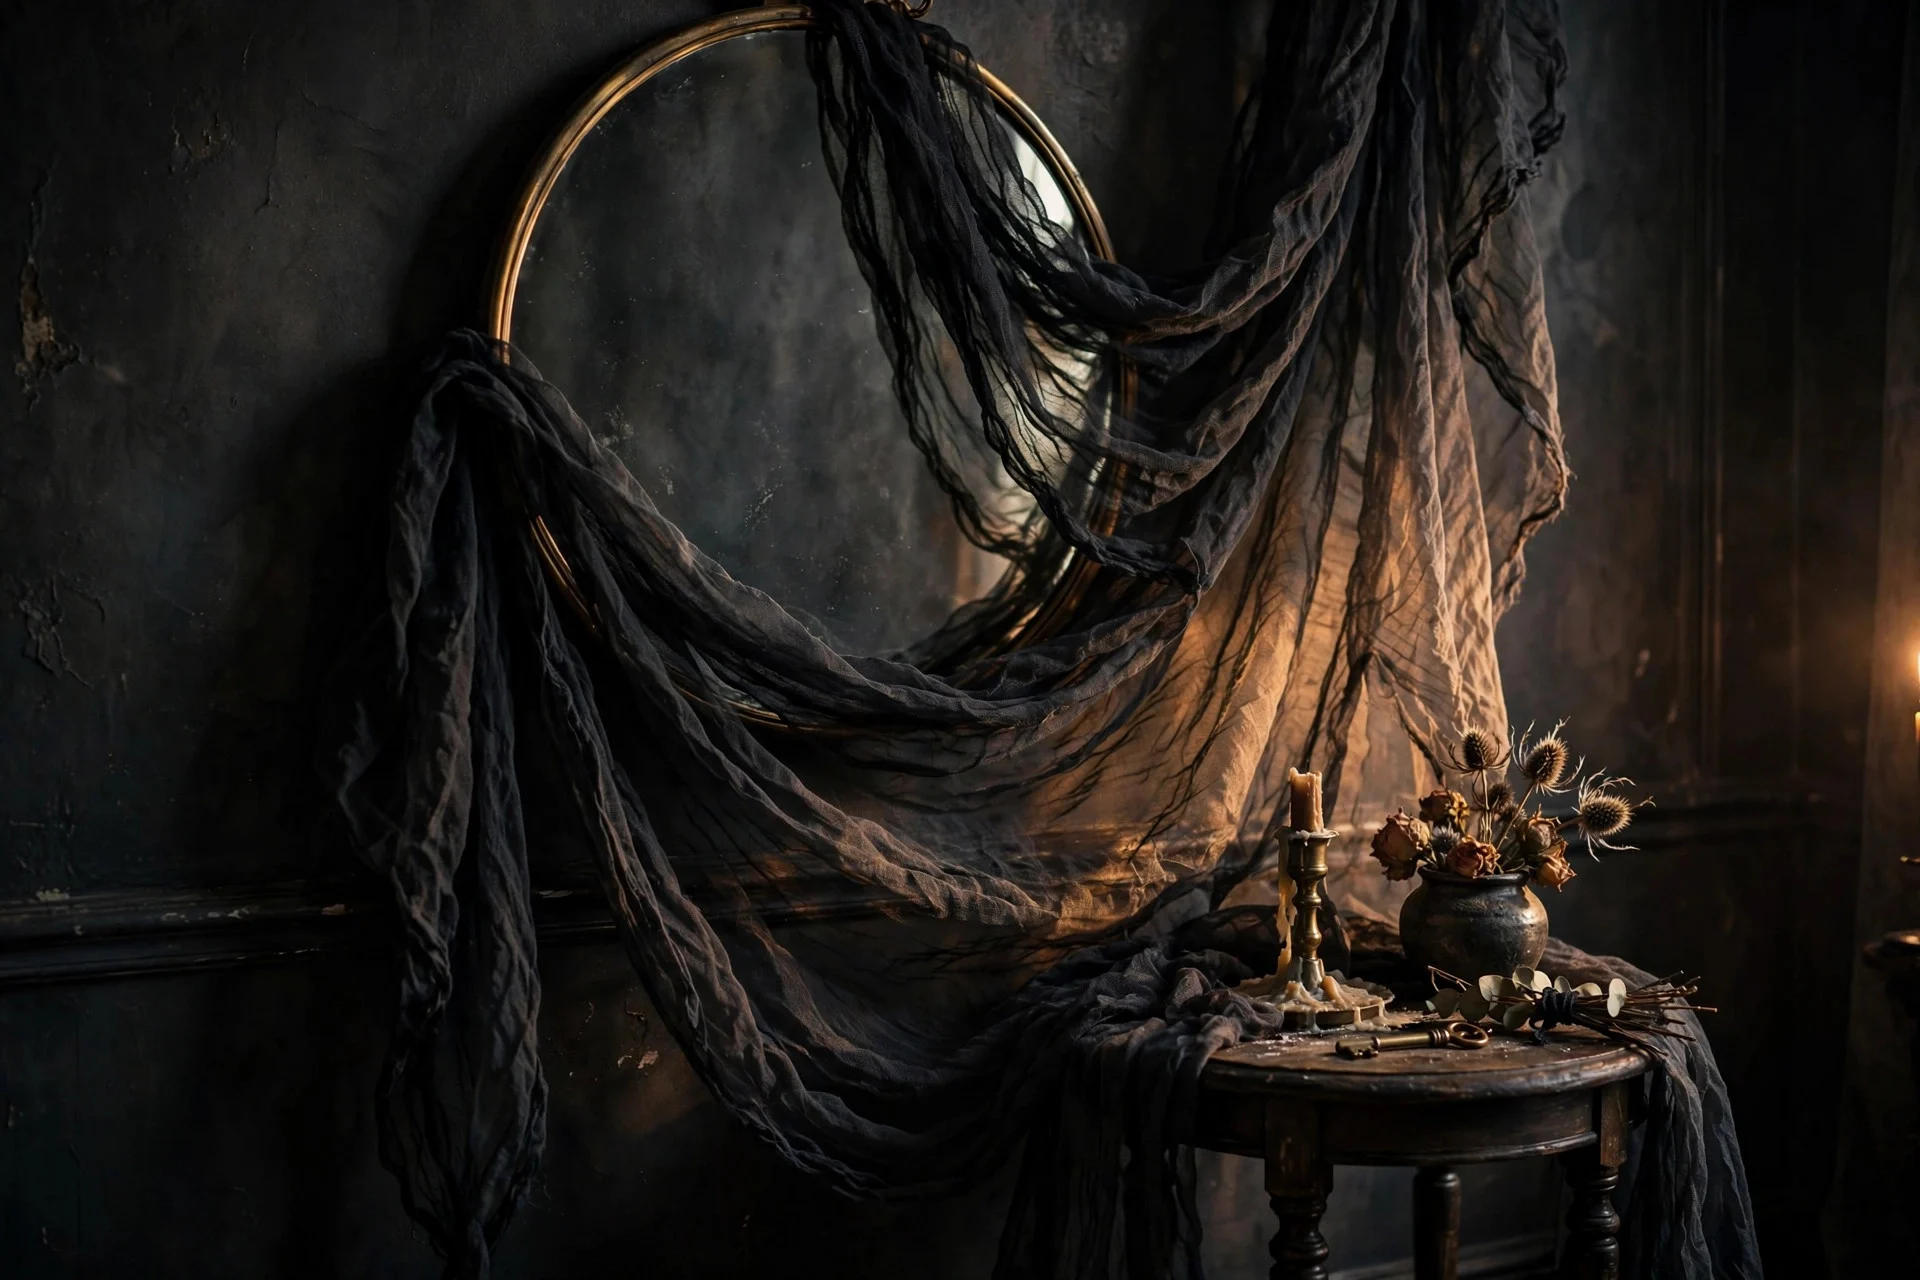
A few yards of black cheesecloth (about $1.25 a pack) draped loosely over a mirror, a side table, or a bookshelf instantly adds the moody, haunted texture that expensive Halloween decor is really selling. The trick is the drape: let it pool and wrinkle naturally. Don’t smooth it, don’t tuck it neatly. The messier the better — cheesecloth is supposed to look like cobwebs and decay.
Fair warning from experience: it sheds. Put it down last, after everything else is arranged, and don’t put it anywhere the cat sleeps. But visually? Nothing at the dollar store gives you more atmosphere per dollar. I drape it over my existing fall decor and the whole room shifts from “autumn” to “haunted autumn” in about ninety seconds.
5. Candles at Three Heights
The trick: Candlelight is the great equalizer — everything looks expensive in flickering light.
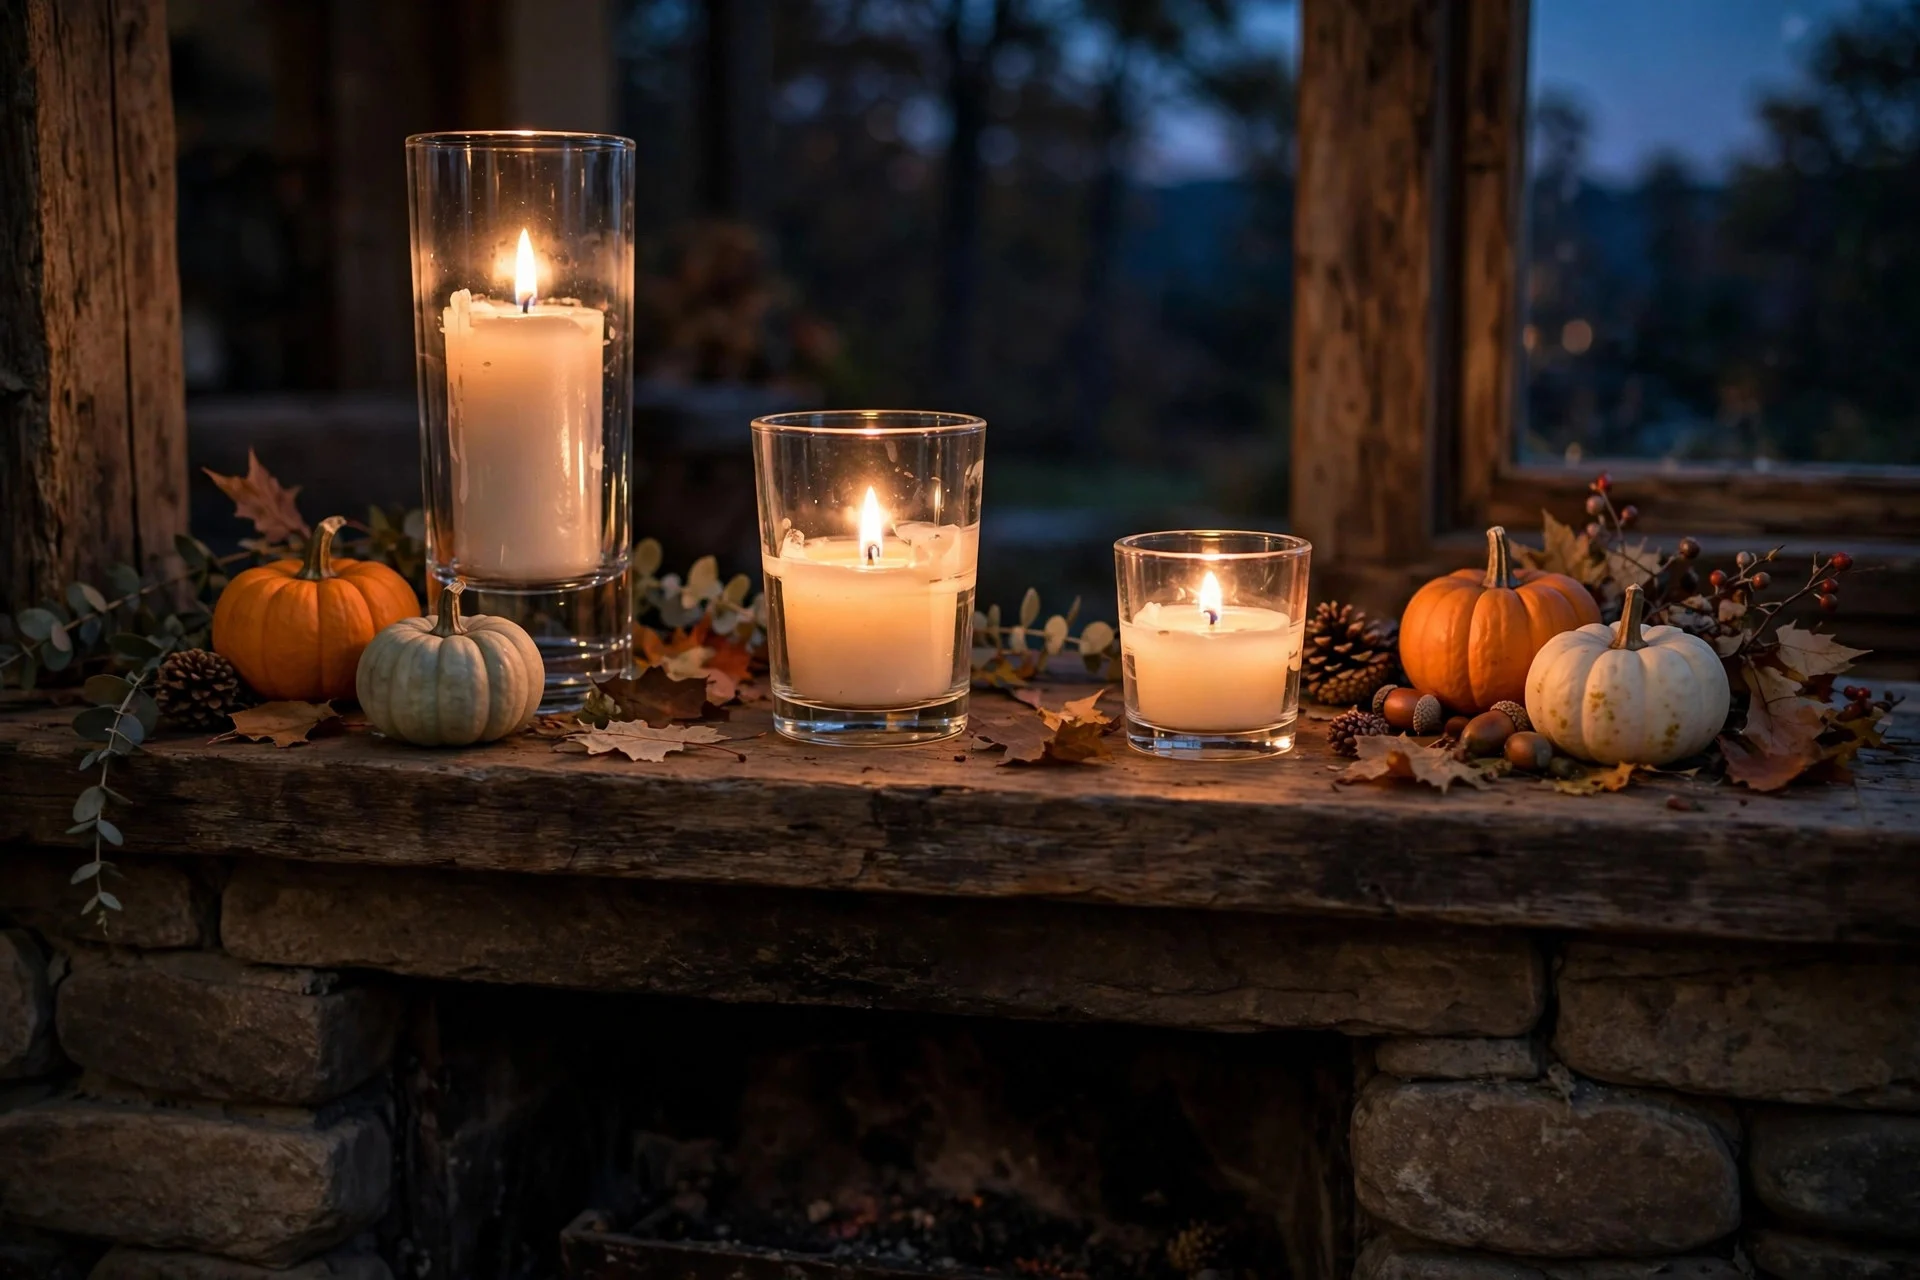
Dollar store candles in glass holders are genuinely good candles; wax is wax. What makes them look cheap is lining up six identical short ones in a row. Instead: buy three sizes, or put identical ones on stacks of books to fake the heights. Low, medium, tall. At dusk, with the overhead lights off, nobody on earth can tell those candles cost a dollar. The flicker does all the styling for you.
This is my whole philosophy in one idea, honestly — it’s the same principle behind my Halloween mantel formulas, where the candlelight layer does more work than any decoration. Real flame beats LED here if you can do it safely. A dozen tea lights from the dollar store cost less than one “statement candle” and look better.
6. Spray-Paint the Faux Florals
The trick: Cheap fall stems become moody Halloween stems with dark paint.
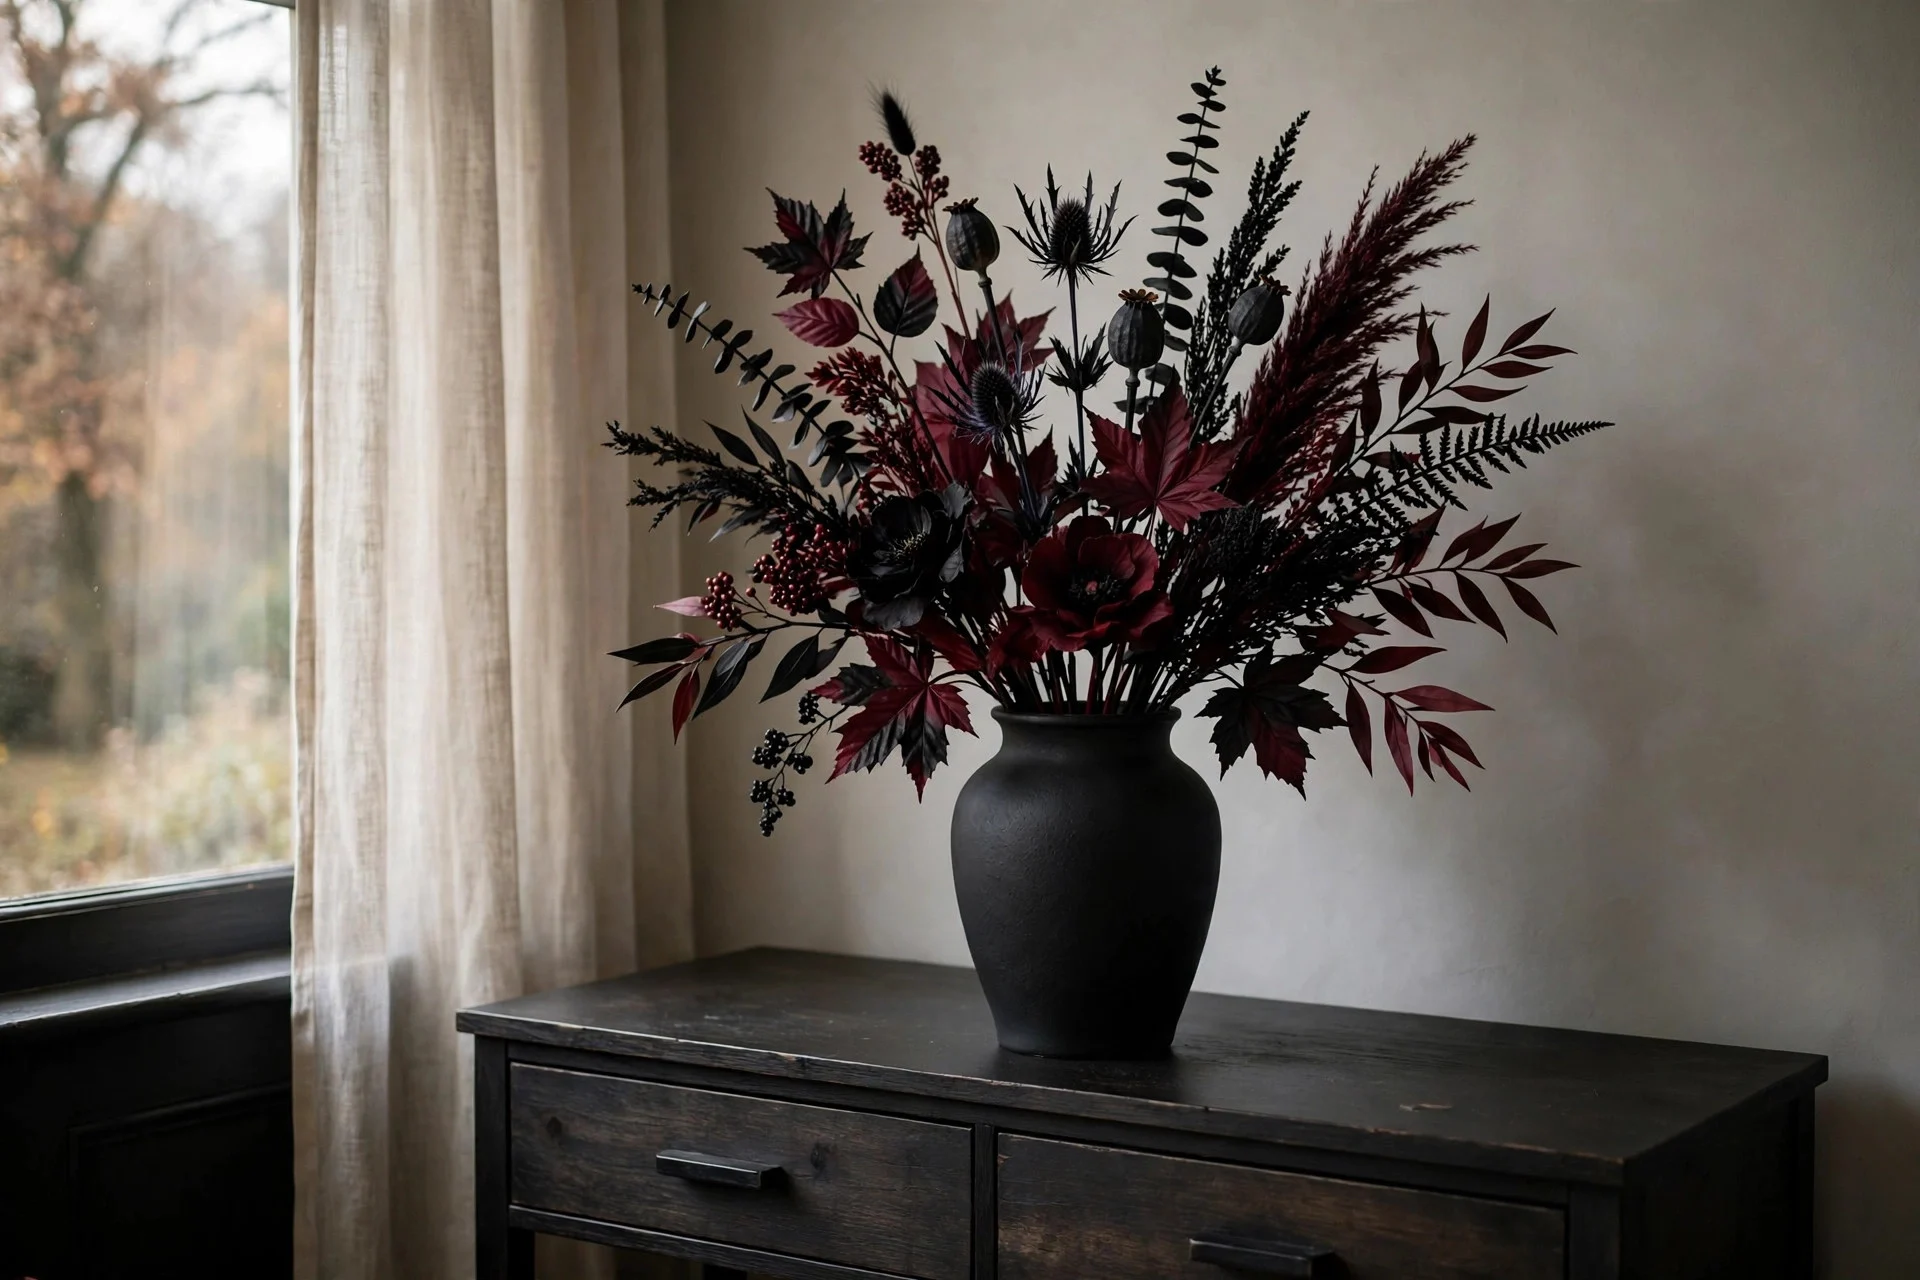
Dollar store faux florals in autumn colors look fine for fall, but for Halloween you want them darker and stranger. Spray-paint a bunch of stems deep burgundy, black, or dark plum — suddenly they’re gothic instead of craft-store. Stick them in a dollar store vase (also spray-painted, probably matte black) and you have an arrangement that looks like it came from a florist with a dark streak.
I do this with the previous year’s fall stems, so it costs me nothing but the paint. One tip: paint them outside and let them dry fully before bringing them in — the paint smell lingers on faux petals longer than you’d expect. And go darker than you think you should. Timid gray-purple reads as dusty; committed near-black reads as intentional.
7. Upgrade a Plain Wreath
The trick: A $1 wreath form + good ribbon = a $40 wreath.
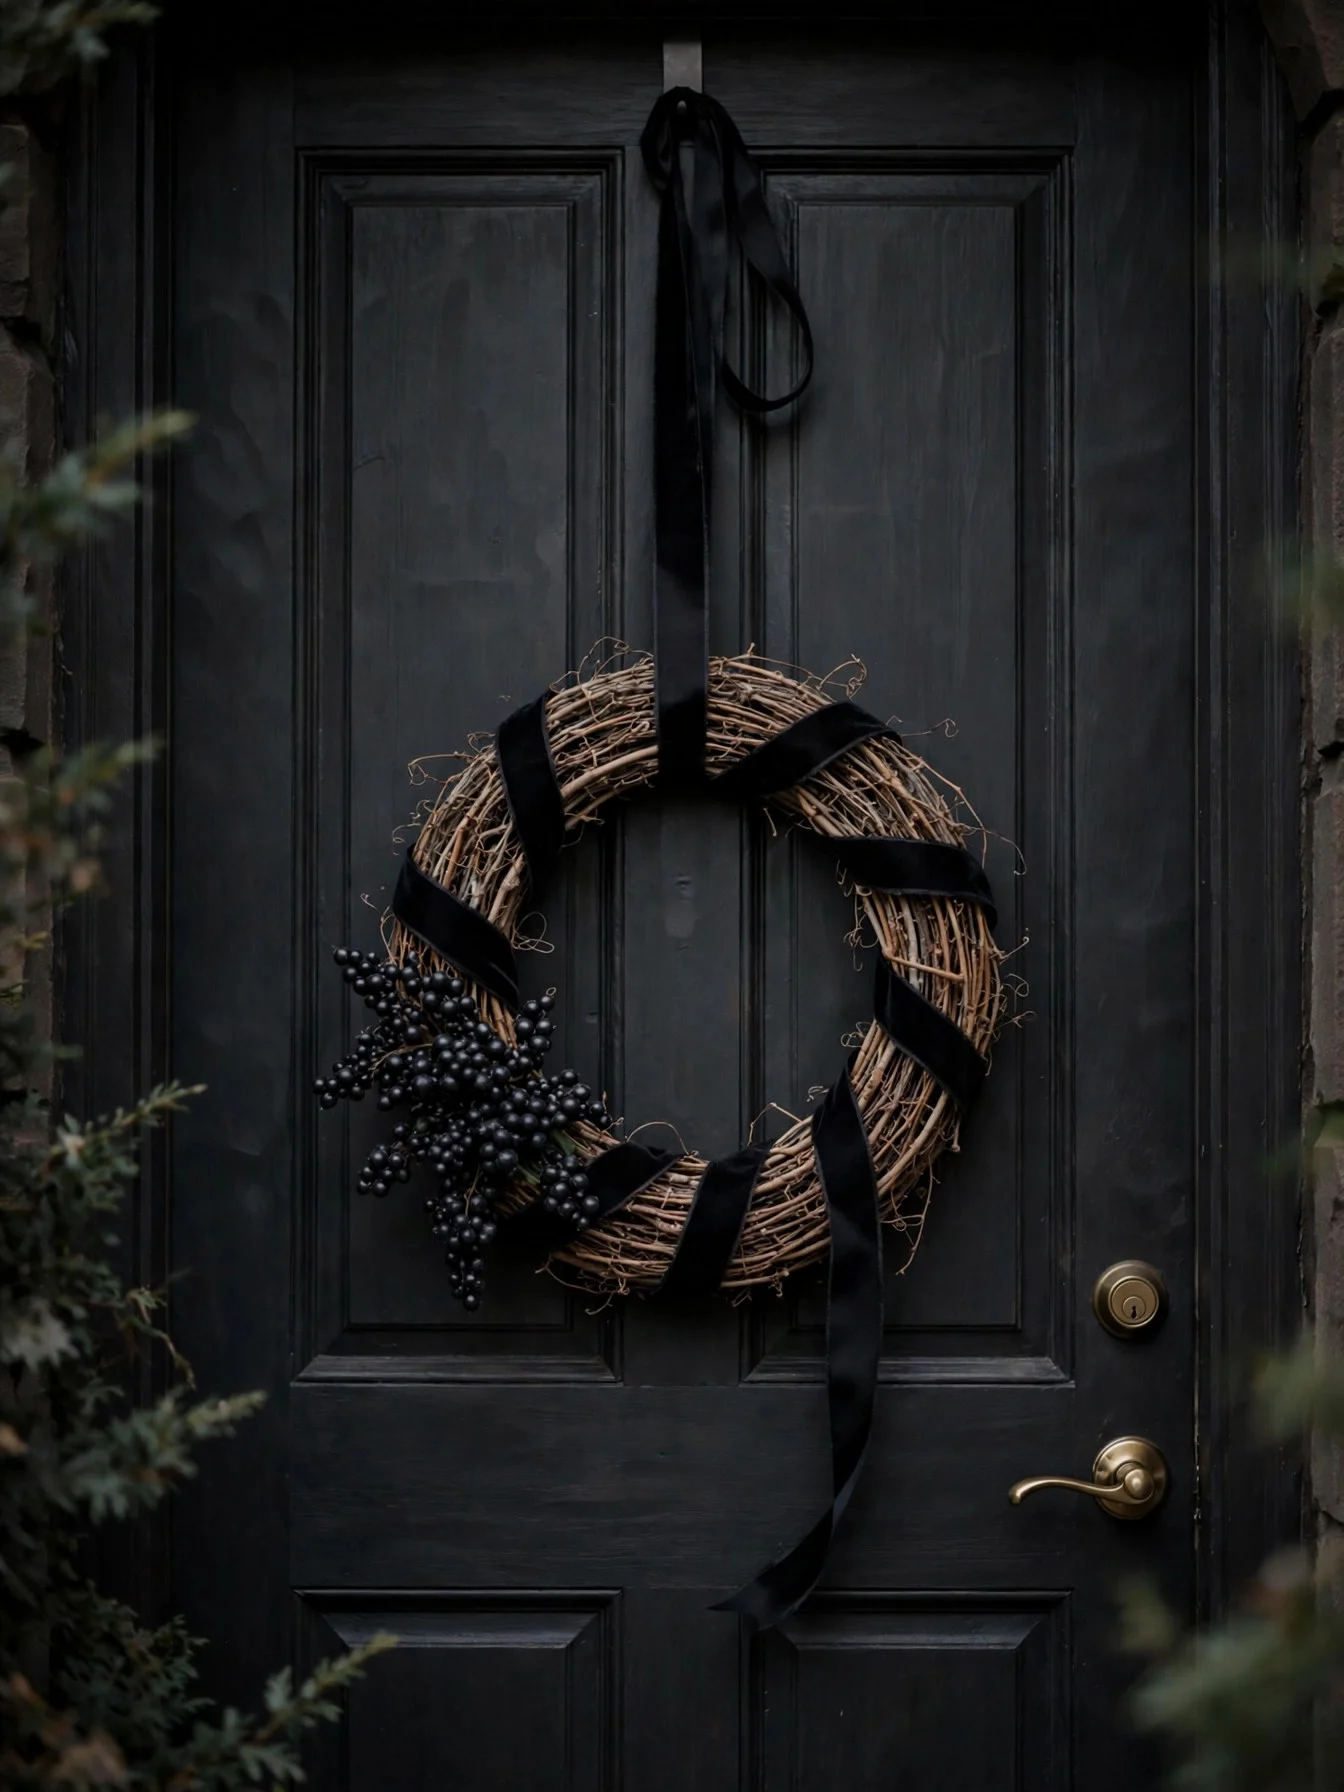
The plain grapevine and foam wreath forms at the dollar store are structurally identical to the ones at craft stores — a circle is a circle. What makes a wreath look expensive is the ribbon and the restraint. Wrap the form in wide black or deep-orange ribbon, add a cluster of black faux berries or small painted pumpkins on one side only (asymmetric, lower-left quadrant), and hang it with a long ribbon loop instead of a metal hook.
The mistake is covering the whole wreath evenly with stuff. That’s what makes wreaths look craft-fair. One dense cluster on an otherwise simple wreath looks designed. I hang mine on the front door every year and it gets more compliments than anything else outside — and it’s the same treatment I use for last-minute porch styling, where one strong piece beats ten small ones.
8. Layer a Black Gauze Runner
The trick: One layer of dark gauze over your normal table makes it Halloween.
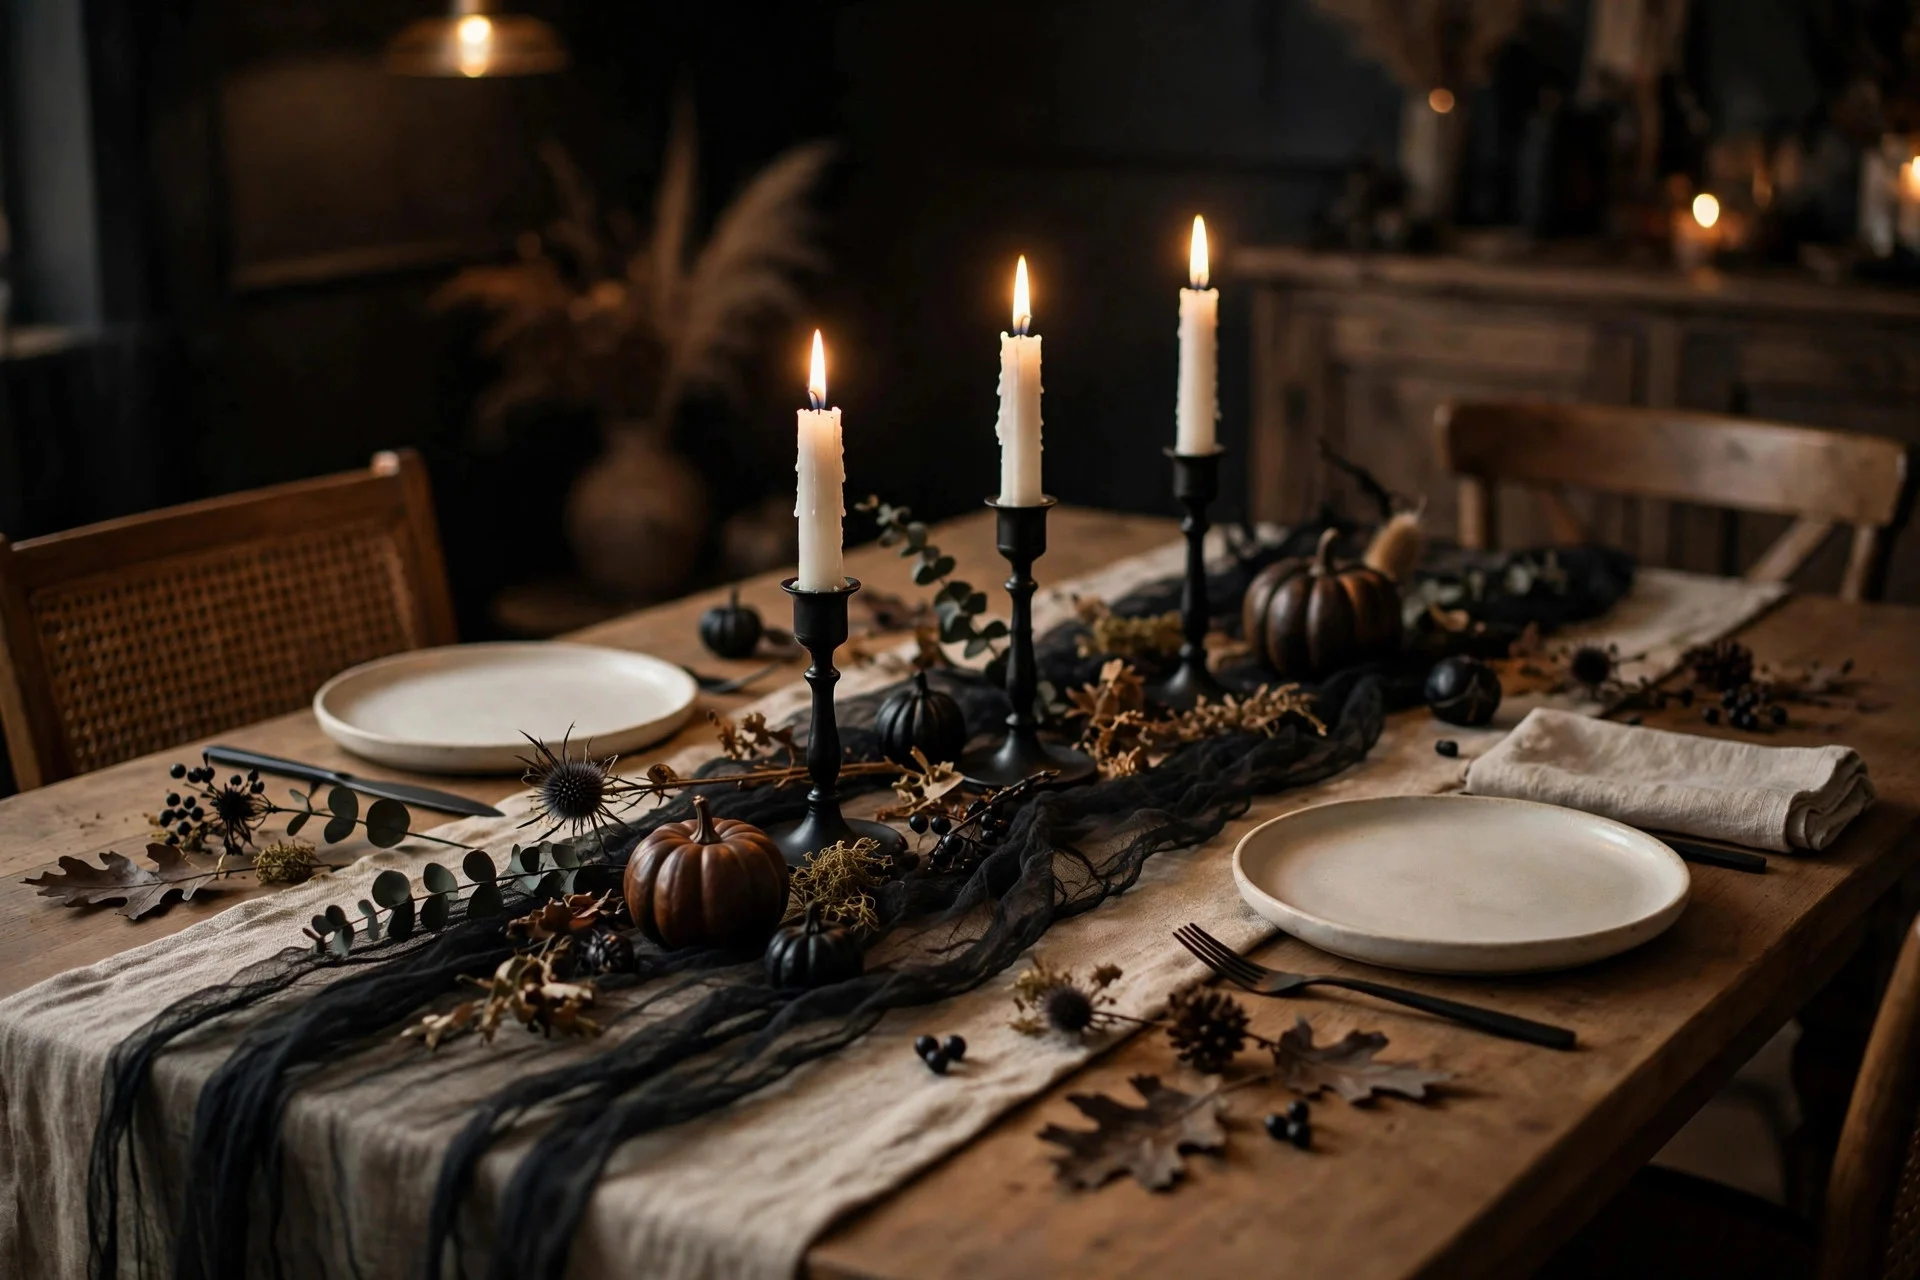
You don’t need a Halloween tablecloth — you need a Halloween layer. A length of black gauze or cheesecloth laid down the center of your existing table runner (or bare wood table) instantly sets the scene, and underneath, your nice dishes and normal candlesticks do the rest. Add three dollar store candlesticks — spray-painted matte black, obviously — and the table looks styled rather than decorated.
This is the lowest-effort idea on the list and the one I use when people are coming over in an hour. The gauze wrinkles are the point; don’t iron it, don’t straighten it. Let it fall off the table ends unevenly. It takes two minutes and it photographs beautifully, which is half of what Halloween decorating is for anyway.
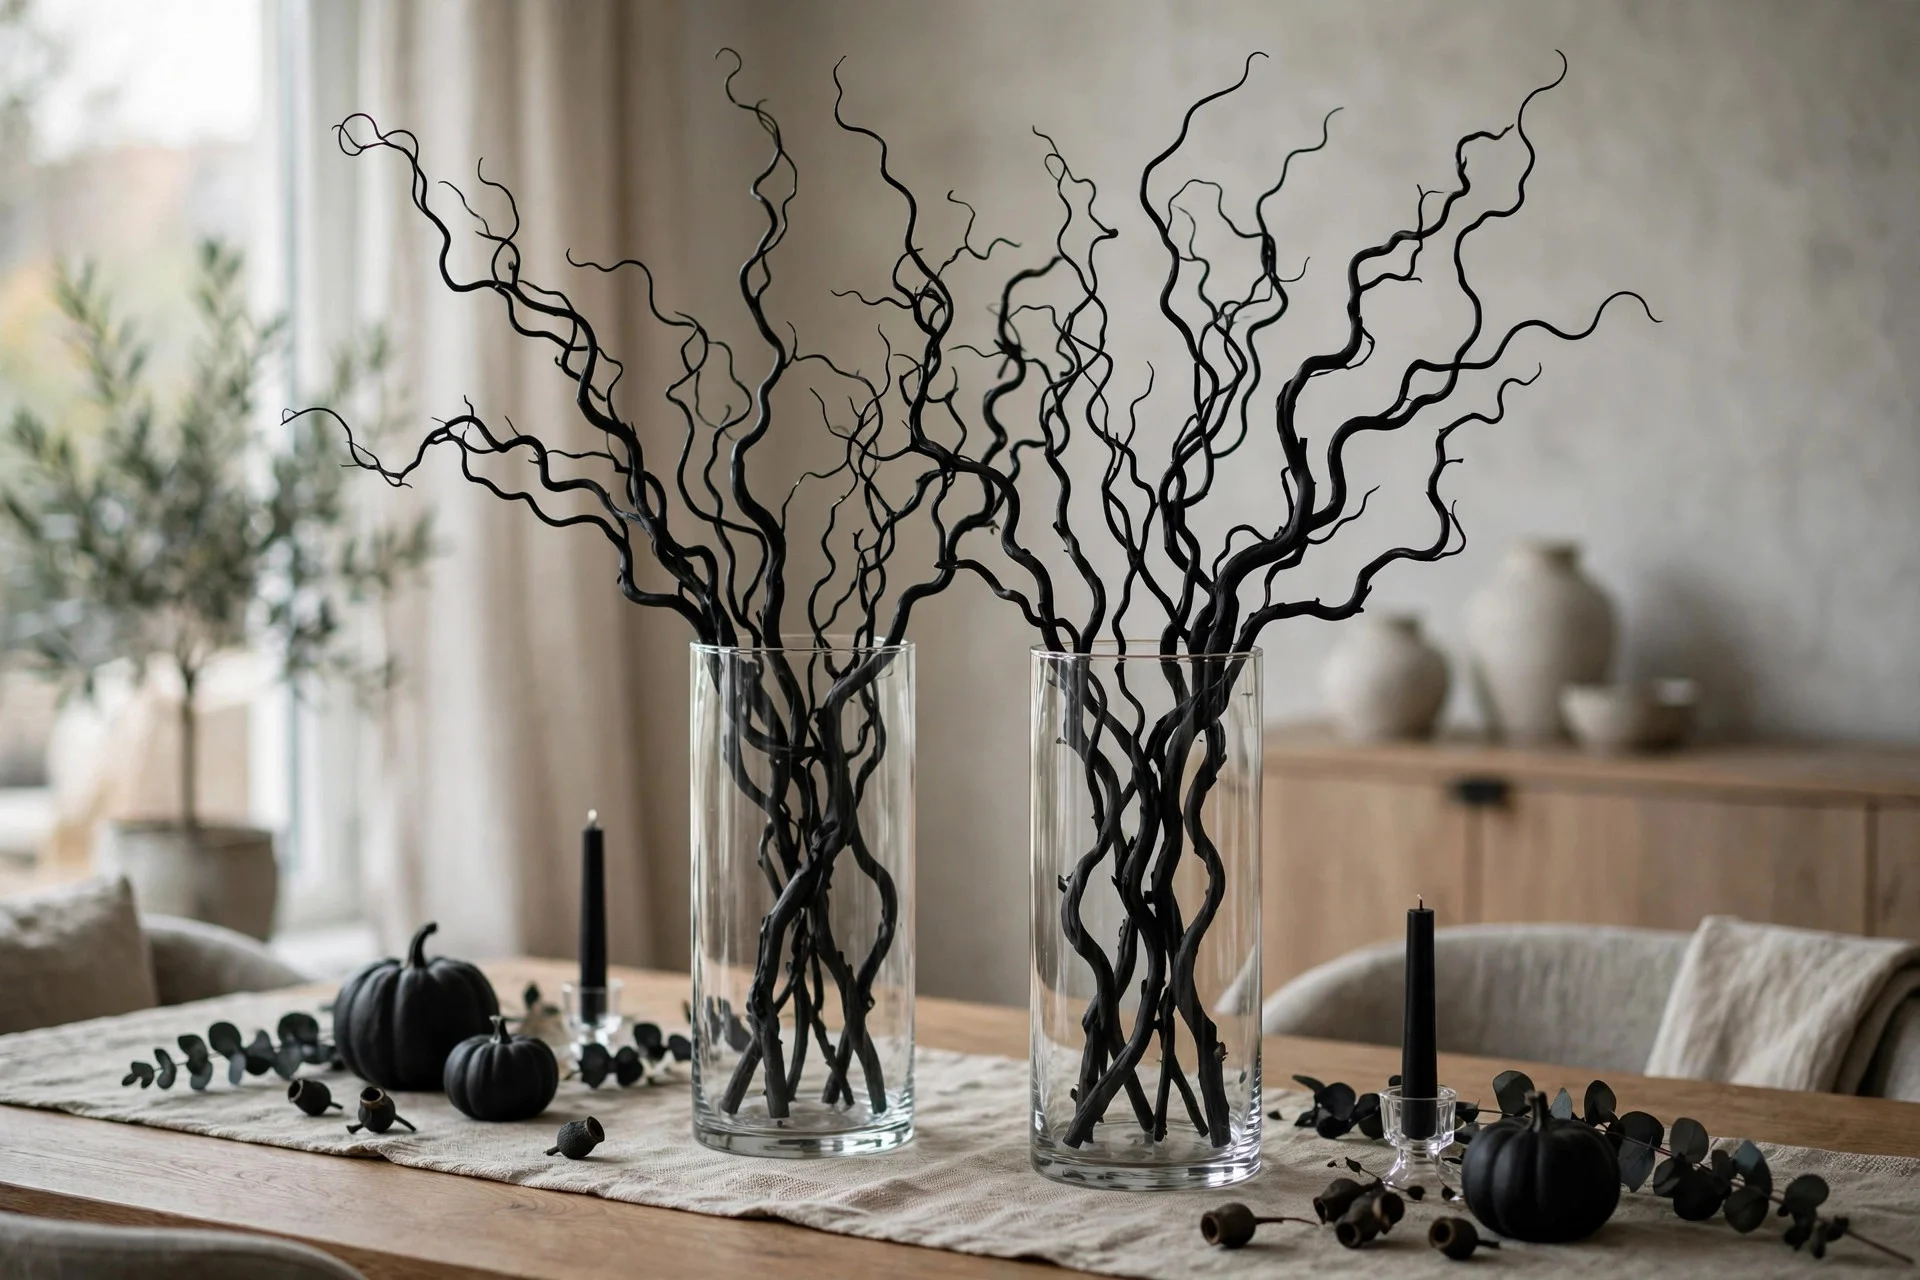
9. Spray-Painted Branches in Tall Vases
The trick: Free branches + black paint + tall vases = dramatic centerpiece.
Go outside and cut some interesting bare branches — the more twisted the better. Spray them matte black, stick them in the tallest vases the dollar store sells, and you have a centerpiece with genuine drama. Hang a few paper bats from the branches if you want, or leave them bare for a stark, sculptural look. Either way it reads as intentional design, not budget decor.
I’ve had the same branches for four years now — they live in the garage eleven months a year and come out every October. Total investment: zero dollars for branches, one can of paint shared with the pumpkins, two vases. It’s the best return on investment of anything I own, Halloween or otherwise.
10. Window Silhouettes
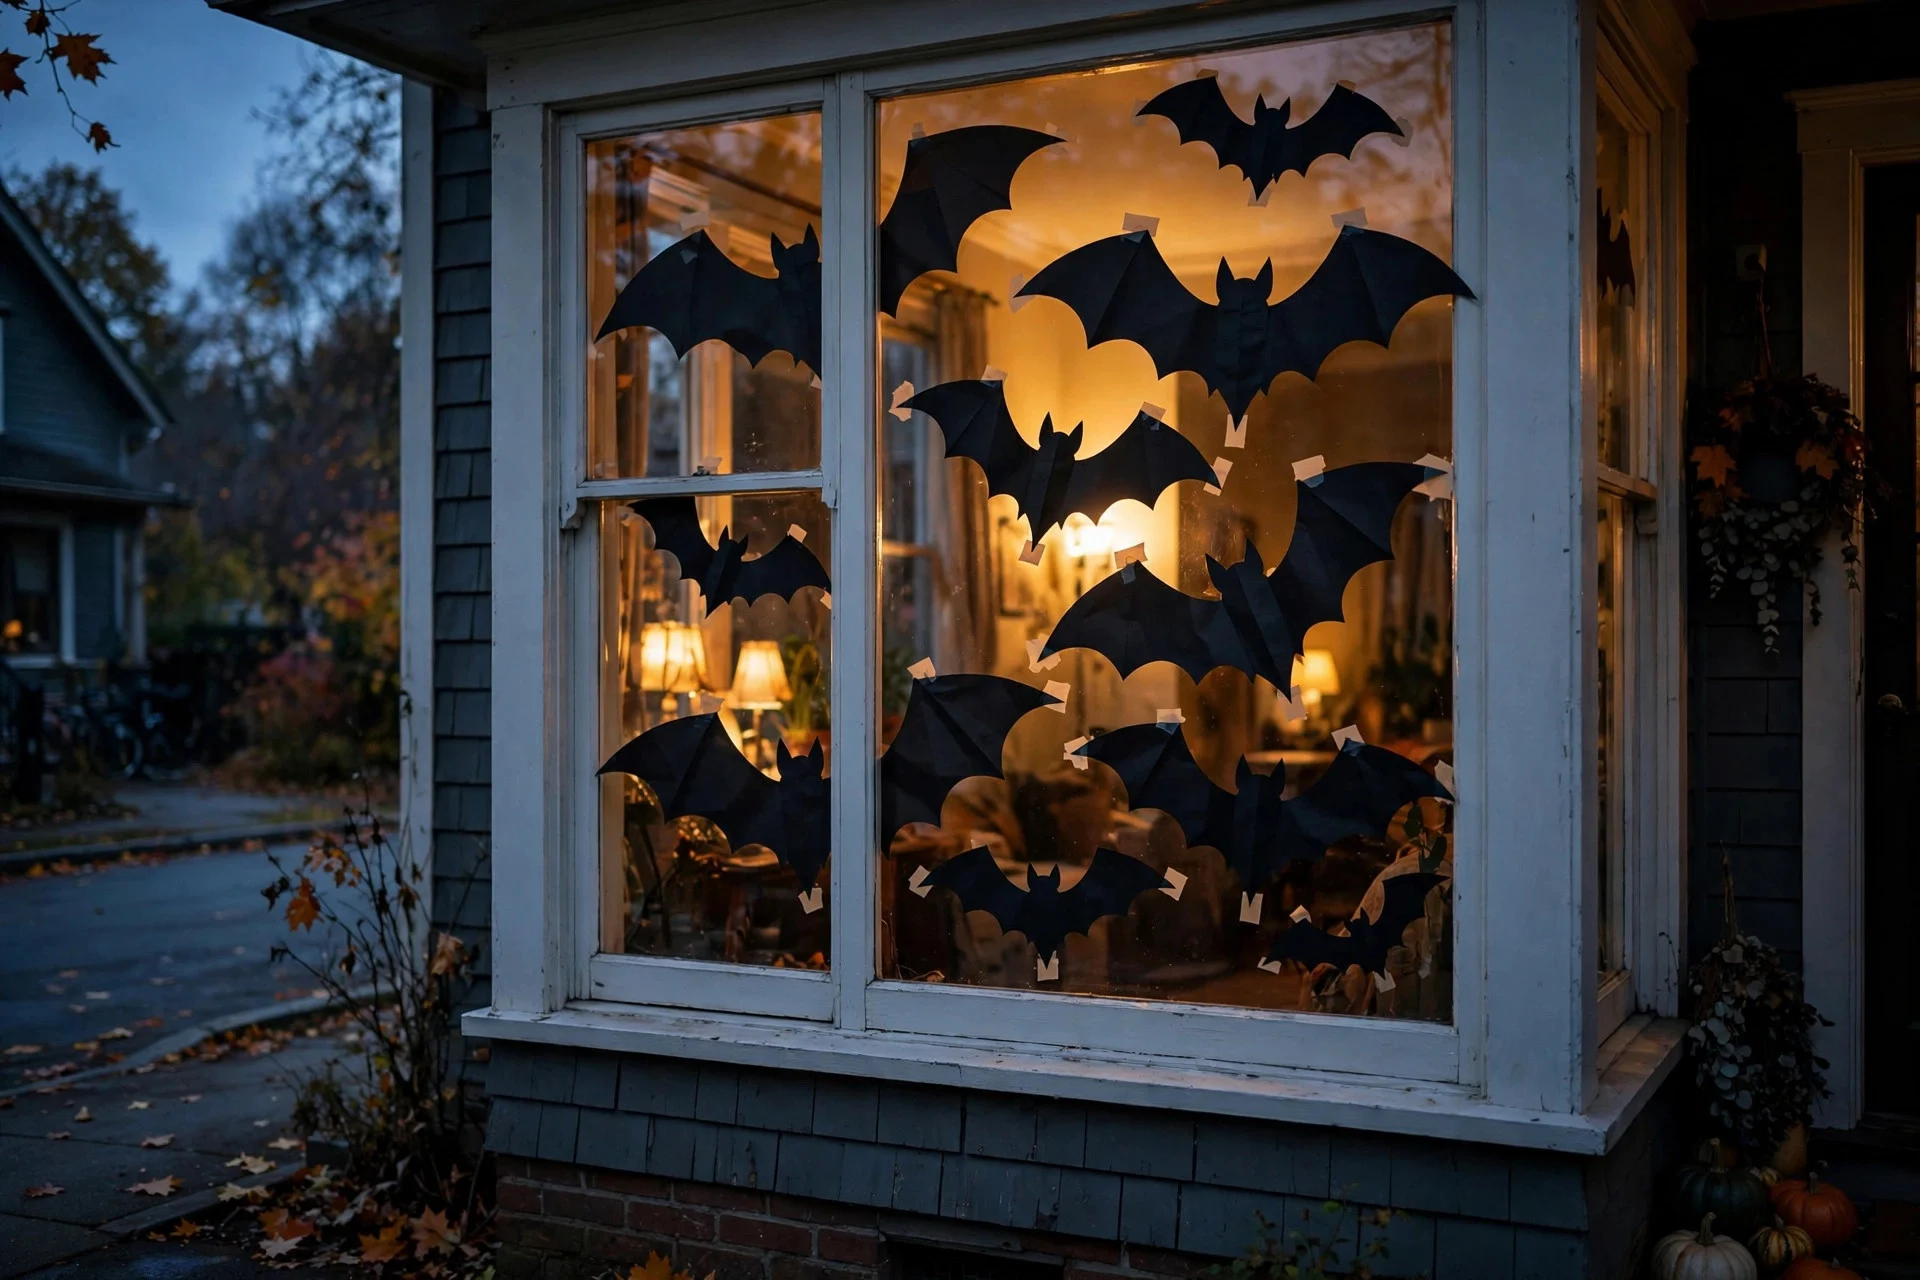
The trick: Black paper shapes on windows look incredible from outside at dusk.
Cut bats, cats, or a witch silhouette from black poster board (dollar store, naturally) and tape them inside your front windows. From the street at dusk, with your indoor lights on behind them, they read as crisp black shapes glowing against warm light — genuinely striking, and it costs about fifty cents per window. This is the one that makes neighbors slow down.
Cut them bigger than you think — timid little bats disappear from the sidewalk. You want shapes that read from twenty feet away. And use painter’s tape, not regular tape, unless you enjoy scraping adhesive off glass in November. Ask me how I know.
11. The Painted Pumpkin Stack
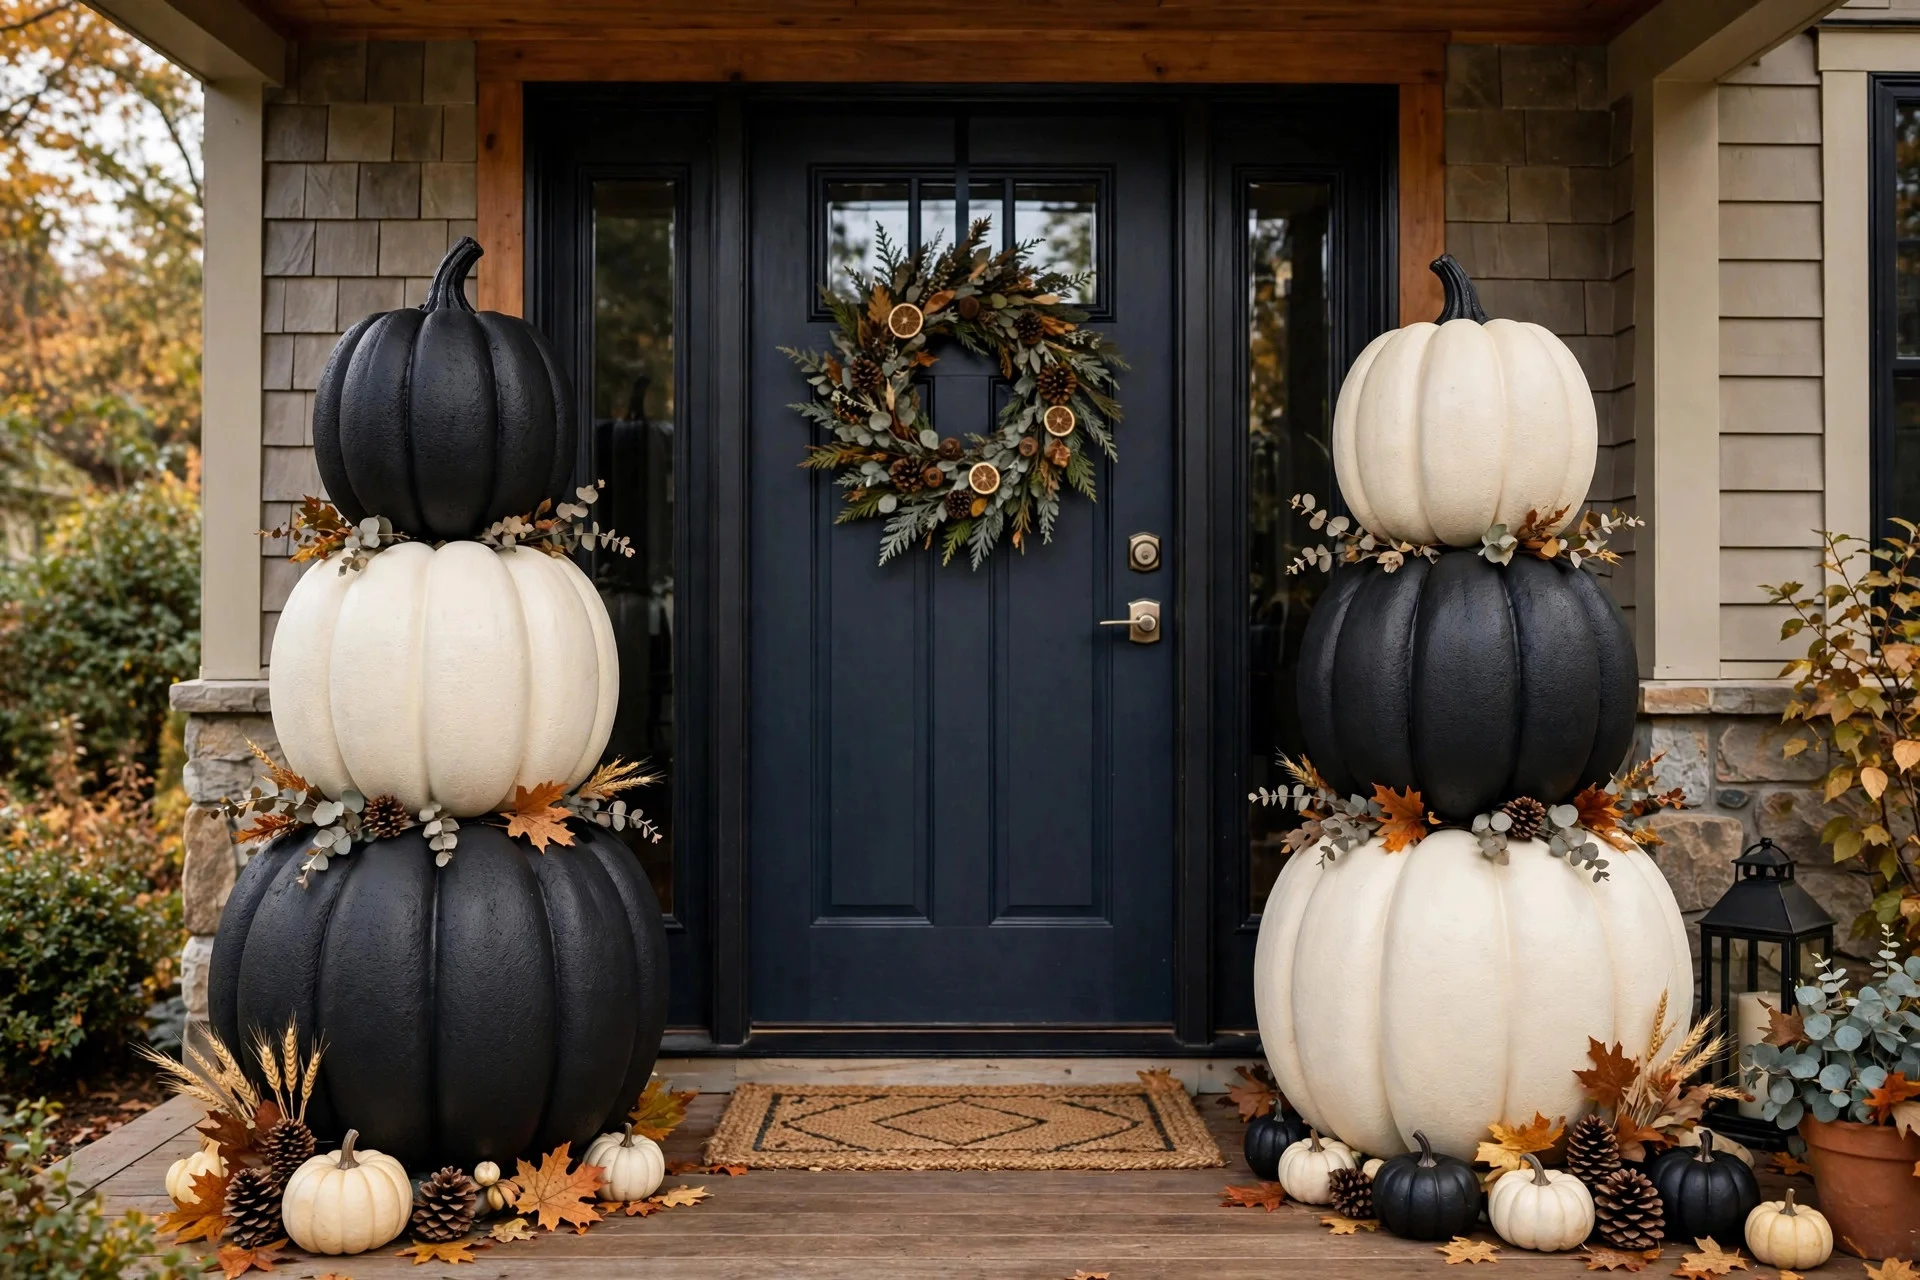
The trick: Stacked foam pumpkins, painted to match, make a proper entryway moment.
Those stackable foam pumpkins the dollar stores sell every year — buy three in graduated sizes, spray them all the same matte color (cream and black is my go-to), stack them by the front door, and suddenly you have a topiary. The matching paint job is what sells it: three pumpkins in the same finish look like a set, while three in different finishes look like leftovers.
I flank my front door with two of these stacks every October, and they’re the first thing people see. Total cost per stack: about four dollars. They’ve survived three Halloweens so far because foam doesn’t rot and matte paint doesn’t chip the way the original glossy finish did. Store them in a bag in the garage and they’ll outlive us all.
12. One Spooky Corner in the Guest Bathroom
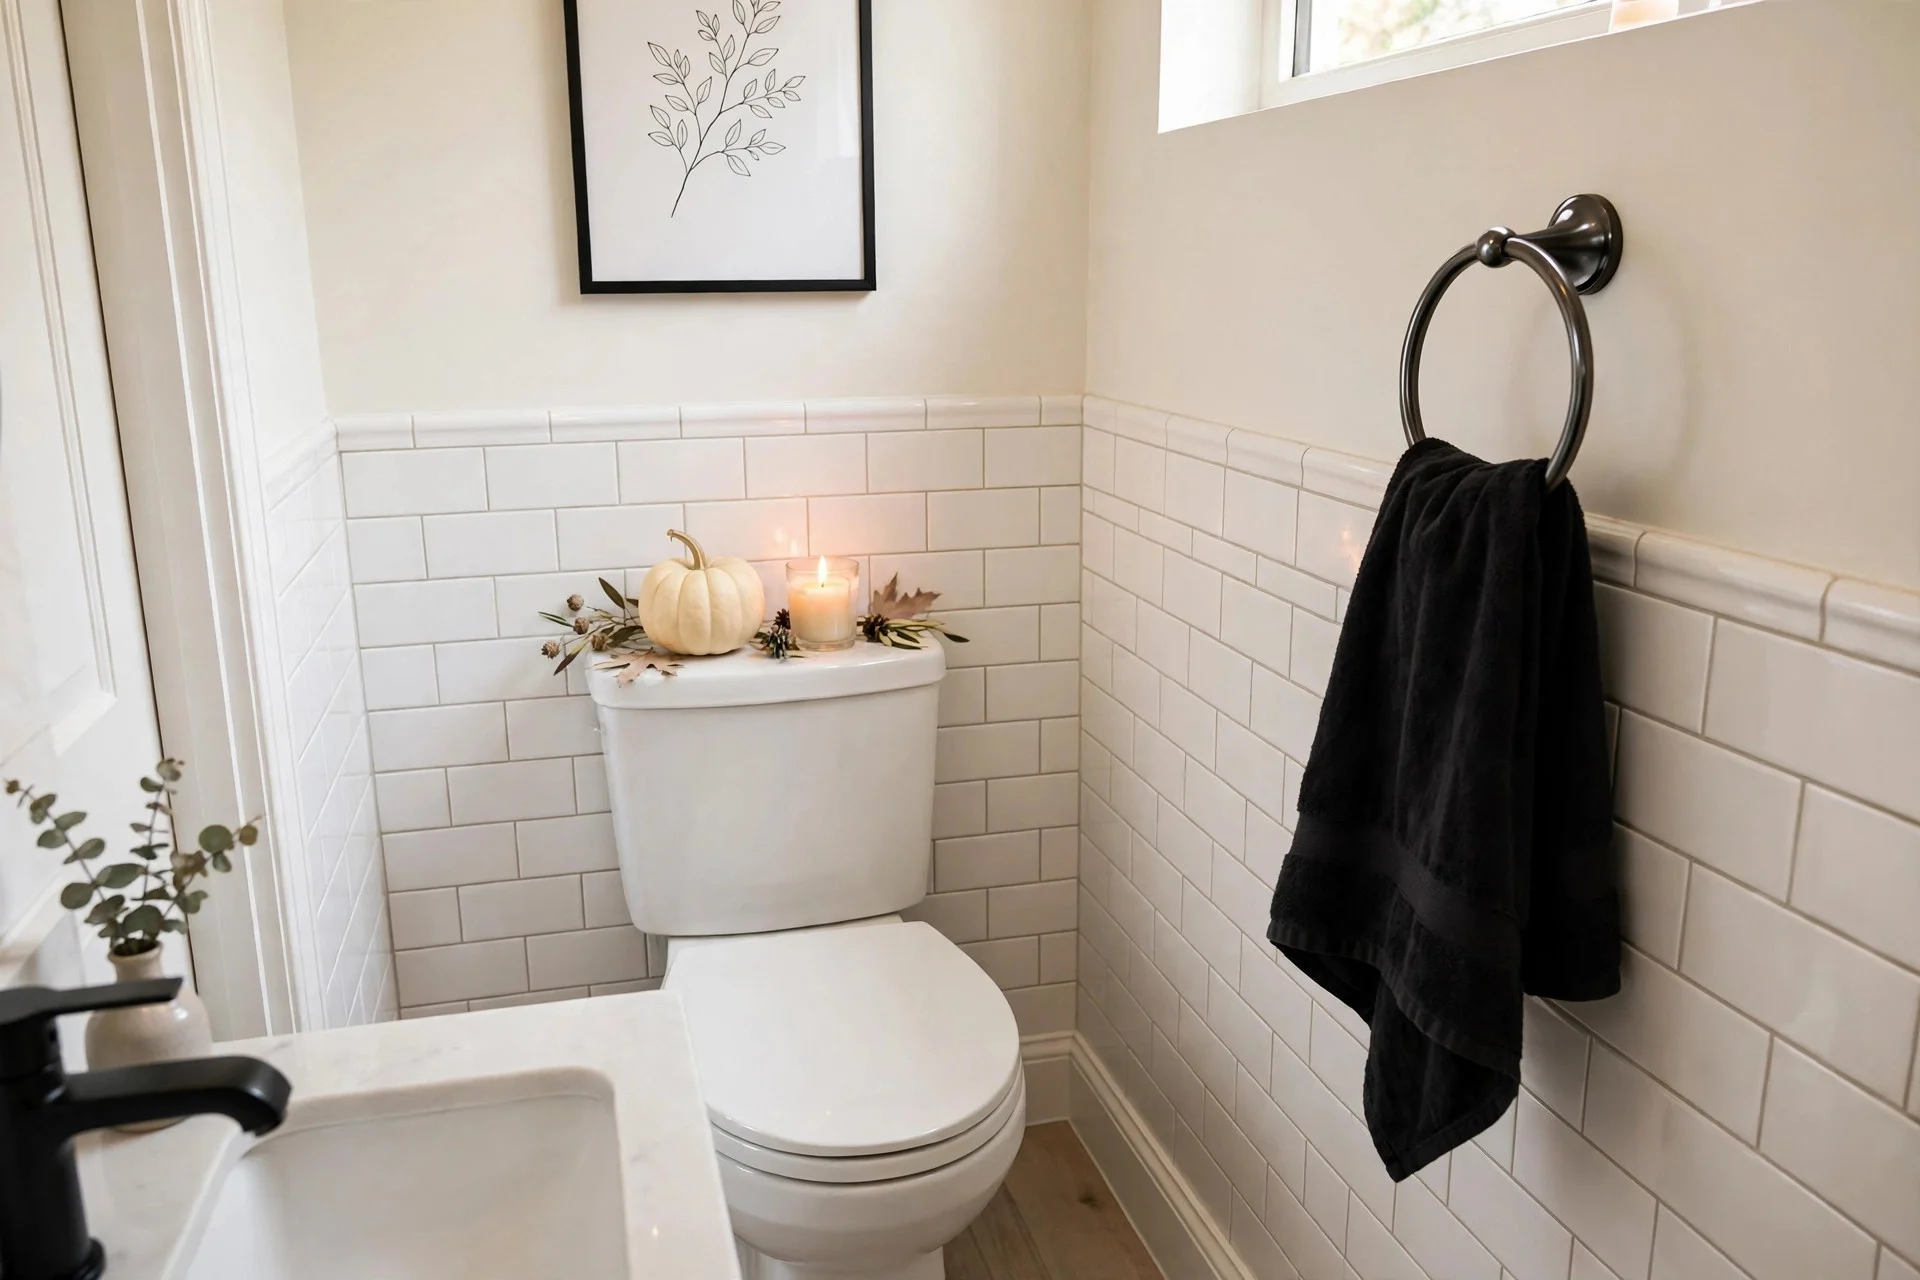
The trick: A single styled corner beats whole-room Halloween every time.
Here’s the thing nobody tells you about dollar store Halloween decor: a little goes a long way, and too much goes straight to haunted-craft-store. The most sophisticated move is restraint. In the guest bathroom, swap in a black hand towel, set a small painted pumpkin on the back of the toilet, and add one candle. That’s it. Three items, one corner, and every guest notices it because it’s the only Halloween thing in the room.
This is really the principle behind all twelve ideas — and behind my whole approach to decorating for Halloween without it looking tacky. Cheap decor looks cheap when there’s too much of it competing for attention. Give each piece room to breathe, keep the palette tight (black + one other color), and let candlelight do the heavy lifting. The dollar store isn’t the problem. Clutter is.
Dollar Store Halloween FAQ
How do you make dollar store Halloween decorations look expensive?
Three treatments do 90% of the work: matte spray paint (kills the plastic sheen), grouping in odd numbers (reads as curated, not accidental), and candlelight (the great equalizer). Keep your palette tight — black plus one accent color — and give each piece breathing room instead of crowding everything together.
What spray paint works best on plastic Halloween decor?
Matte or chalk-finish spray paint, applied in two light coats. Avoid glossy finishes — they just give you shiny plastic in a new color. Clean the item first, paint outdoors, and let it cure fully before bringing it inside. One $4 can covers roughly six foam pumpkins.
Is it safe to put candles near dollar store decorations?
Keep real flames away from cheesecloth, paper silhouettes, and faux florals — all of it is flammable. Use LED candles inside arrangements and near fabric, and save real flame for glass holders on clear, stable surfaces. Never leave any of it burning unattended, dollar store or otherwise.
The real lesson of the dollar store aisle is that taste is mostly editing. A tight palette, a can of matte paint, odd-numbered groupings, and the discipline to stop before it gets cluttered — that’s the whole formula, and it works whether you spent four dollars or four hundred.
If you want the philosophy behind the restraint, my guide on decorating for Halloween without looking tacky is where it all started. For the monochrome version of budget decorating, the black and white Halloween guide pairs perfectly with spray-painted everything. And once the inside’s done, the last-minute porch ideas will get the outside matching — the pumpkin stacks from idea #11 were made for it.