For years my mantel was where Halloween decorations went to look sad. I’d line up everything I owned in a neat little row — pumpkin, candle, ghost, pumpkin, candle — like a police lineup of seasonal tchotchkes. Guests would glance at it and glance away. It wasn’t ugly. It was just… nothing. A shelf with stuff on it.
The problem wasn’t my taste or my budget. It was that I had no formula. I was arranging objects; I needed to be composing a scene. The year that changed was the year I stopped asking “what should I put on the mantel?” and started asking “what’s the structure?” — one anchor, something draping, something glowing, something at a different height. Once I had formulas, the same decorations I’d always owned suddenly looked like I’d hired someone.
Nine formulas below. They’re not nine shopping lists — most of them use things you already have. They’re nine ways to answer the question, depending on your mantel, your stuff, and how much effort you feel like giving.
1. The Anchor + Flank
The formula: One big thing in the center, matching pairs on both sides.
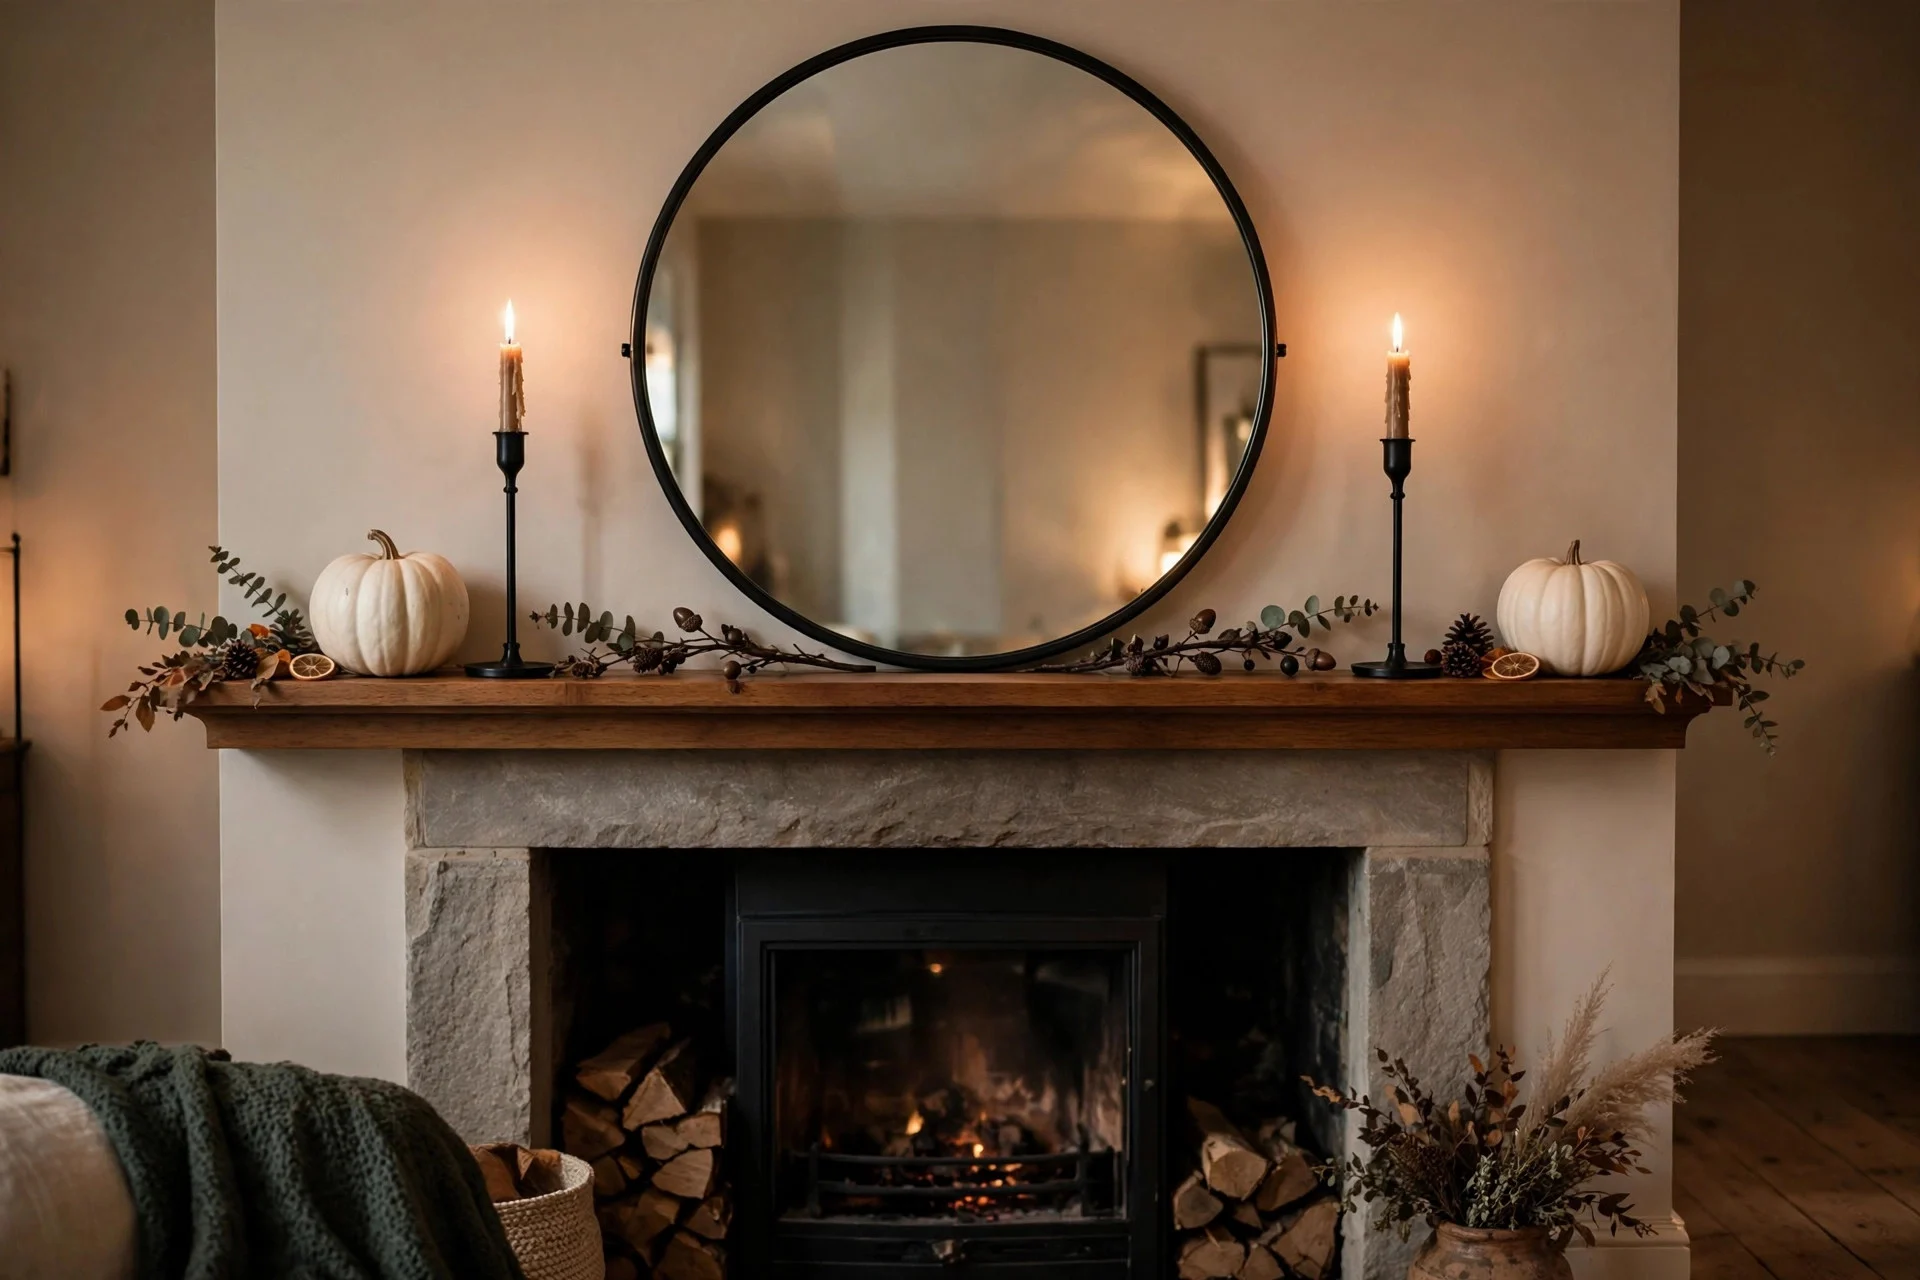
This is the oldest mantel trick in the book and it works because symmetry reads as intentional. Your anchor can be anything with presence: a round mirror, a large framed print, a wreath, even a big chalkboard with something hand-lettered on it. Then flank it — two matching candlesticks, two stacks of pumpkins, two lanterns, one on each side.
The mistake I made for years was flanking with things that were almost matching. A tall black candlestick on the left and a medium brass one on the right. Close enough looks worse than not matching at all — it reads as a mistake instead of a choice. Either match them properly or go deliberately mismatched (that’s formula #5). The middle ground is where mantels go to look cluttered.
2. The Garland Drape
The formula: One long garland, swagged loose, ends pooling over the edges.
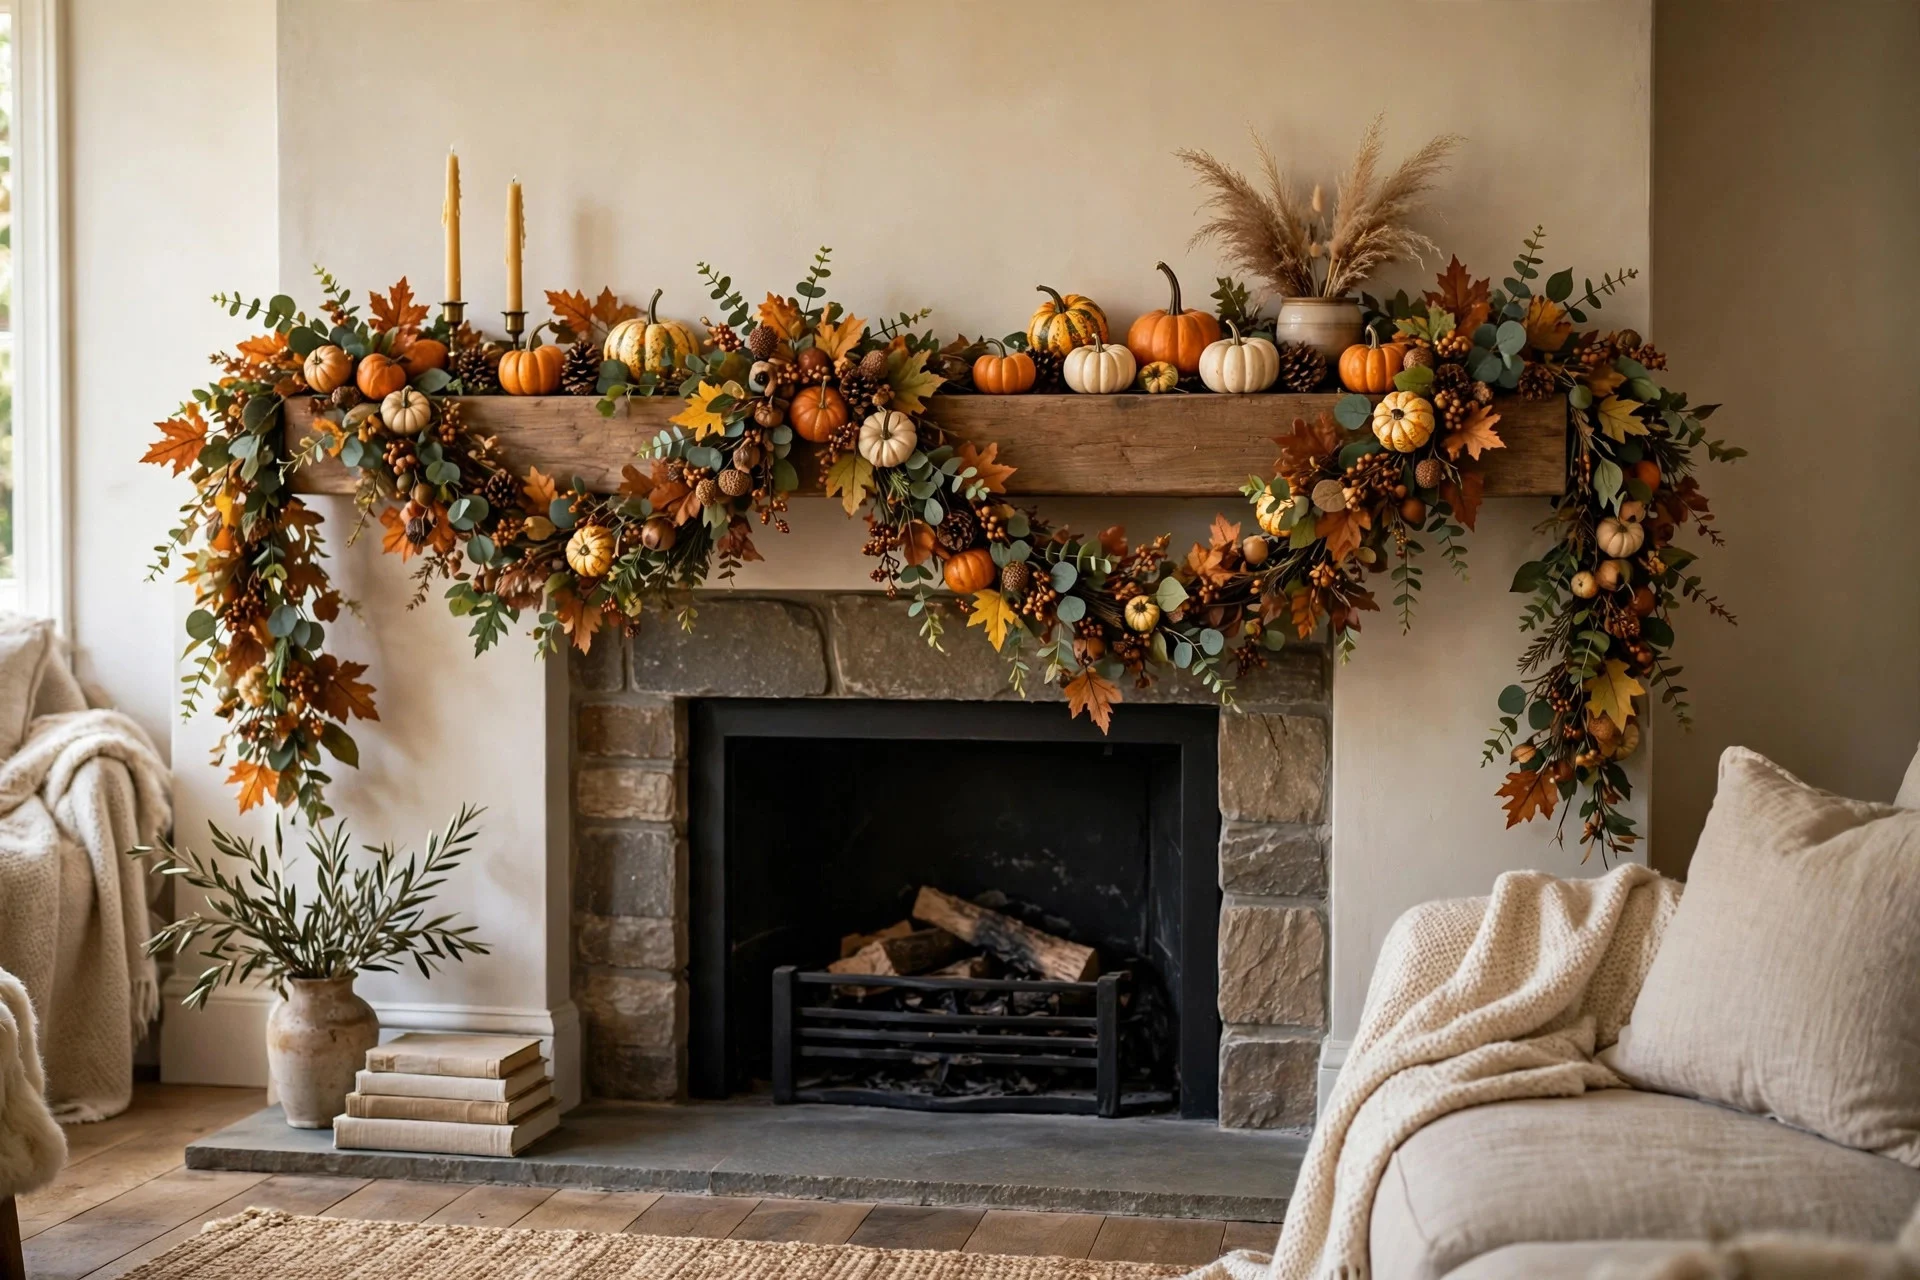
A garland does half your decorating in one move — it gives the mantel a base layer, covers the hard horizontal line, and adds the organic shape that keeps everything from looking stiff. Drape it so it dips in the middle and the ends hang past the mantel’s edges by six inches or so. Tuck small pumpkins, pinecones, or black ornaments into the dips.
Here’s what not to do, and I know because I did it three Octobers in a row: don’t stretch the garland taut like a tightrope. A tight garland looks like a shelf edge. You want slack — loops and swags, not a straight line. If your garland is too short to drape, wire two together or cheat with a second one layered underneath. Nobody has ever once noticed my mantel garland was two garlands.
3. The Rule of Three Clusters
The formula: Three groupings — left, center, right — each with an odd number of objects at different heights.
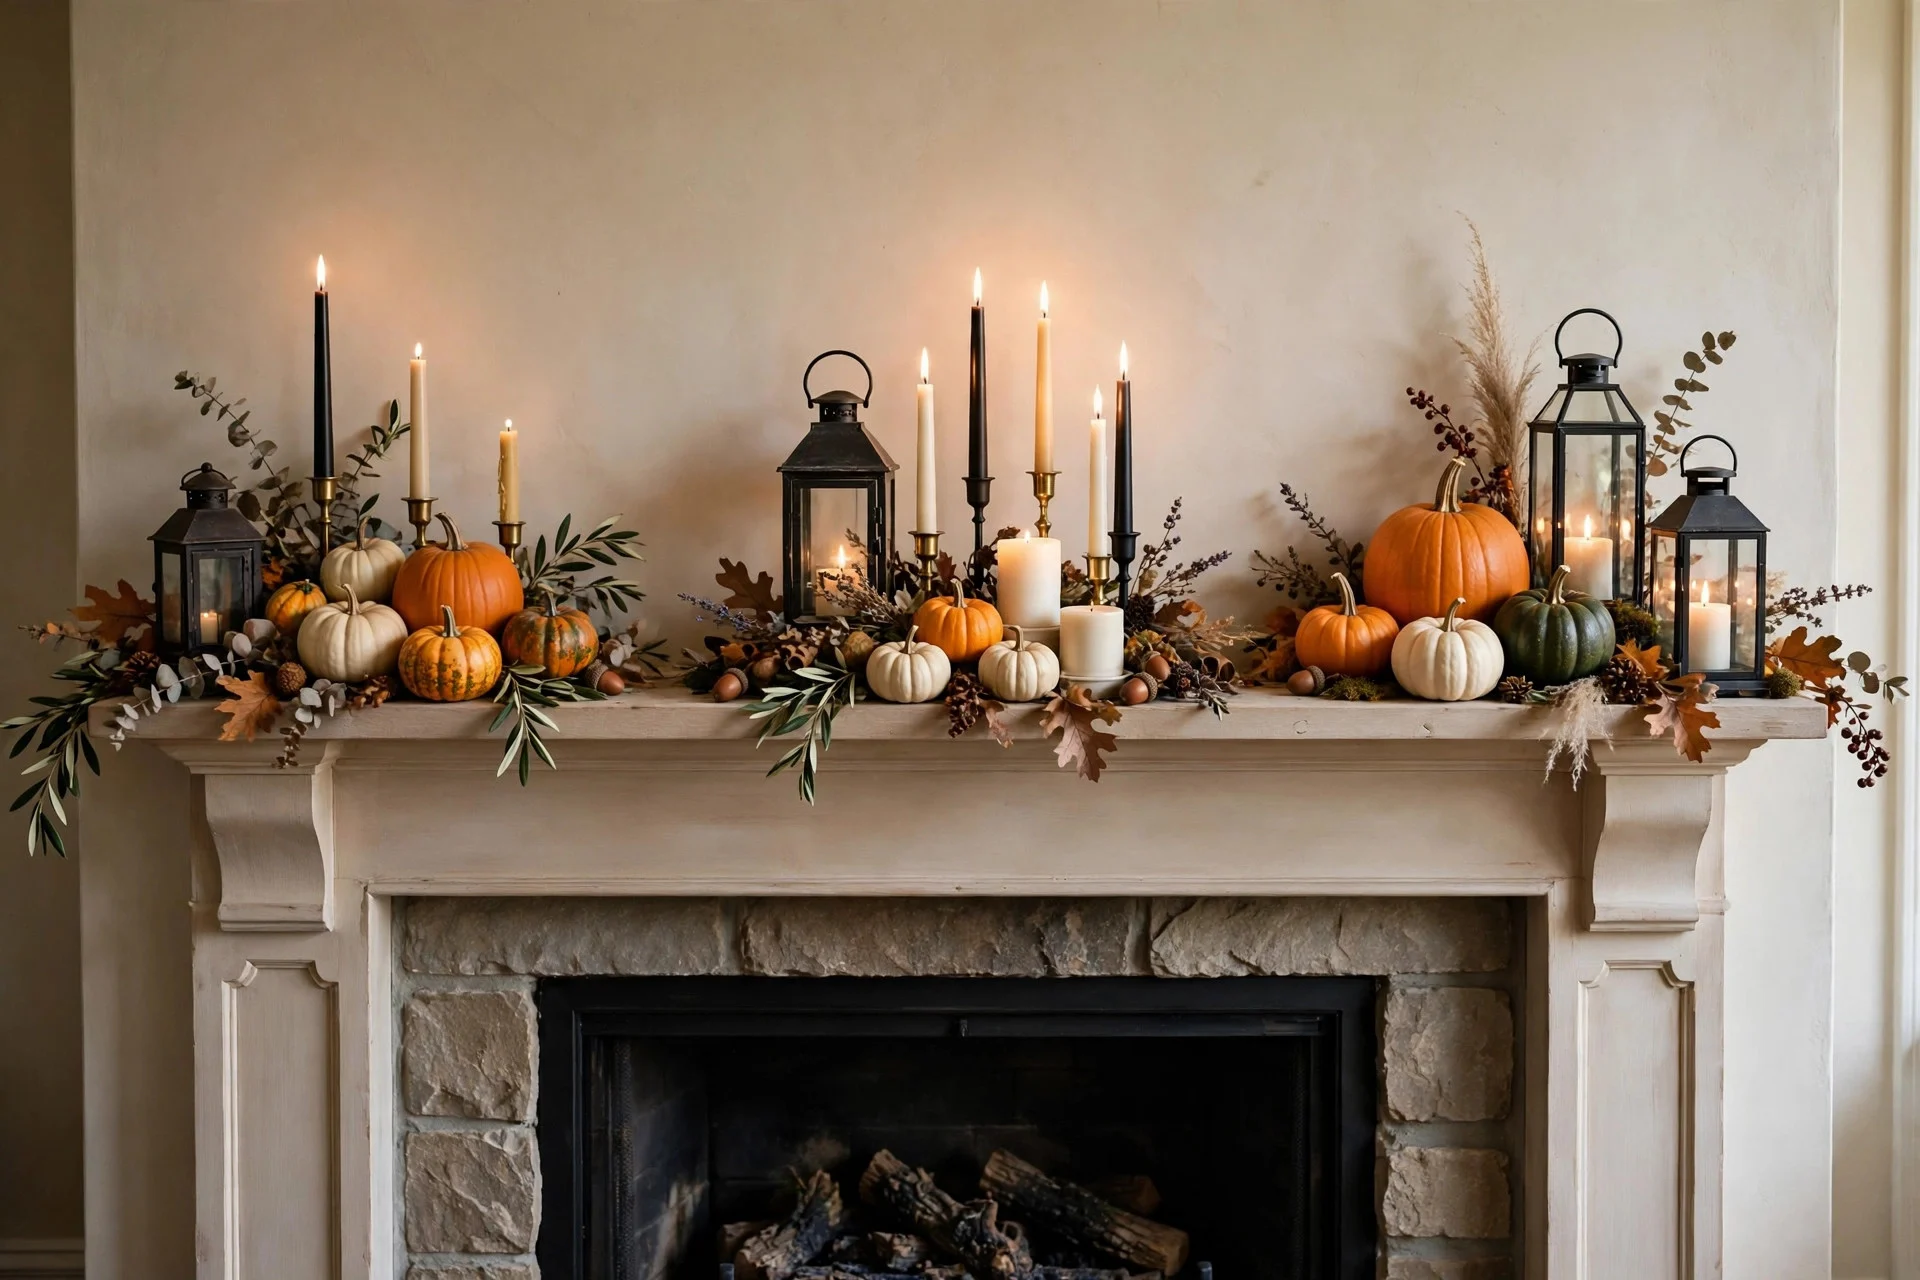
Odd numbers look natural to the human eye; even numbers look staged. So you build three little vignettes: maybe five objects on the left (a stack of books, a pumpkin on top, a candle beside it), three in the middle (a lantern with two mini pumpkins), and seven on the right (a cluster of candlesticks). Vary the heights inside each cluster — tall, medium, short.
This is the formula for people who own a lot of small Halloween things and don’t know what to do with them. Instead of spreading twenty small objects across the whole mantel (the police lineup), you compress them into three dense clusters with breathing room between. The breathing room is doing as much work as the objects. My mantel finally started getting compliments the year I put less on it but grouped it tighter.
4. The Candlelight Layer
The formula: Candles at three heights are the whole show; everything else is backup.
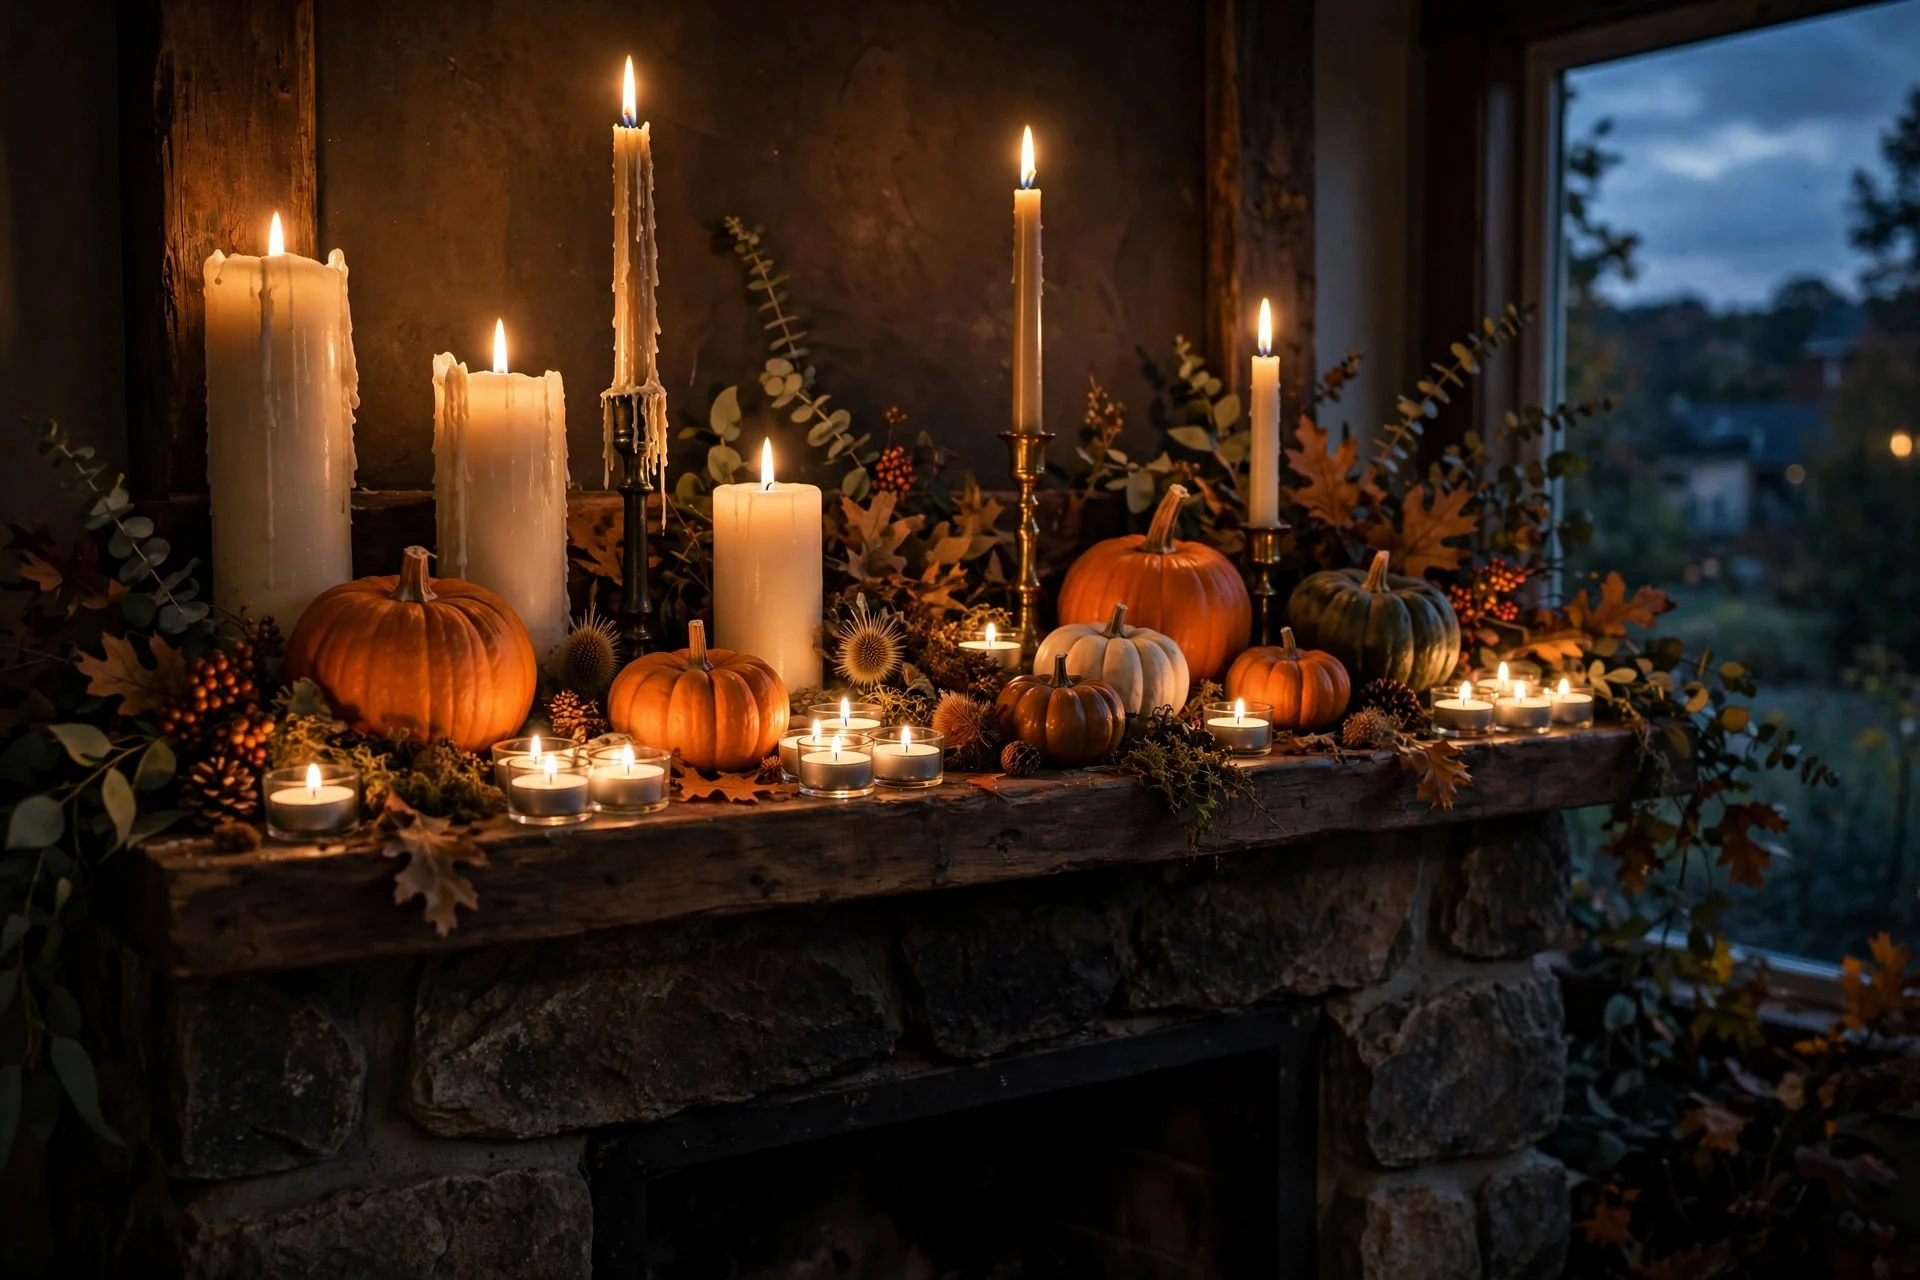
Some mantels don’t need “decorations” — they need glow. Cover the mantel in candles: pillars, tapers, tea lights in jars, whatever you own, arranged at low, medium, and tall heights. Then add just two or three non-candle things — a few pumpkins, a small garland — so it doesn’t look like a shrine.
Height is everything here. A dozen tea lights all at the same level looks flat. But tea lights plus three pillar candles plus two tall tapers in the back? That’s a skyline, and at dusk it’s the best-looking thing in the house. Real flame beats LED for this — the flicker is the decoration. I keep a cheap box of black tapers just for October; they cost less than one “statement piece” and do more work than all of them.
5. The Asymmetric Sweep
The formula: Weight everything to one side and let it trail across.
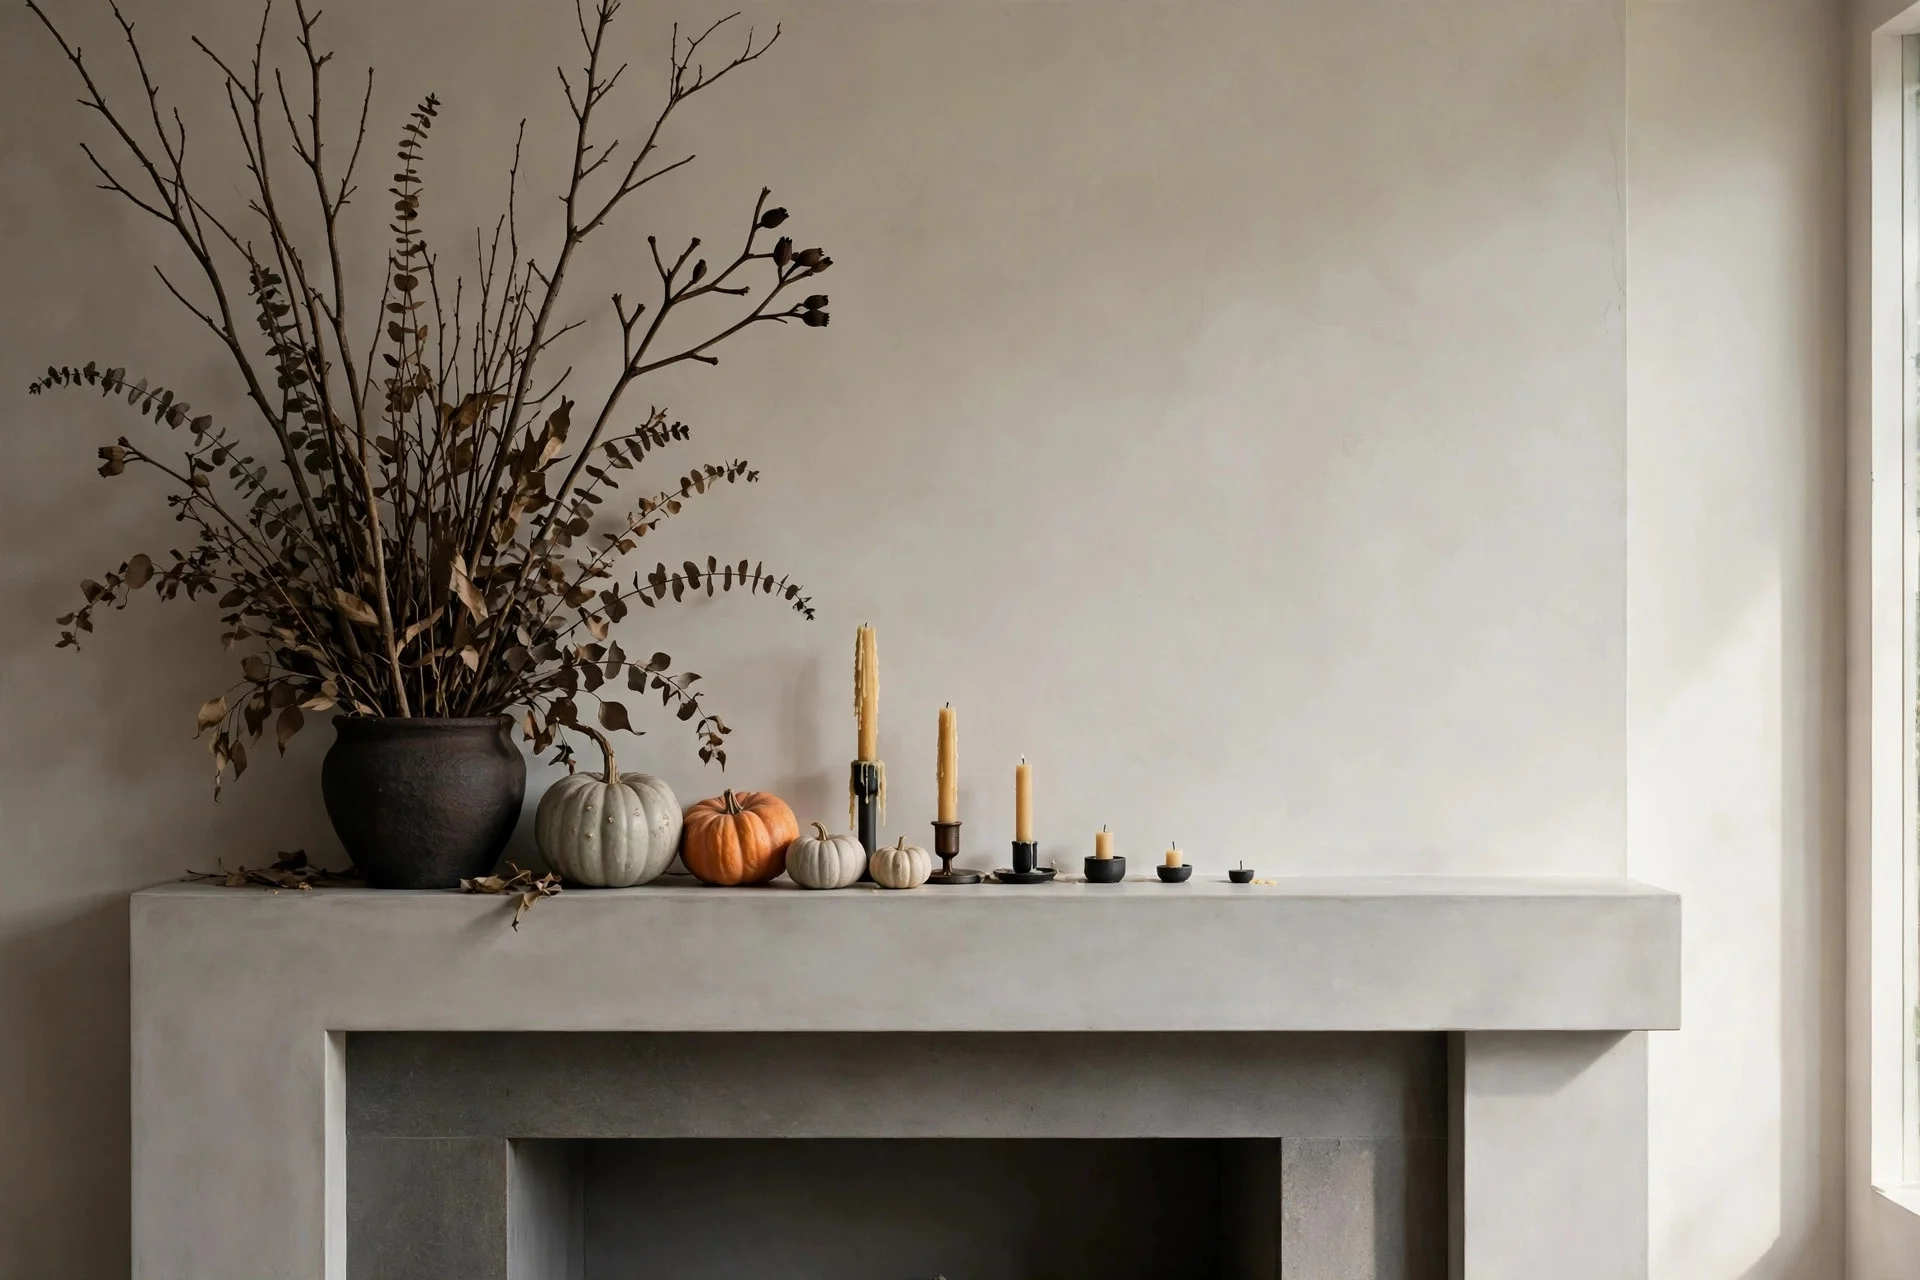
Symmetry not your thing? Push it all left (or right). Start with a tall anchor at one end — a big branch arrangement, a stack of pumpkins, a leaning frame — then trail smaller pieces across the mantel in descending size, like a wave washing across. Leave the far third mostly empty.
This looks modern and a little editorial, and it’s forgiving: asymmetry hides the fact that your pieces don’t match. That was my gateway — I owned nothing in pairs, so symmetry always exposed me. The sweep let me use seven unrelated things and look like I meant it. One warning: “asymmetric” doesn’t mean “random.” You still need the descending-size logic, or it just looks like you gave up halfway. Tallest at the anchored end, smallest trailing off. That’s the whole discipline.
6. The Black + Natural Base
The formula: Keep your fall mantel exactly as it is. Add three black things.
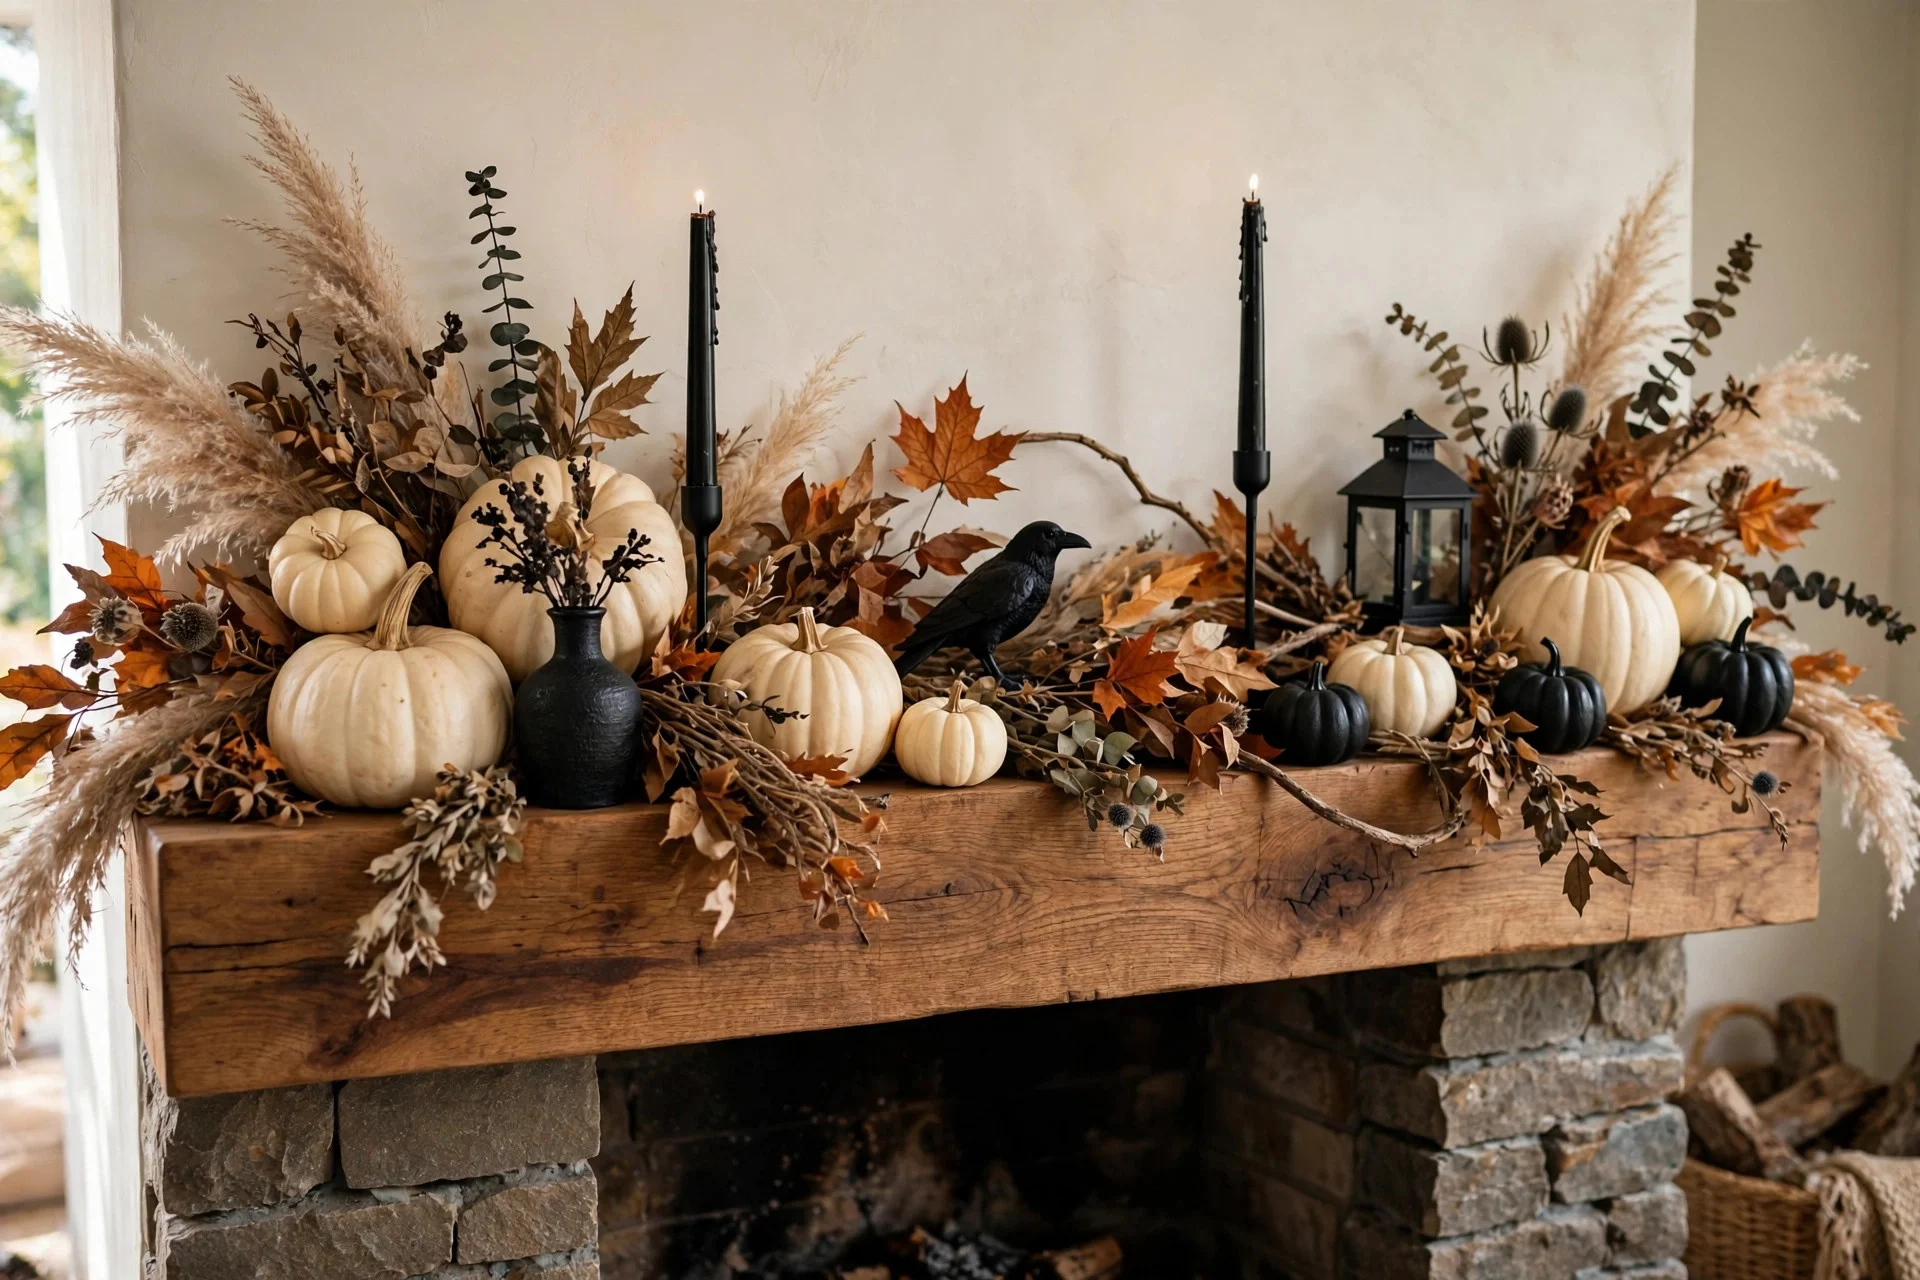
If you already have a fall mantel you like — dried botanicals, wood tones, cream pumpkins, wheat — you don’t need a separate Halloween mantel. You need a costume change. Three black accents laid over your existing fall base will Halloween-ify the whole thing: black taper candles, a black ribbon woven through the garland, three black mini pumpkins tucked in.
Three is the number. One black thing looks like an accident; five starts competing with the fall look; three reads as deliberate. And when November comes, you lift the three black things off and you’re back to fall without redecorating. This is the lowest-effort formula on the list and honestly the one I use most years now, because my fall mantel is good and I refuse to dismantle a good thing for a holiday.
7. The Statement Silhouette
The formula: One oversized silhouette piece. Everything else whispers.
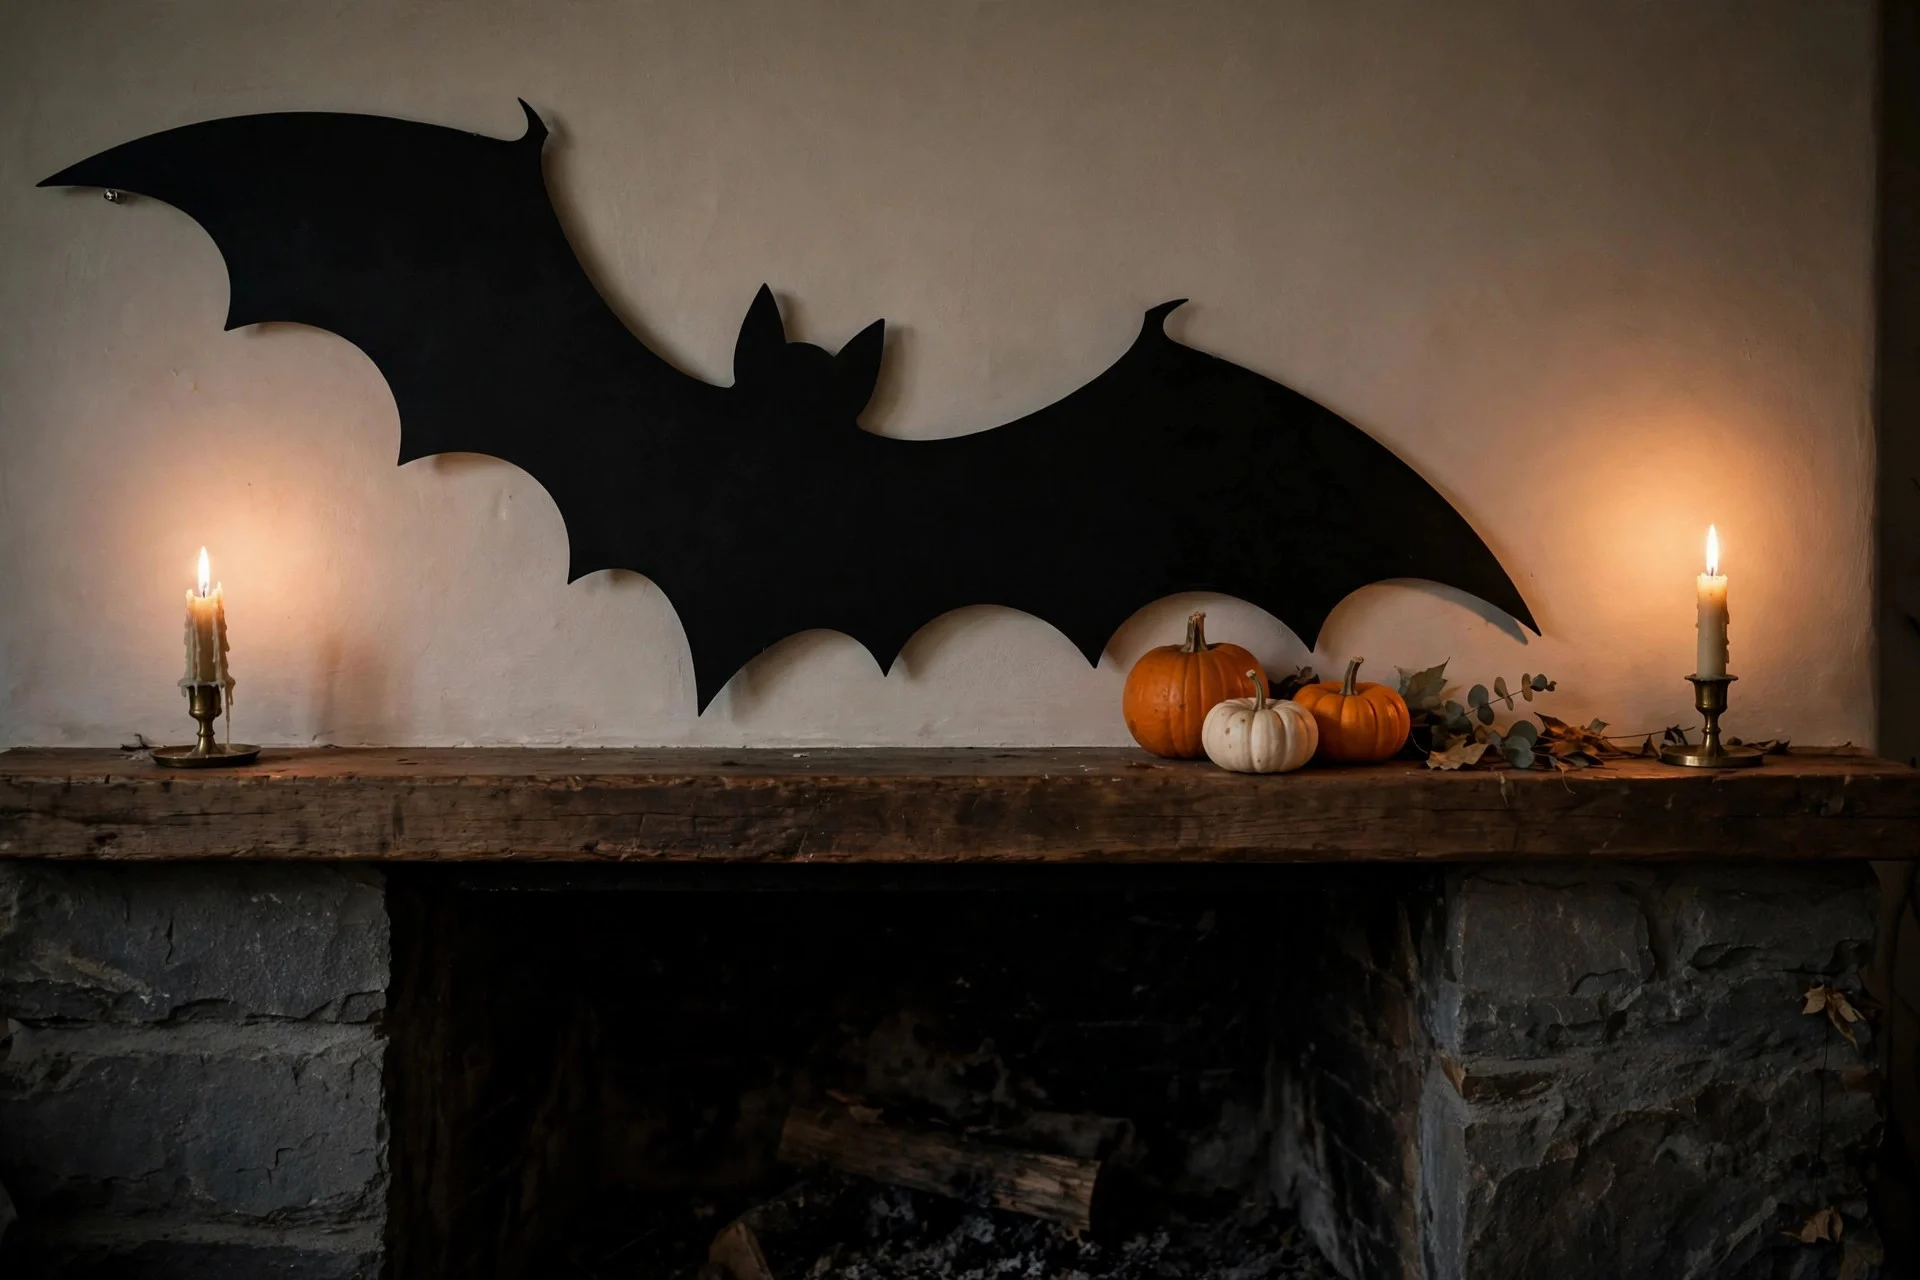
Sometimes the answer to “what do I put on the mantel” is “one big thing.” An oversized moon cutout, giant paper bats, a huge spider, an overgrown wreath — one hero piece with real scale, and then almost nothing else. A couple of candles for glow, maybe a small pumpkin or two at the base, done.
Scale is doing all the work here, so commit to it. A timid medium-sized bat cutout surrounded by your usual clutter just disappears. The piece needs to be big enough to read from across the room — think half the mantel’s width at minimum. I cut giant bats from black poster board one year for about four dollars, and that mantel got more comments than any “real” decoration I’ve ever bought. Big and cheap beats small and expensive every time.
8. The Layered Frame Trick
The formula: Lean framed art in overlapping layers, front to back.
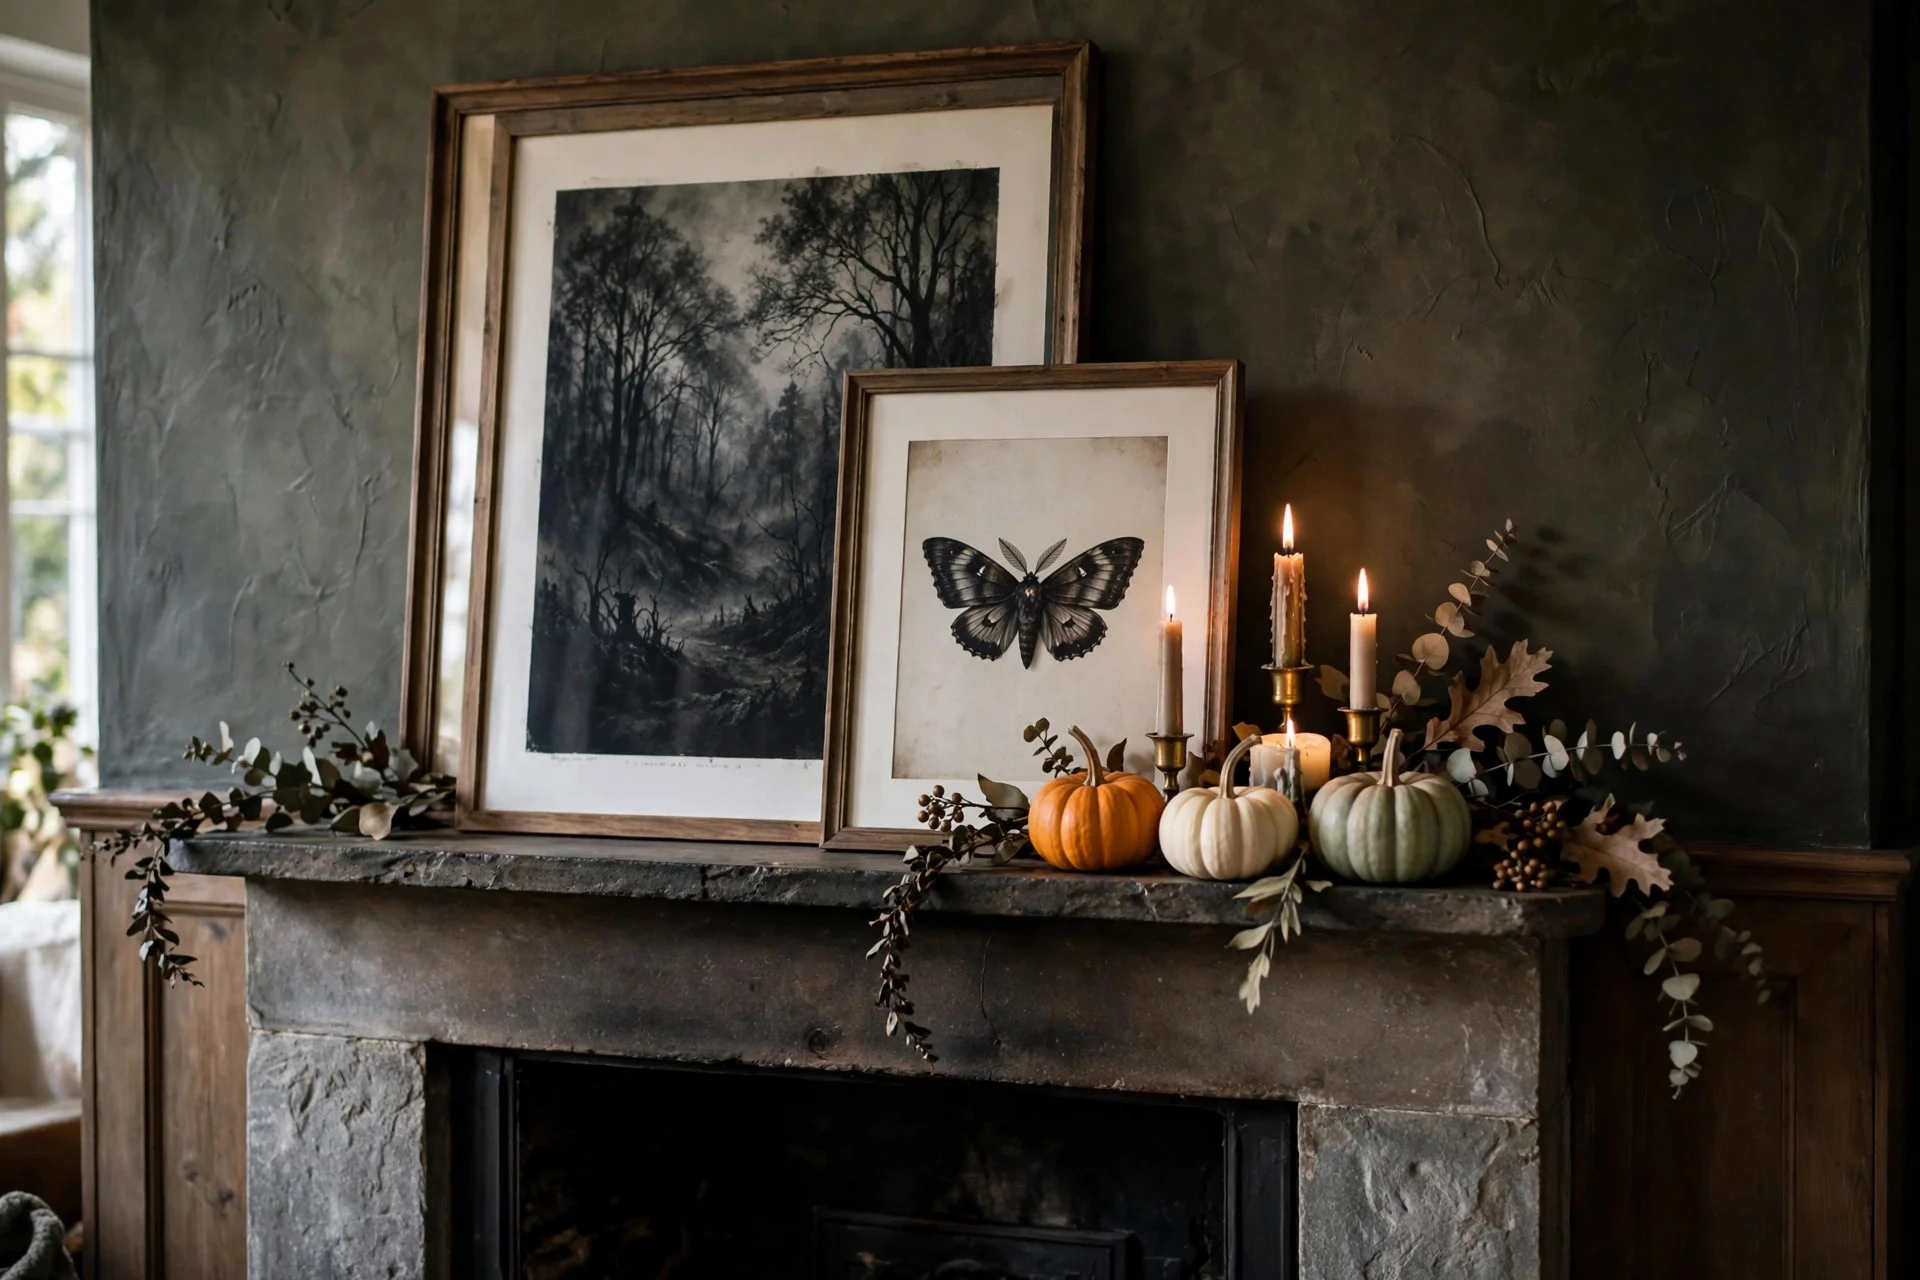
Take two or three framed prints — Halloween art, vintage etchings, even just moody black-and-white photos — and lean them on the mantel overlapping each other, biggest in back, smallest in front. Tuck candles or small pumpkins in front of the frontmost frame.
The layering creates depth, and depth is what separates a styled mantel from a decorated shelf. Flat things hung in a row look like a gallery wall that lost its way; flat things layered look like a set designer was here. You don’t need Halloween-specific art either — I once used three moody landscape prints I already owned, added black candles in front, and the whole thing read as haunted without a single bat. Frames you own, printed art from the library, leaning instead of hanging. That’s the whole trick.
9. The 5-Minute Formula
The formula: Pumpkins + one garland + candles. Done in five minutes.
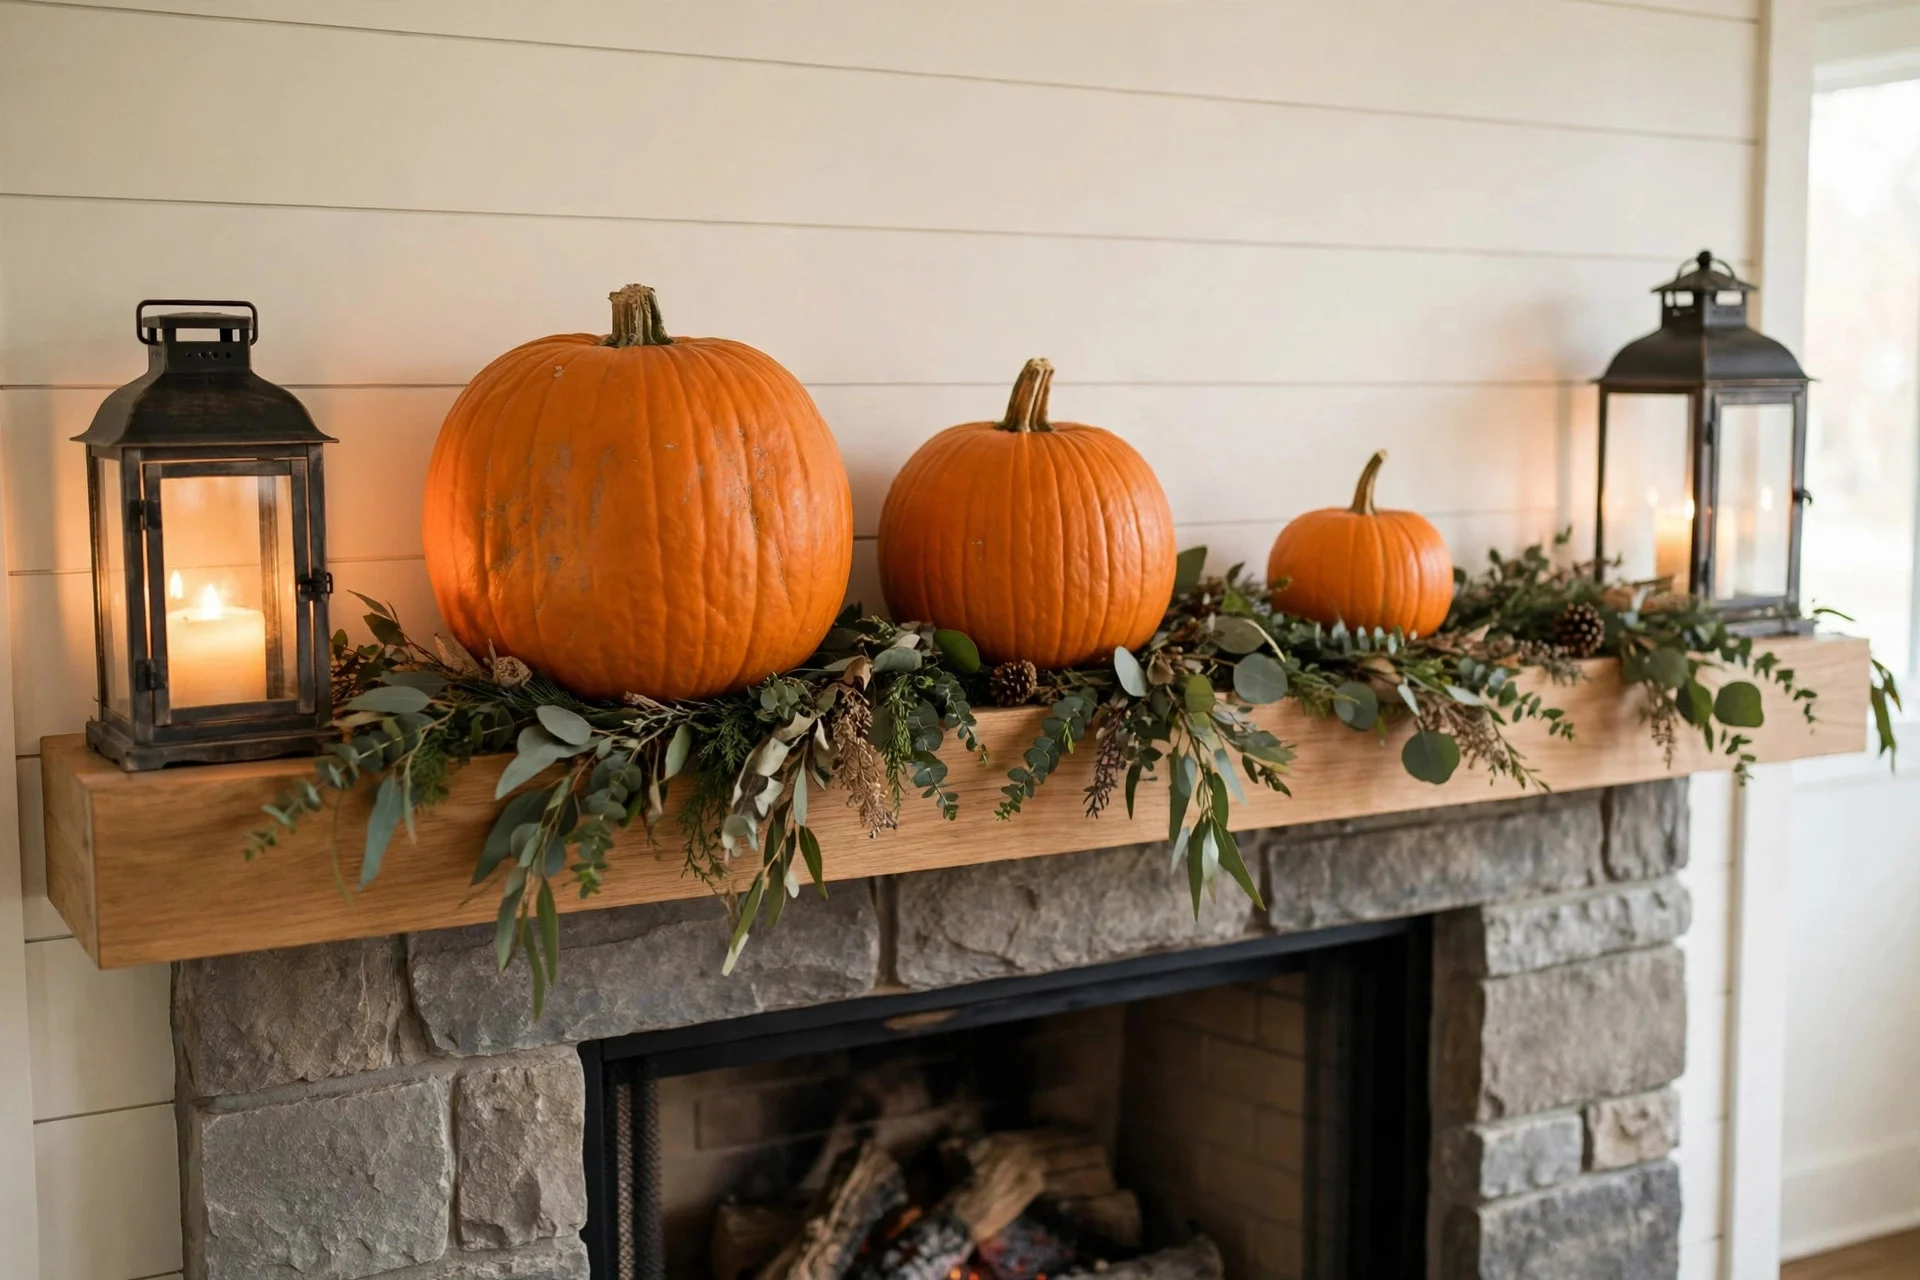
For the year you’re tired, busy, or just not feeling it: line up pumpkins in descending size across the mantel, lay one garland in front of them (see formula #2 for the drape), and put a candle or lantern at each end. That’s it. Five minutes, three kinds of things, and it looks complete.
I’ll be honest — some Octobers this is all I do, and nobody has ever walked in and thought “she phoned it in.” That’s because the formula has the three things a mantel structurally needs: mass (pumpkins), a base layer (garland), and glow (candles). Everything beyond that is garnish. If your mantel has those three, it’s decorated. The other eight formulas are just fancier ways of arranging the same three ingredients.
Halloween Mantel FAQ
What do you put on a mantel for Halloween?
The short answer: an anchor piece (mirror, wreath, or large print), something draping (a garland), something glowing (candles at varied heights), and pumpkins or natural elements to fill in. You don’t need Halloween-specific everything — black accents over a fall base (formula #6) will do it. The structure matters more than the shopping.
How do you decorate a mantel if you don’t have a fireplace?
All nine formulas work on any long surface — a console table, a bookshelf top, even a wide windowsill. The only thing that changes is scale: go a little smaller and lower, since there’s no firebox below creating visual weight. A leaning mirror or frame still works as your anchor; just make sure it’s not wider than the surface it’s on.
When should you decorate your mantel for Halloween?
Early October is the sweet spot — you get the full month without it feeling stale. If your base is fall decor with black Halloween accents (formula #6), you can put the fall layer up in September and just add the black pieces October 1st. Take the Halloween layer down the first week of November and the fall mantel carries you to Thanksgiving.
The mantel is the one spot in the house where a formula beats inspiration every time. Pick the one that matches what you already own — symmetrical pairs, go with #1; a box of random small things, #3; zero energy, #9 — and stop rearranging it every time you walk past. (I see you. Stop touching it. It’s done.)
If the rest of your Halloween decorating needs the same kind of editing eye, my guide on decorating for Halloween without it looking tacky is the philosophy behind all nine of these. For the monochrome version of mantel styling, the black and white Halloween guide has a white-pumpkin mantel formula worth stealing. And once the mantel’s done, take the look outside with the last-minute porch ideas — the porch is just a bigger mantel, honestly.