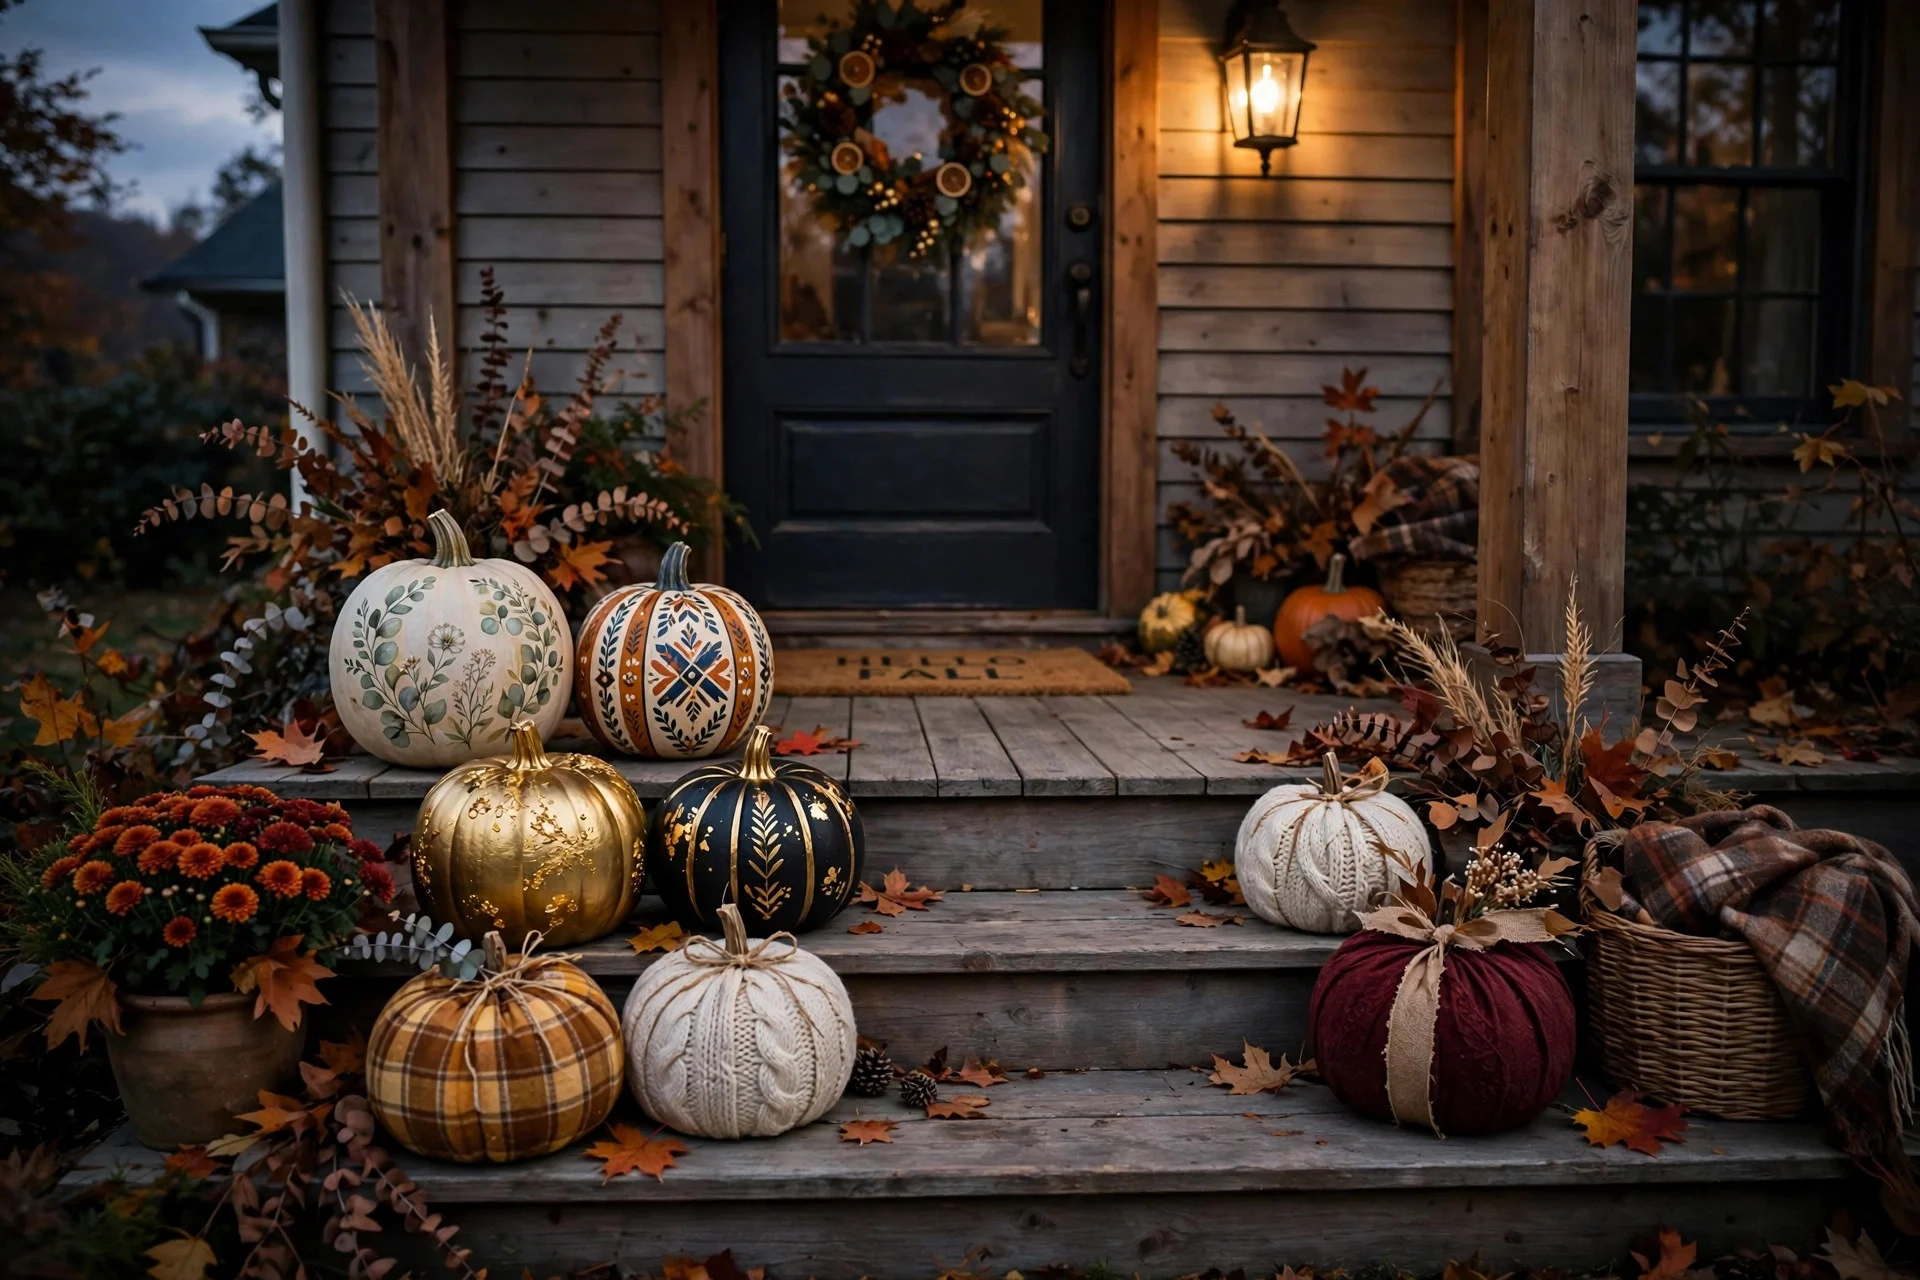
The last time I carved a pumpkin, I spent forty-five minutes elbow-deep in cold pumpkin guts while my kitchen floor turned into an orange crime scene. The jack-o-lantern I was so proud of had collapsed into itself by day three, and my kids started calling it “the sad pumpkin.” I threw the whole soggy mess in the trash on the morning of Halloween and set a plain orange pumpkin on the porch instead. It looked fine. Nobody cared that it didn’t have a face.
That was the year I gave up carving for good. What I learned next surprised me: a pumpkin you never cut open lasts three to four weeks instead of three days, and once you stop thinking every pumpkin needs a face, decorating gets a lot more interesting. Everything below is something I have actually done, in my house, with cheap supplies. Most of them took under an hour, and all of them survived the whole month of October without rotting.
Idea 1: The White-Pumpkin Minimal Look
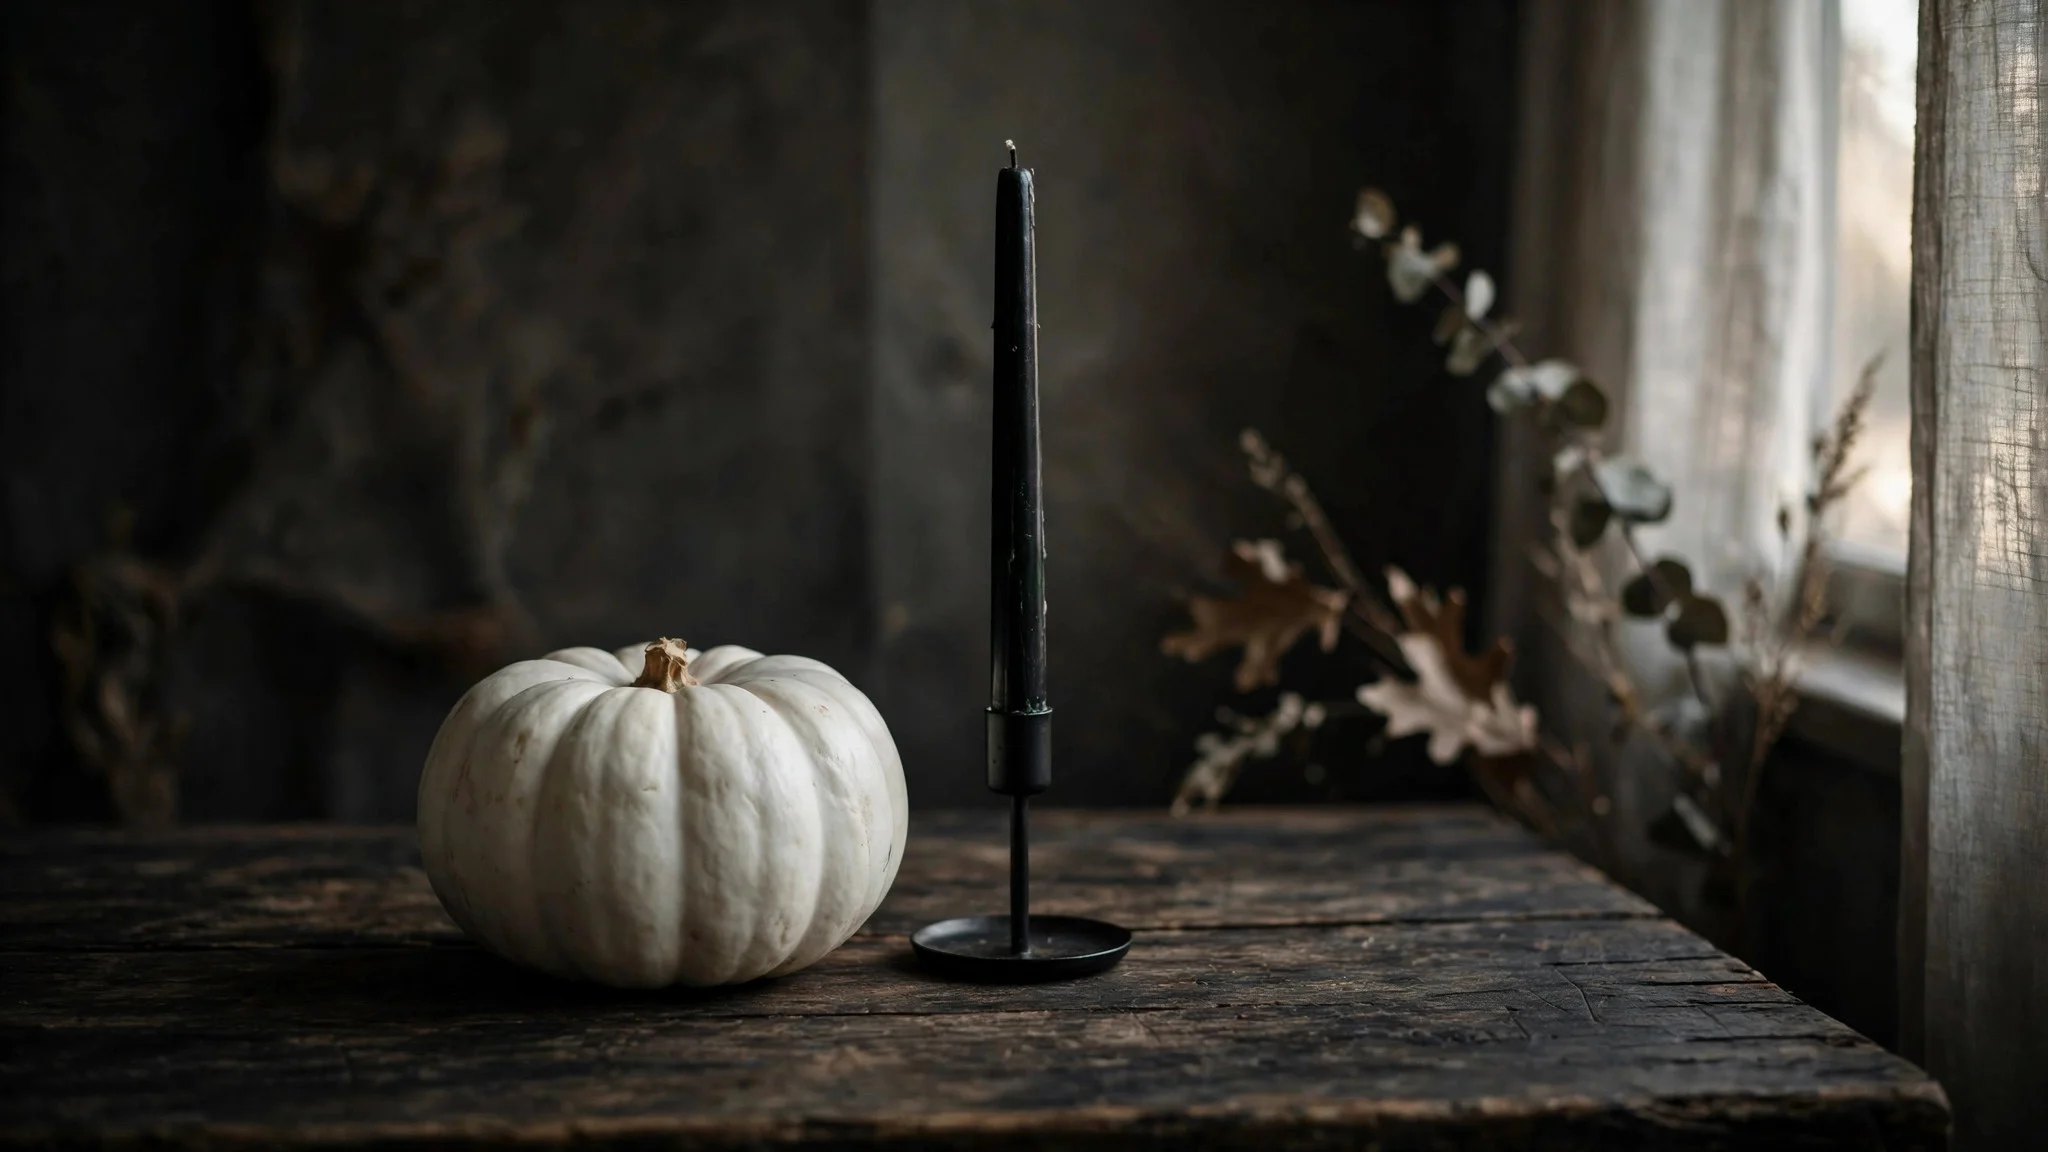
A single white pumpkin next to one black taper candle is the least work on this entire list, and somehow it looks like the most expensive. The pale rind against something dark and moody reads as intentional design instead of an unfinished project. I set this combo on my mantel two years ago as a placeholder while I finished the rest of the room, and it ended up being the thing guests actually commented on.
How to do it: first, wipe the pumpkin clean and put it somewhere it can be seen from across the room, a mantel or an entry table. Second, set a black taper candle in a simple holder beside it, tall enough that the flame sits above the pumpkin’s shoulder. Third, light it after dark and step back. The mistake to avoid: don’t crowd it with five more pumpkins. This look works because of the empty space around it, and piling on more stuff turns minimal into cluttered, which is the exact trap I wrote about in my Halloween decorating mistakes post.
Idea 2: Decoupage With Autumn Tissue Paper
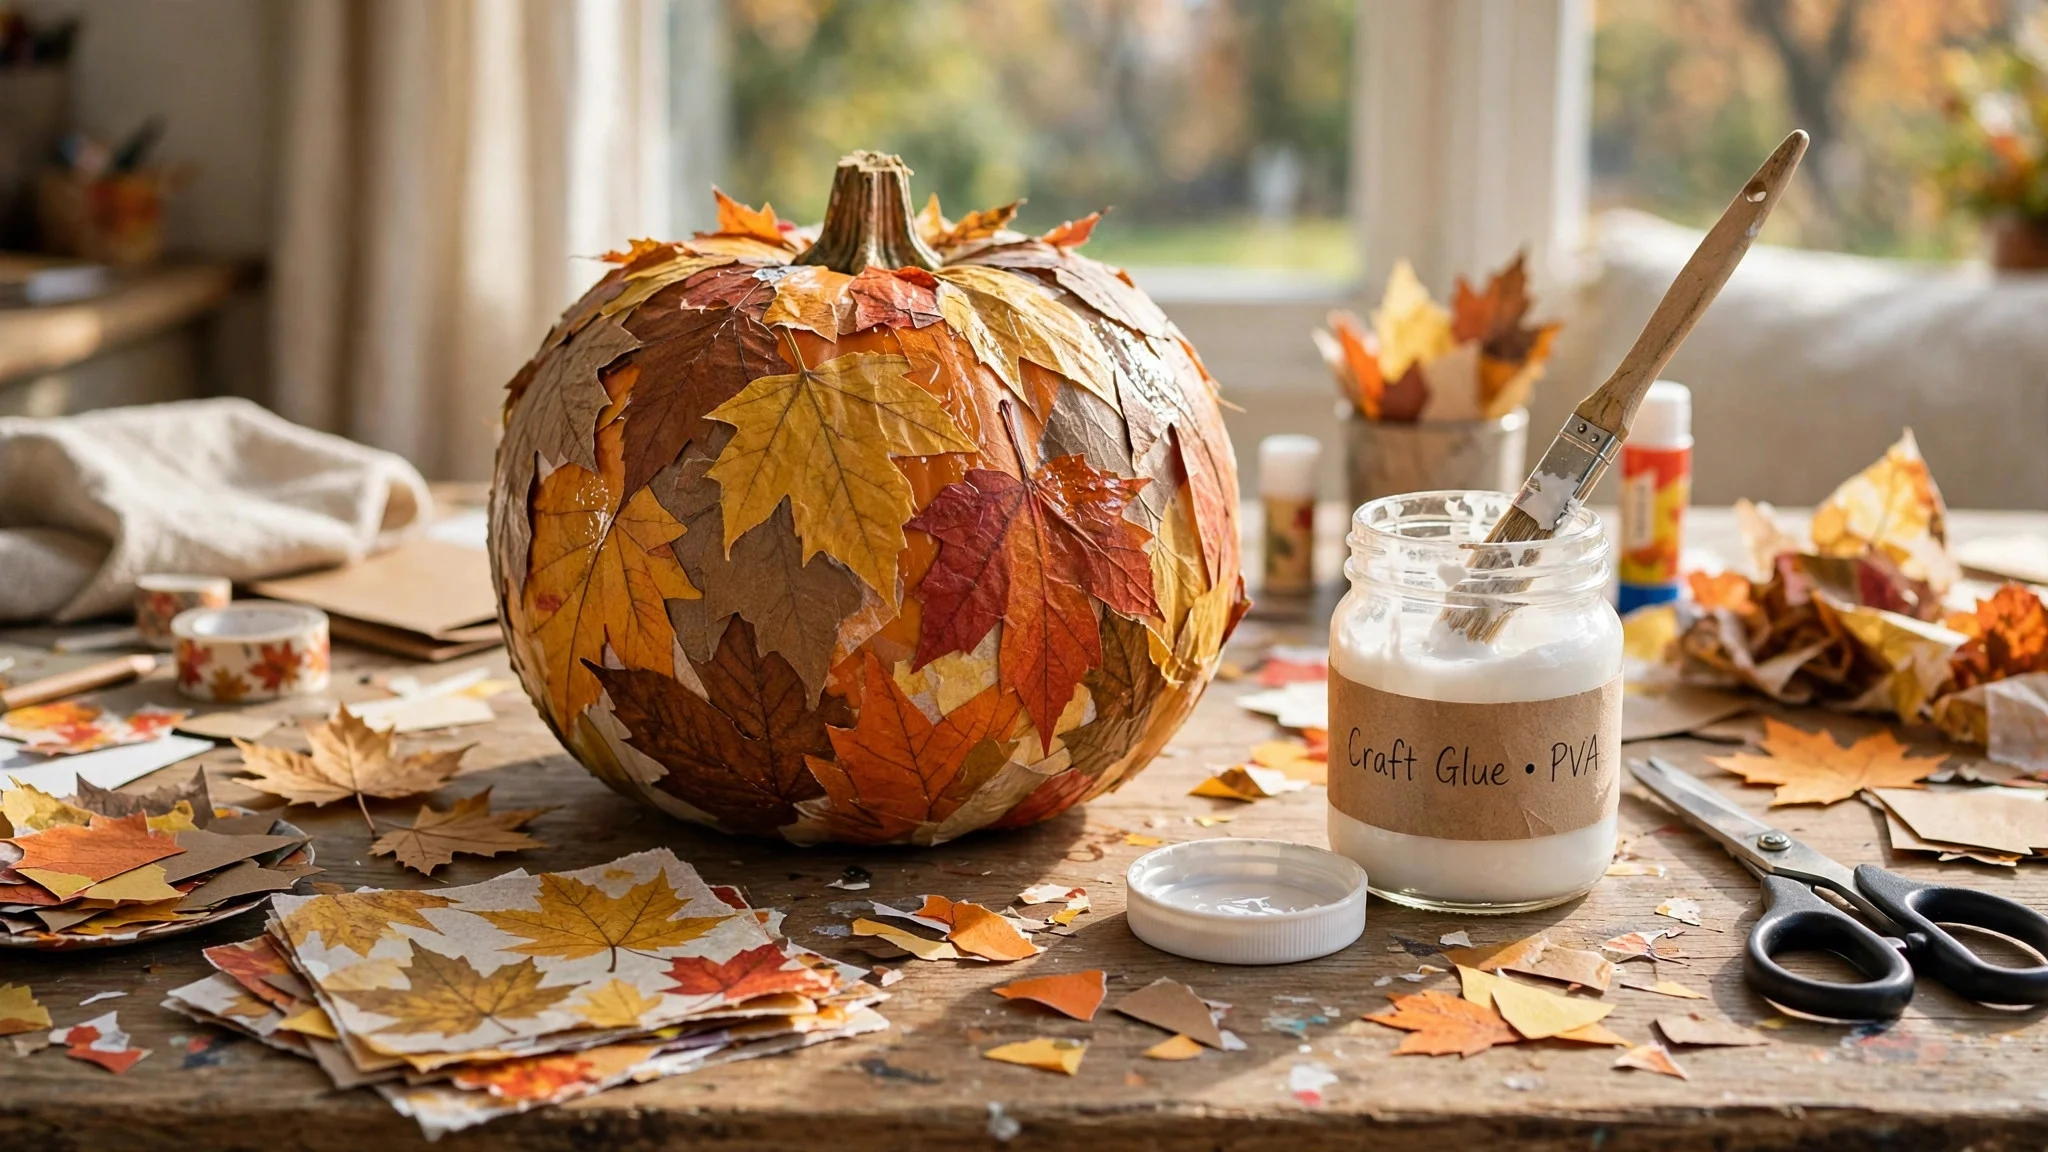
Tear up some autumn-print napkins or tissue paper, glue the pieces onto a pumpkin with Mod Podge, and you get something that looks like hand-painted watercolor art. The torn edges blend into each other so it never looks like a craft project gone wrong. I made three of these with my kids one rainy Saturday and they sat on our dining table for a month, and every person who came over assumed I had bought them somewhere nice.
How to do it: first, tear (don’t cut) the tissue into pieces about two inches across, because torn edges blend better than cut ones. Second, brush a thin layer of Mod Podge on a section of the pumpkin, press a piece down, and brush another thin layer over the top to seal it. Third, overlap pieces until the whole pumpkin is covered and let it dry overnight. What I’d do differently: use matte Mod Podge, not glossy. I used glossy the first time and the pumpkin looked wet and plastic under the lights. Matte dries soft and looks like real paint.
Idea 3: Gold-Leaf Accents
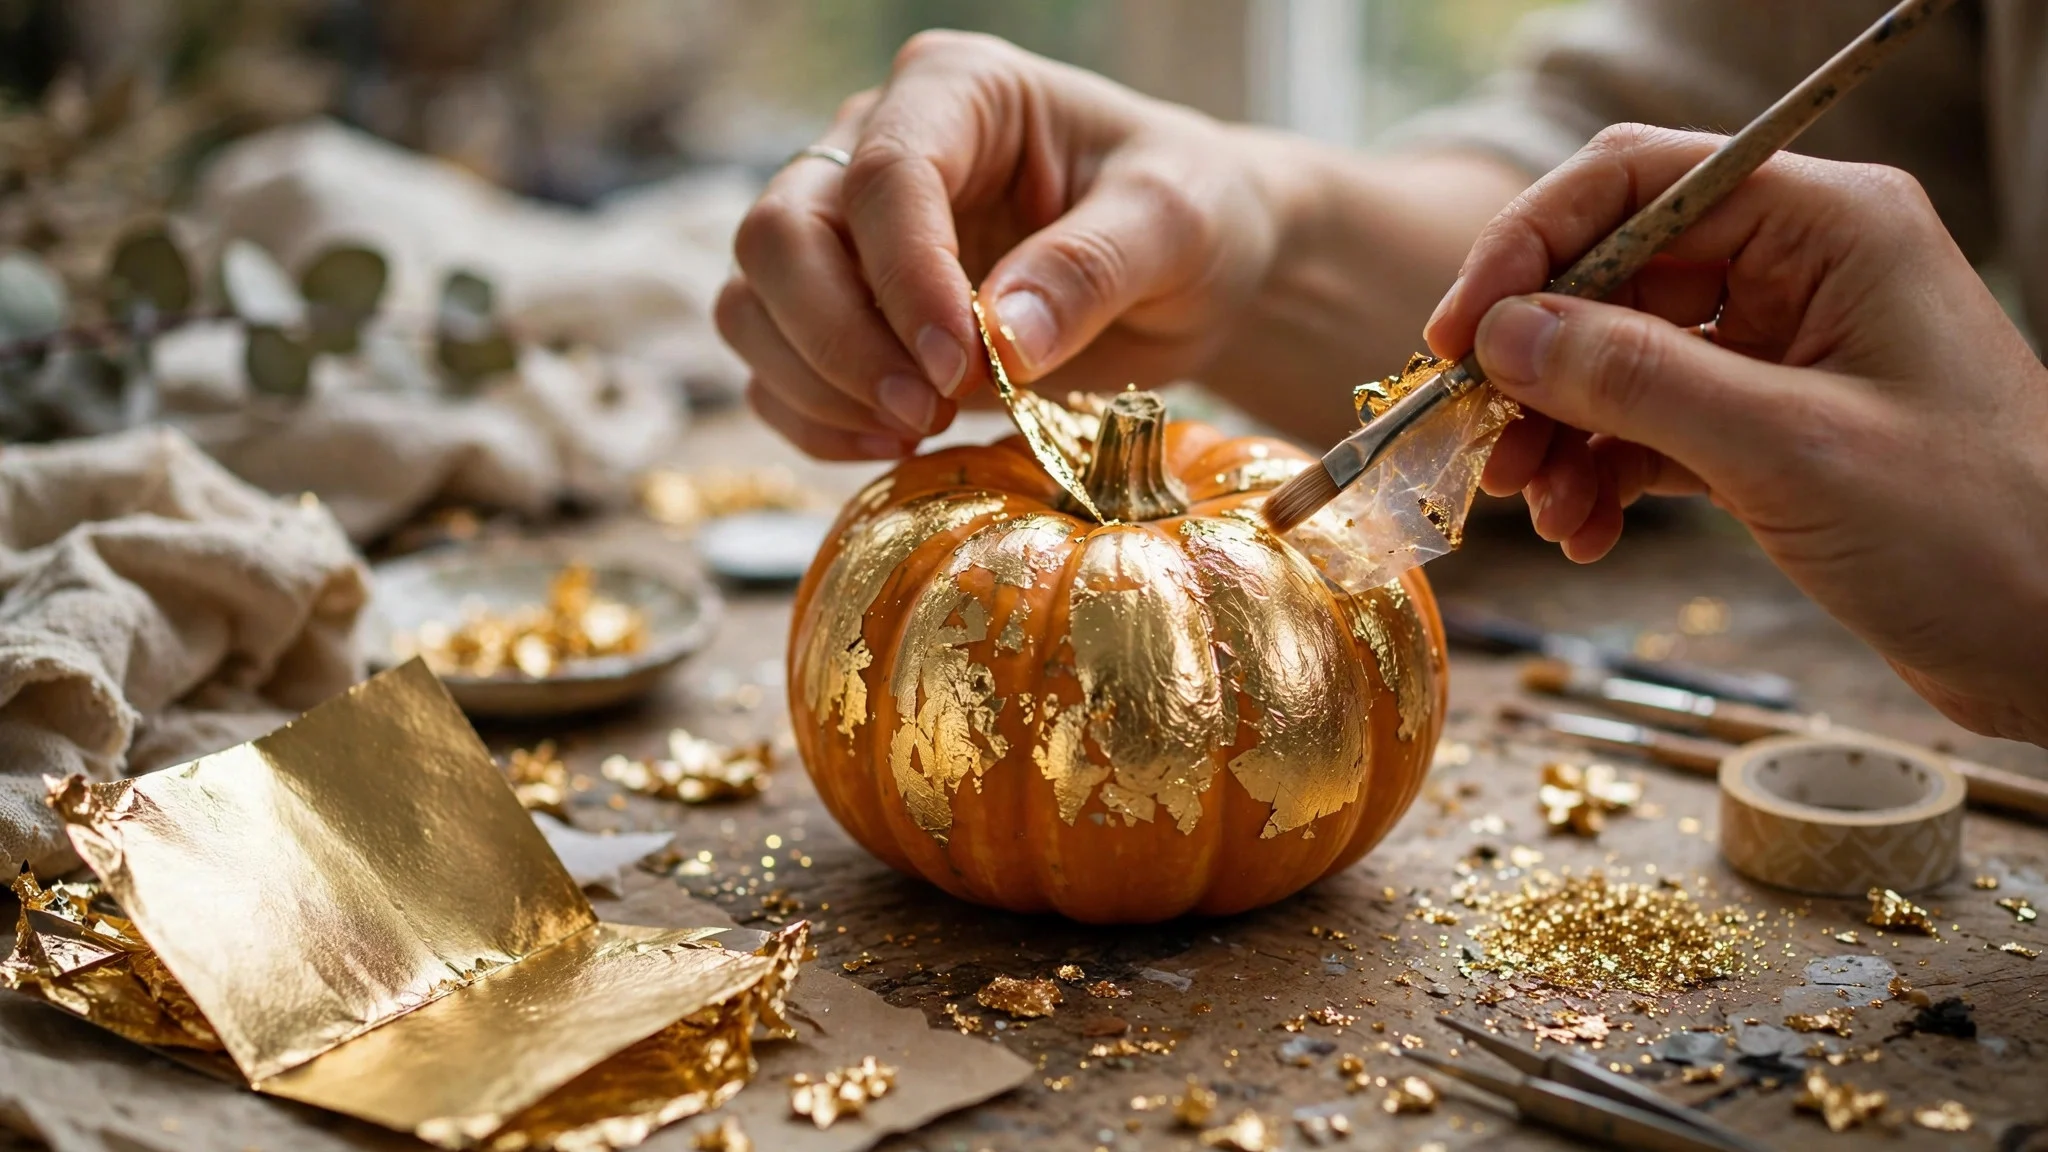
A few patchy pieces of gold leaf on a dark orange or green pumpkin look like something from an expensive home decor catalog, and a single pack of gold leaf sheets costs a few dollars. The trick is restraint. You are not covering the pumpkin, you are giving it jewelry. I did this on two small pie pumpkins for a dinner party and one guest picked one up to check whether it was ceramic.
How to do it: first, brush craft glue or gold-leaf adhesive onto a few random patches of the pumpkin, no pattern needed. Second, wait until the glue goes tacky, then press a sheet of gold leaf onto each patch with a soft brush. Third, brush away the loose flakes with a dry paintbrush. The mistake to avoid: don’t try to cover the whole pumpkin. Full gold coverage looks gaudy and cheap, while patchy gold looks expensive. Also, close the windows before you start. Gold leaf weighs nothing, and the first sheet I ever touched floated straight across the room.
Idea 4: Fabric-Wrapped Pumpkins
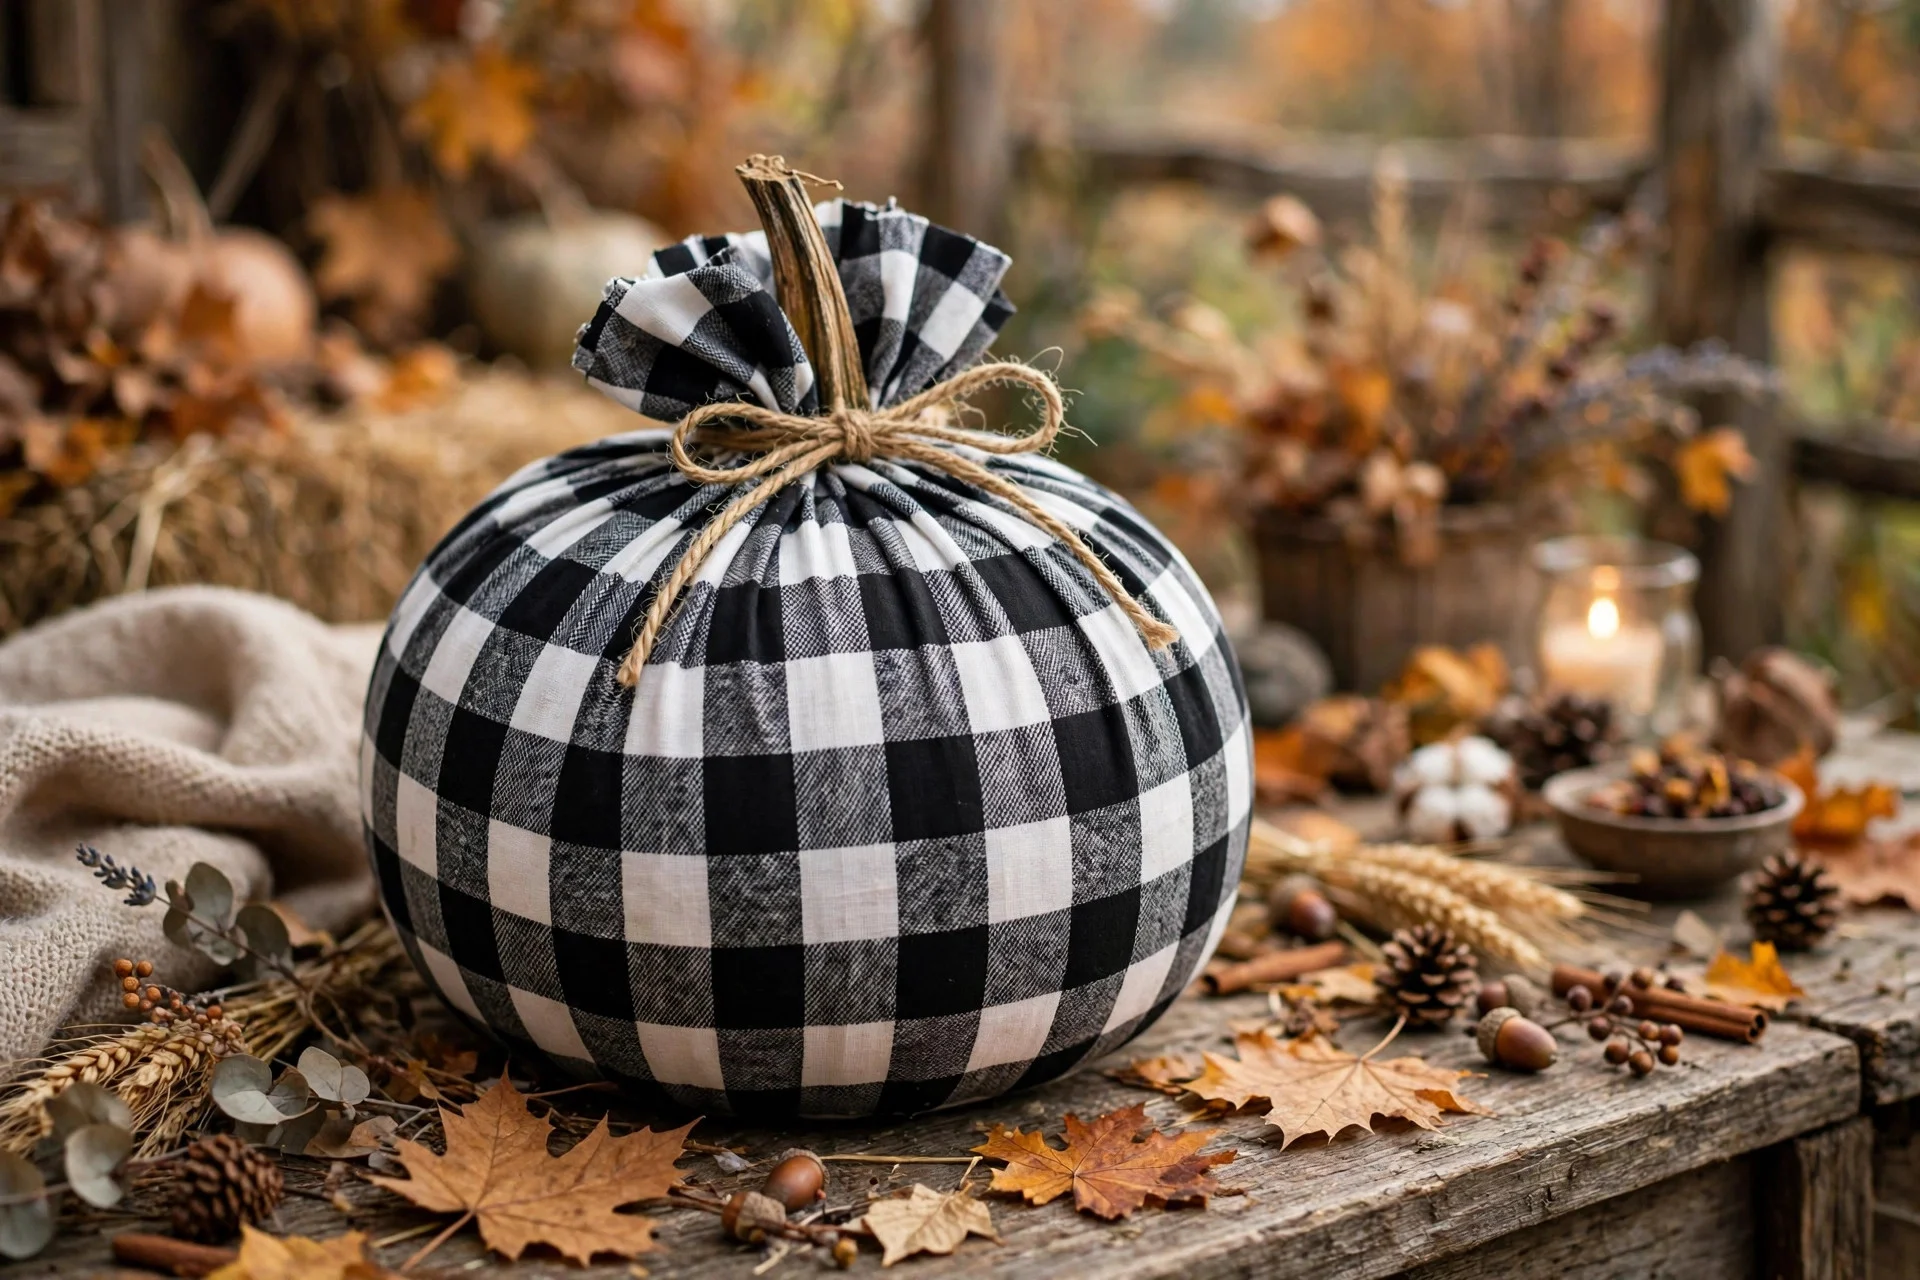
Wrap a pumpkin in fabric the way you would wrap an awkwardly shaped gift, gather it at the stem, and tie it off with twine. Black-and-white buffalo check gives you instant cozy cabin energy, but this works with any fabric you have lying around. I made these from an old flannel shirt I was about to throw out, and they looked better than the store-bought fabric pumpkins I had paid real money for the year before.
How to do it: first, cut a square of fabric about twice as wide as your pumpkin. Second, set the pumpkin in the center, pull the fabric up around it, and gather it snugly at the stem. Third, wrap twine around the gathered fabric a few times and tie it off, then trim or tuck the excess. What I’d do differently: cut the fabric bigger than you think you need. My first one was cut too tight, the fabric strained, and the stem poked through the top like it was escaping. Generous fabric gathers into nice soft folds.
Idea 5: Chalkboard-Paint Message Pumpkins
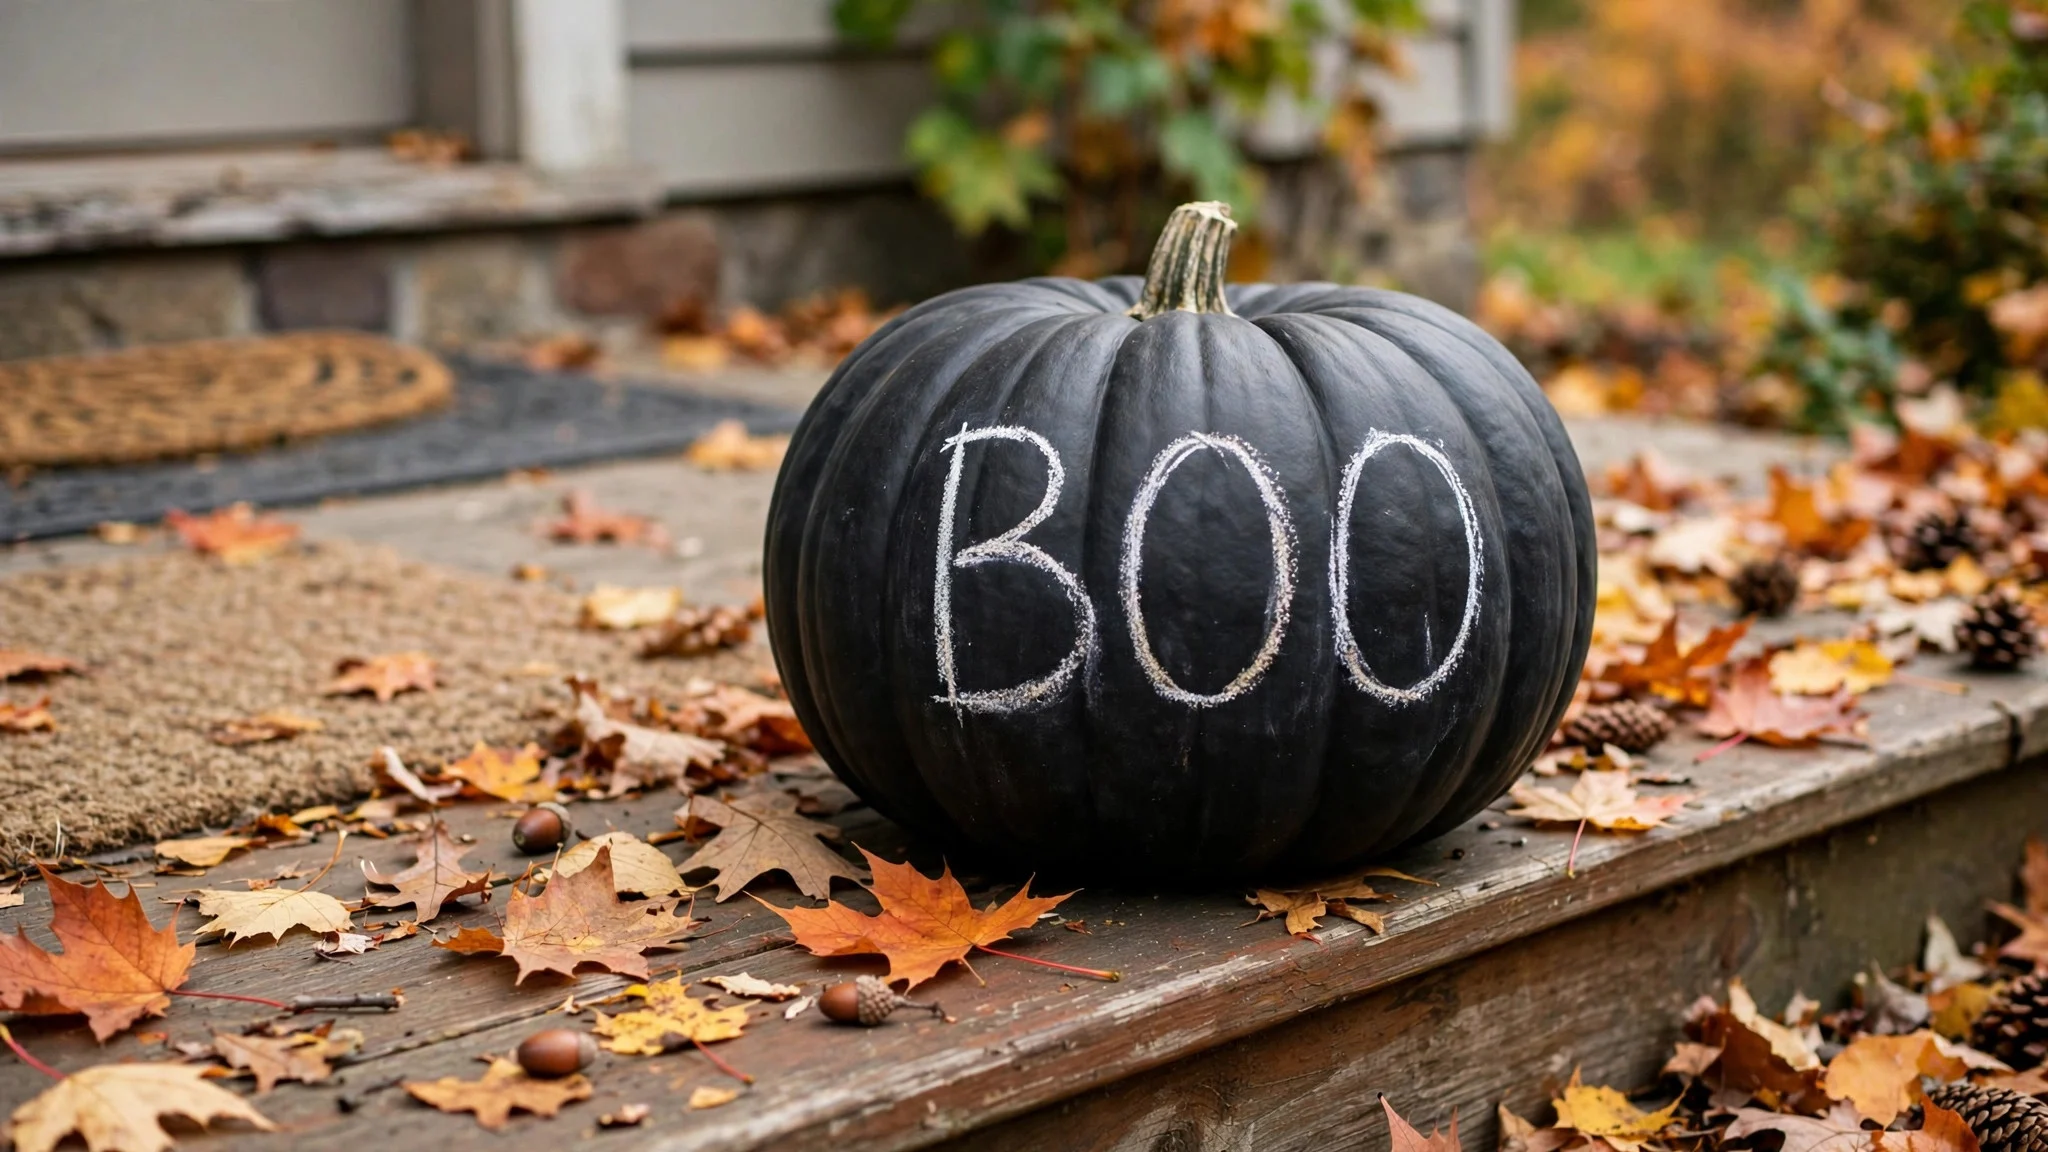
Paint a pumpkin with chalkboard paint and you get a pumpkin you can rewrite all month. Mine said “BOO” for the first two weeks, “TRICK OR TREAT” the week before Halloween, and “THANKFUL” after the holiday. It is the only decoration on this list that changes with your mood, and guests love spotting the new message. A small bottle of chalkboard paint covers several pumpkins.
How to do it: first, give the pumpkin two to three thin coats of chalkboard paint, letting each coat dry fully. Second, rub the side of a chalk stick over the painted surface and wipe it off to “season” it, which keeps your writing from ghosting. Third, write your message in real chalk, not a chalk marker, so you can wipe it clean and rewrite it anytime. The mistake to avoid: don’t rush the coats. I did one thick coat the first time to save time, and the chalk smeared into the tacky paint and ruined the whole surface. Thin coats, full drying time, no shortcuts.
Idea 6: Lace Wrap for an Elegant Gothic Look
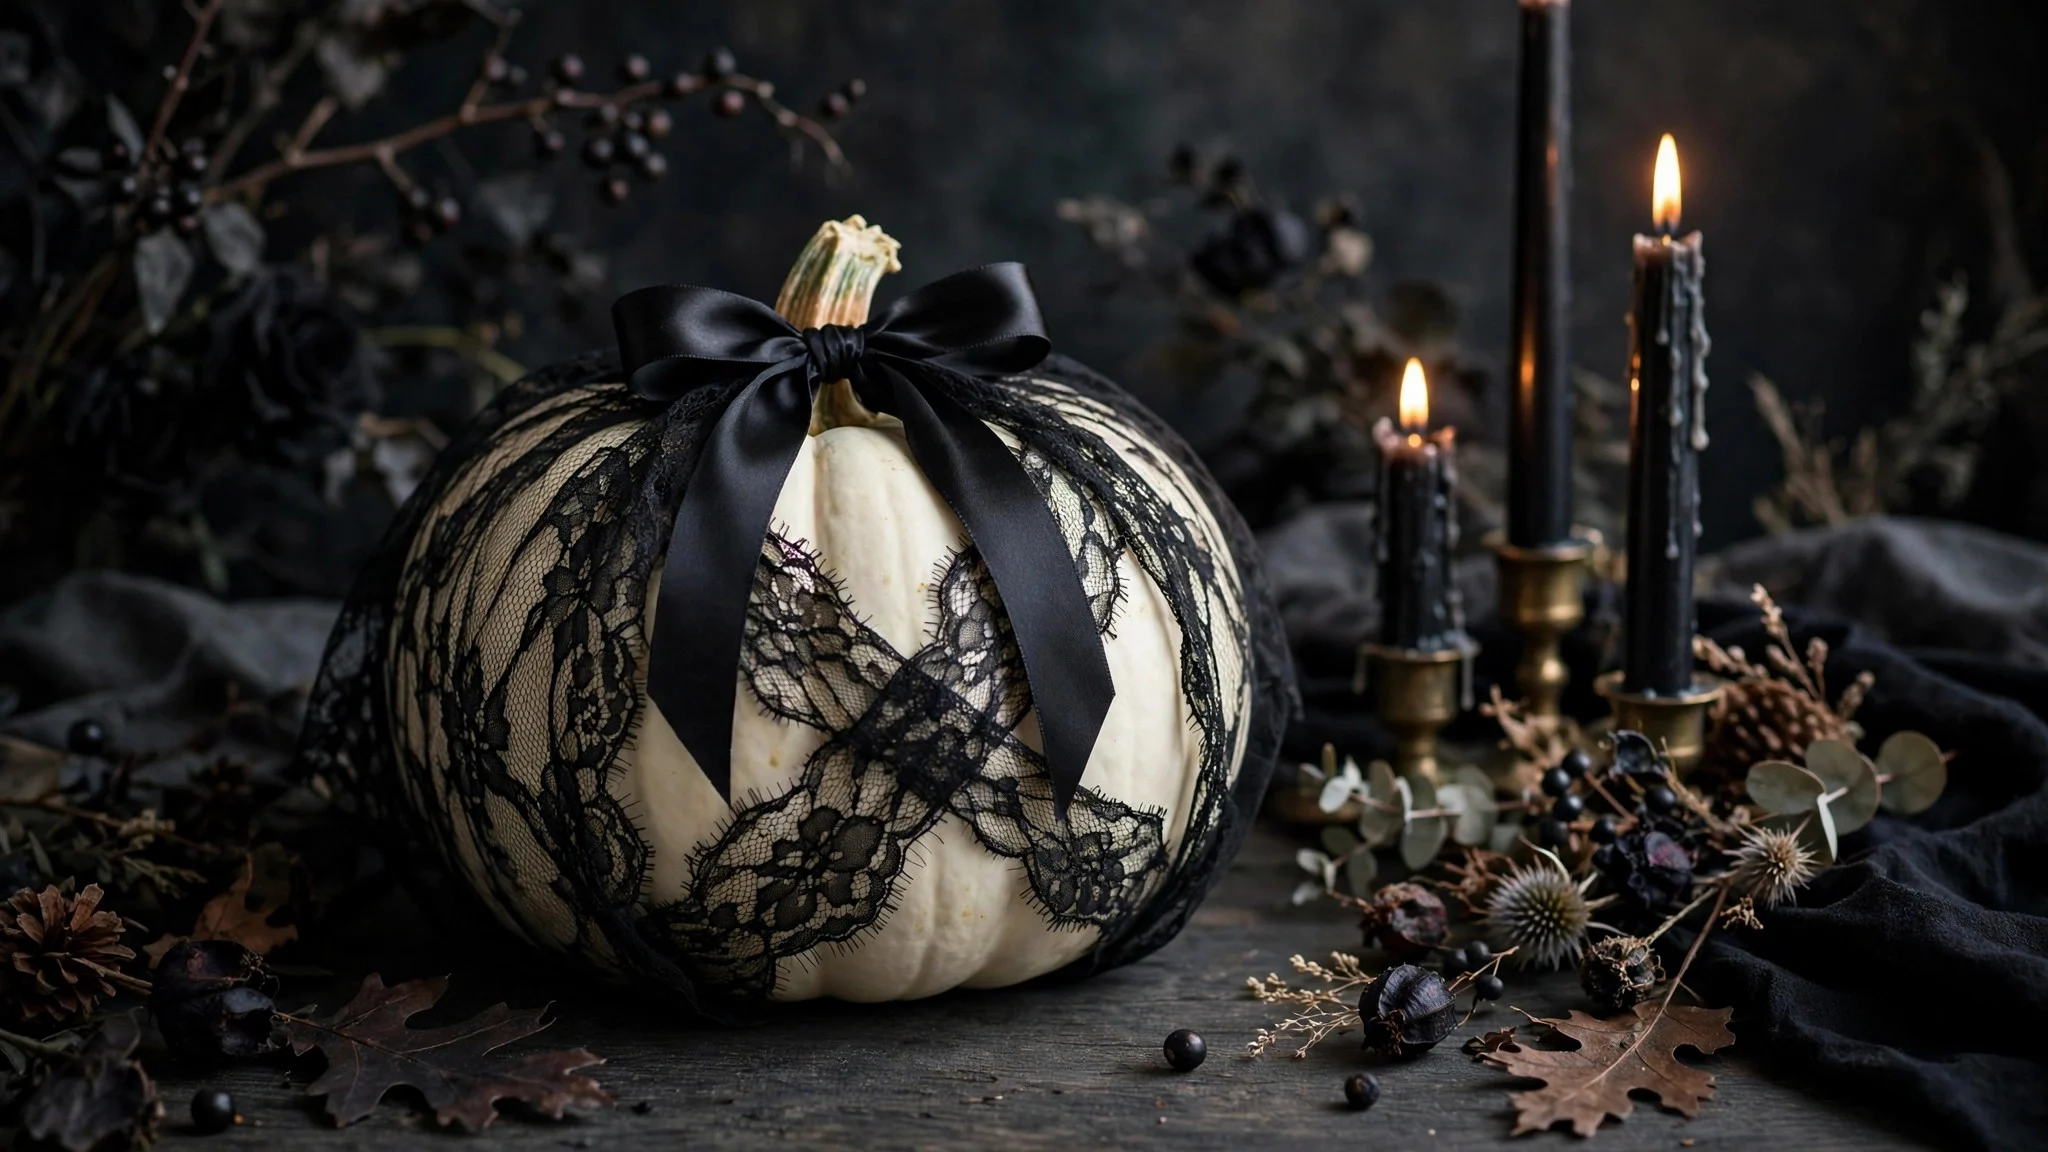
A white pumpkin wrapped in black lace is the prettiest Halloween decoration I own, and it takes about ten minutes. The lace softens the white rind into something that looks like a Victorian mourning decoration, especially with a black ribbon tied at the stem. I keep one on my bedroom dresser every October because it reads more “moody elegant” than “Halloween,” which means it works in rooms where orange pumpkins would look wrong.
How to do it: first, cut a piece of black lace fabric large enough to wrap around the pumpkin with overlap. Second, wrap it snugly and secure the seam at the back with a few dots of hot glue where nobody will see. Third, tie a black ribbon around the stem in a simple bow. What I’d do differently: glue only at the back seam. I glued the lace all over the pumpkin the first time and it buckled and pulled in weird places. A snug wrap with one glued seam sits smooth and looks far better.
Idea 7: The Stacked Mini-Pumpkin Topiary
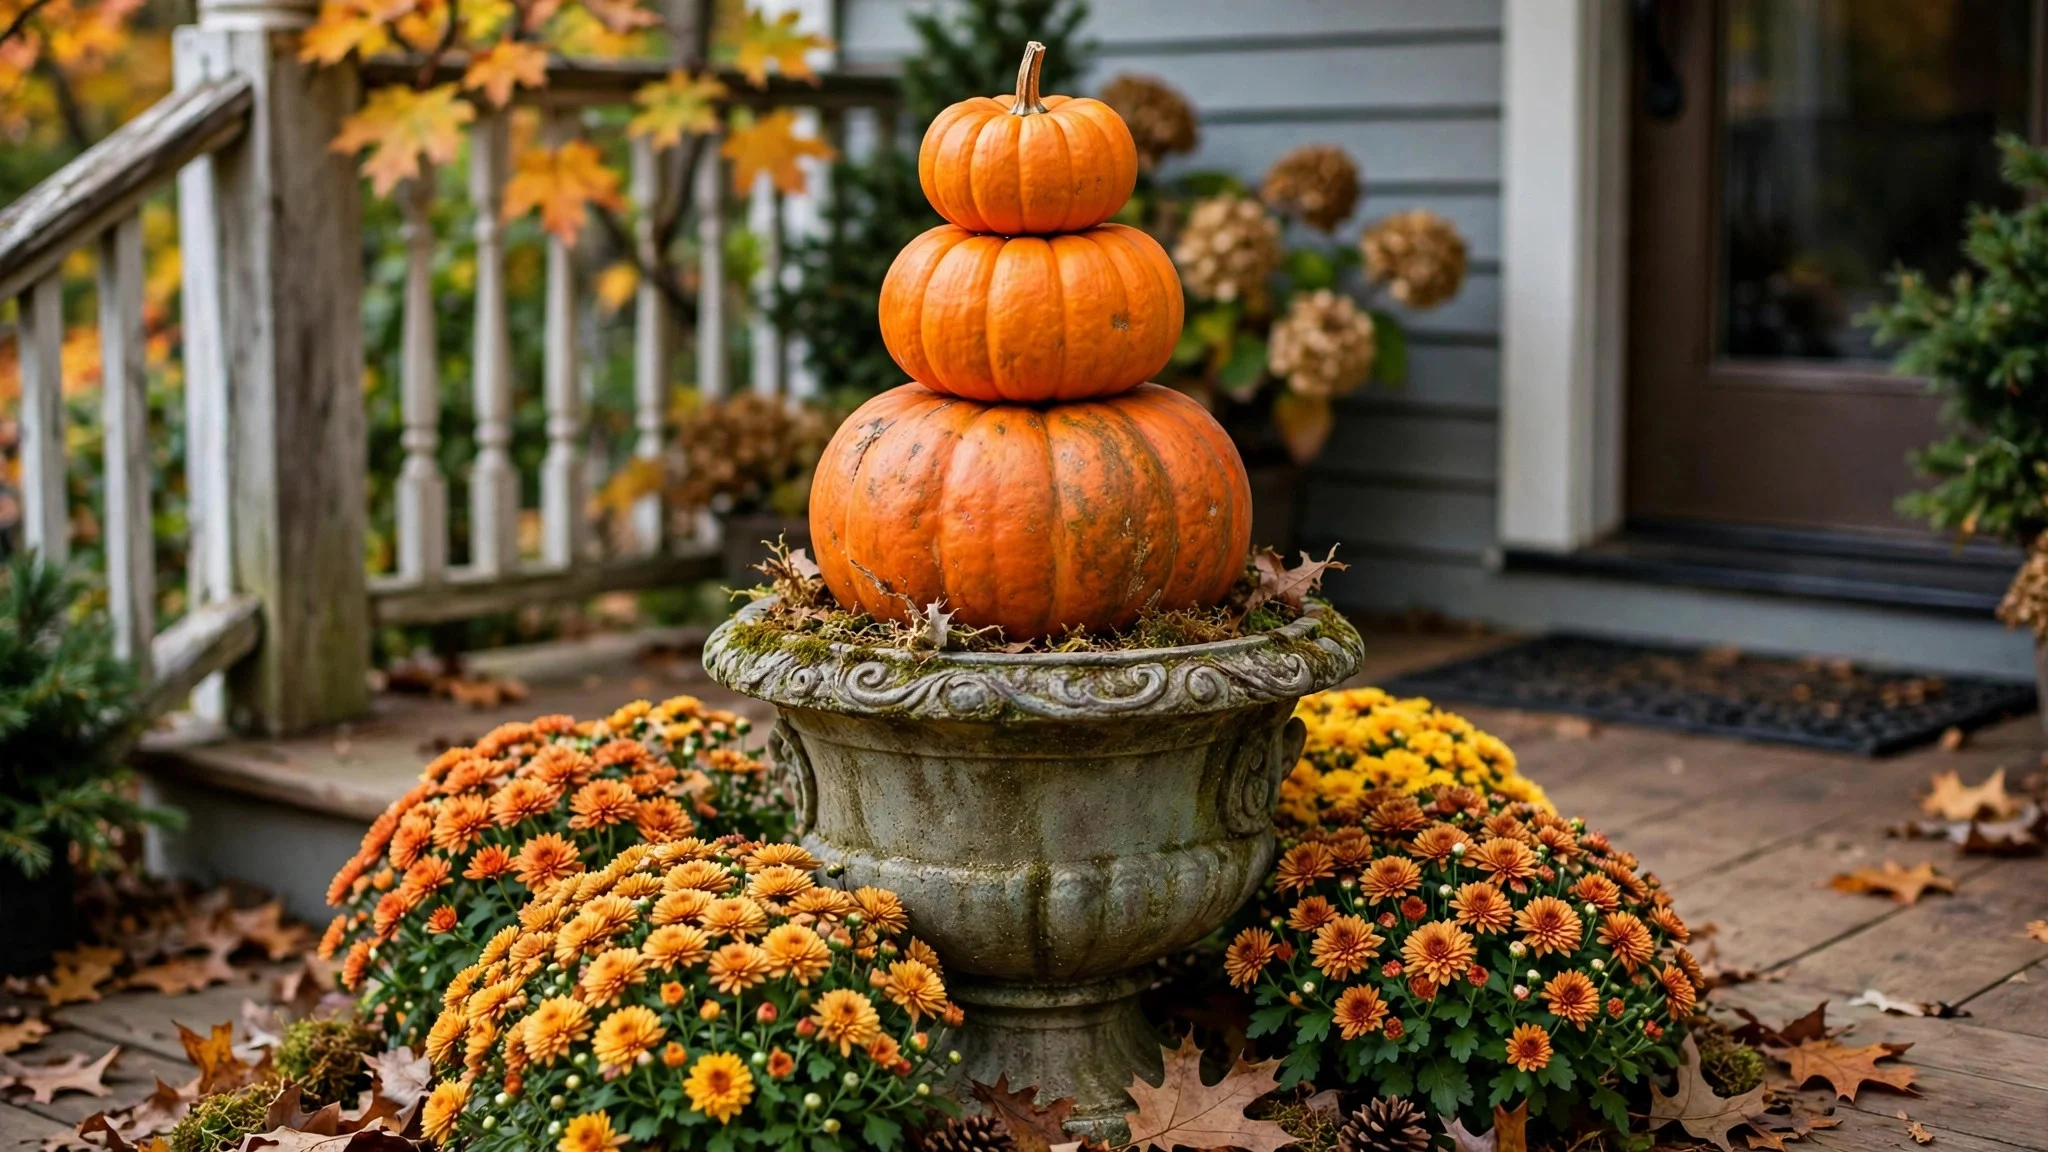
Stack three mini pumpkins from largest to smallest, run a wooden skewer through the middle to hold them together, and set the whole thing in a planter. It gives you a proper topiary shape for the price of three tiny pumpkins, and it looks fantastic flanking a front door. Mine sat on either side of my porch steps all October, and they were the first thing delivery drivers commented on. If you are still setting up your entryway, this pairs perfectly with my last-minute Halloween porch ideas.
How to do it: first, pick three mini pumpkins in descending sizes and a planter or urn heavy enough to stand steady. Second, fill the planter with soil or crumpled newspaper for weight, then push a wooden skewer down through the center of all three pumpkins from top to bottom. Third, set the stack into the planter and tuck moss or fall leaves around the base to hide the mechanics. The mistake to avoid: don’t skip the weight in the planter. My first topiary looked great until a windy night knocked it over and rolled all three pumpkins down the driveway. Rocks or a brick in the bottom of the urn fixes it permanently.
Idea 8: The Pumpkin Planter With Mums
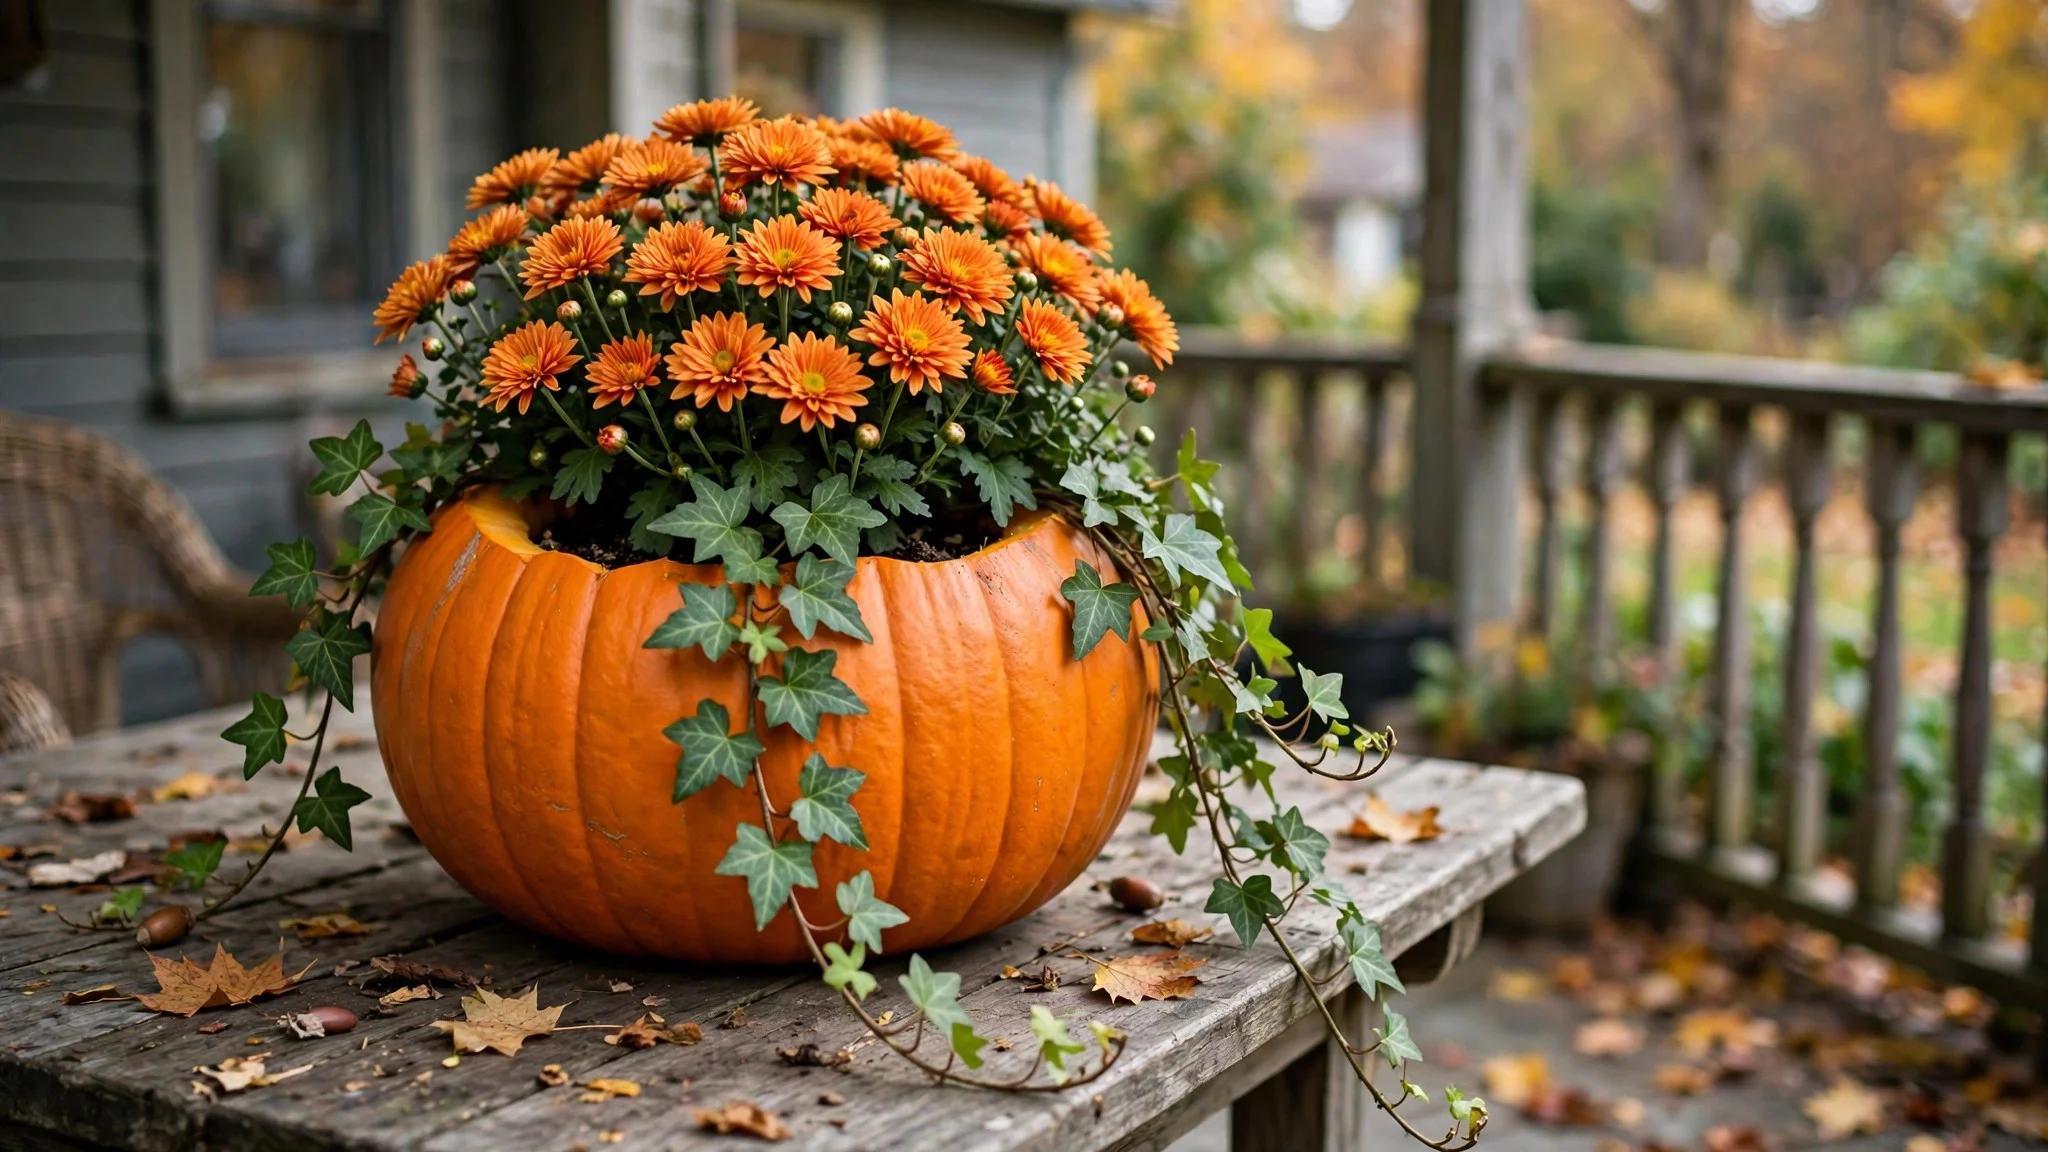
Cut the top off a medium pumpkin, scoop it out, and drop a potted mum inside. You get a living fall arrangement that looks like it came from a florist, and the orange rind frames the flowers perfectly. I made two of these for my porch table and they lasted three weeks, which is about three times longer than any carved pumpkin I ever made. When the pumpkin finally softened, I composted it and kept the mums.
How to do it: first, cut a wide opening in the top of the pumpkin and scoop out the seeds and pulp. Second, set a small potted mum, nursery pot and all, down inside the opening. Third, tuck trailing greenery or ivy around the pot’s edge to hide the plastic. What I’d do differently: keep the mum in its nursery pot instead of planting it directly in the pumpkin. I planted one straight into the pumpkin flesh the first year and the constant moisture rotted the whole thing in a week. The nursery pot lifts out for watering, and the pumpkin stays solid for weeks. Most of the supplies for this cost almost nothing if you shop my dollar store Halloween decor list first.
Idea 9: Stenciled Monogram Pumpkins
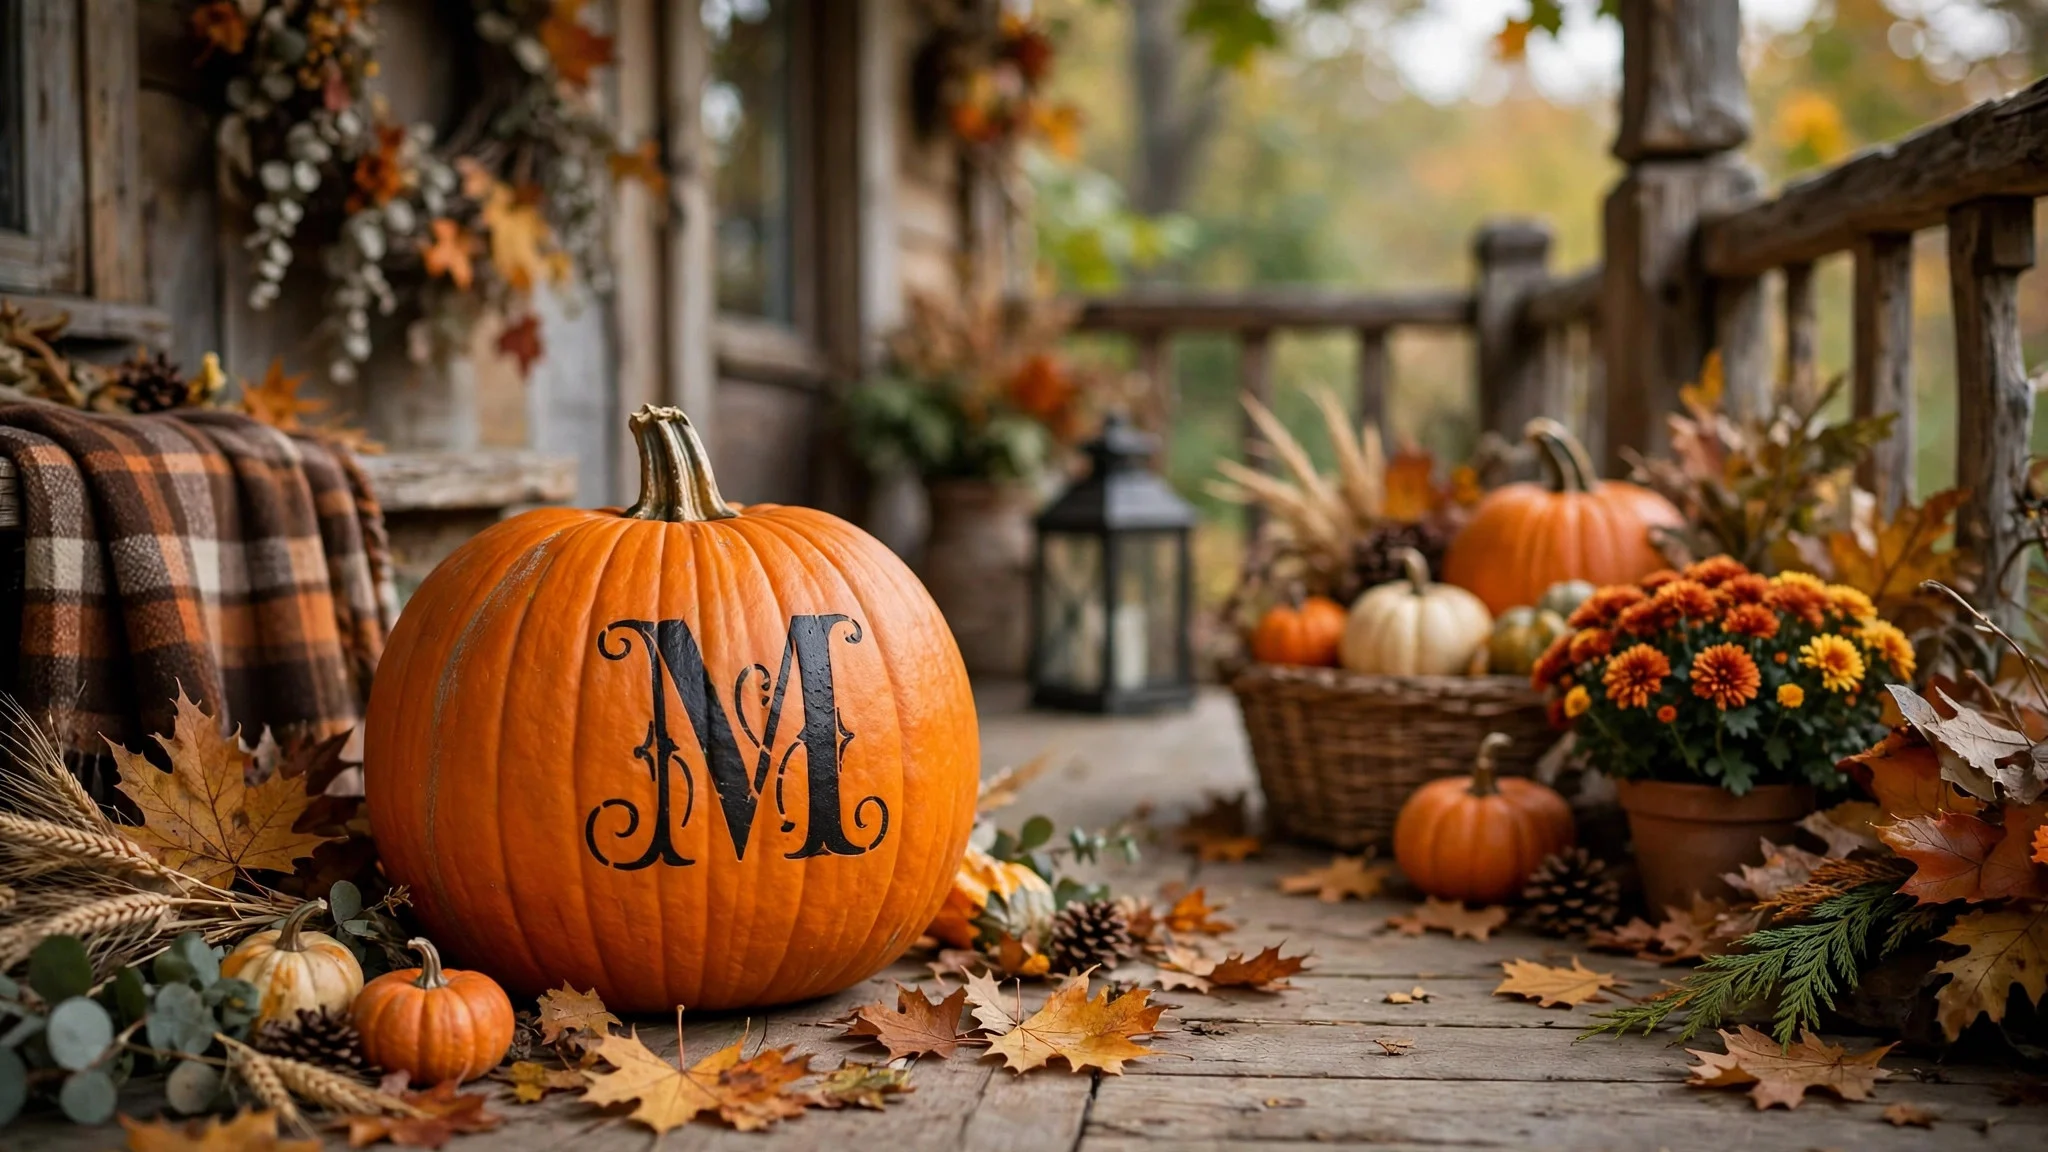
A single painted initial on a pumpkin turns a generic decoration into something personal. I stenciled our family initial on two orange pumpkins for the porch last year, and they looked like custom-ordered decor. This is also the best no-carve idea if you want your pumpkins to match your house, because you pick the paint color. Black on orange is classic, but white or gold on a green pumpkin looks incredible.
How to do it: first, position a letter stencil on the flattest side of the pumpkin and tape it down firmly so it can’t shift. Second, dab paint on with a foam pouncer, straight up and down, building up two light coats. Third, peel the stencil off while the paint is still slightly tacky for the cleanest edge. The mistake to avoid: don’t use a regular paintbrush. I brushed the first letter on and every brush stroke showed through the paint. A foam pouncer gives you a flat, even letter with no strokes at all.
Idea 10: Metallic Spray-Painted Pumpkins
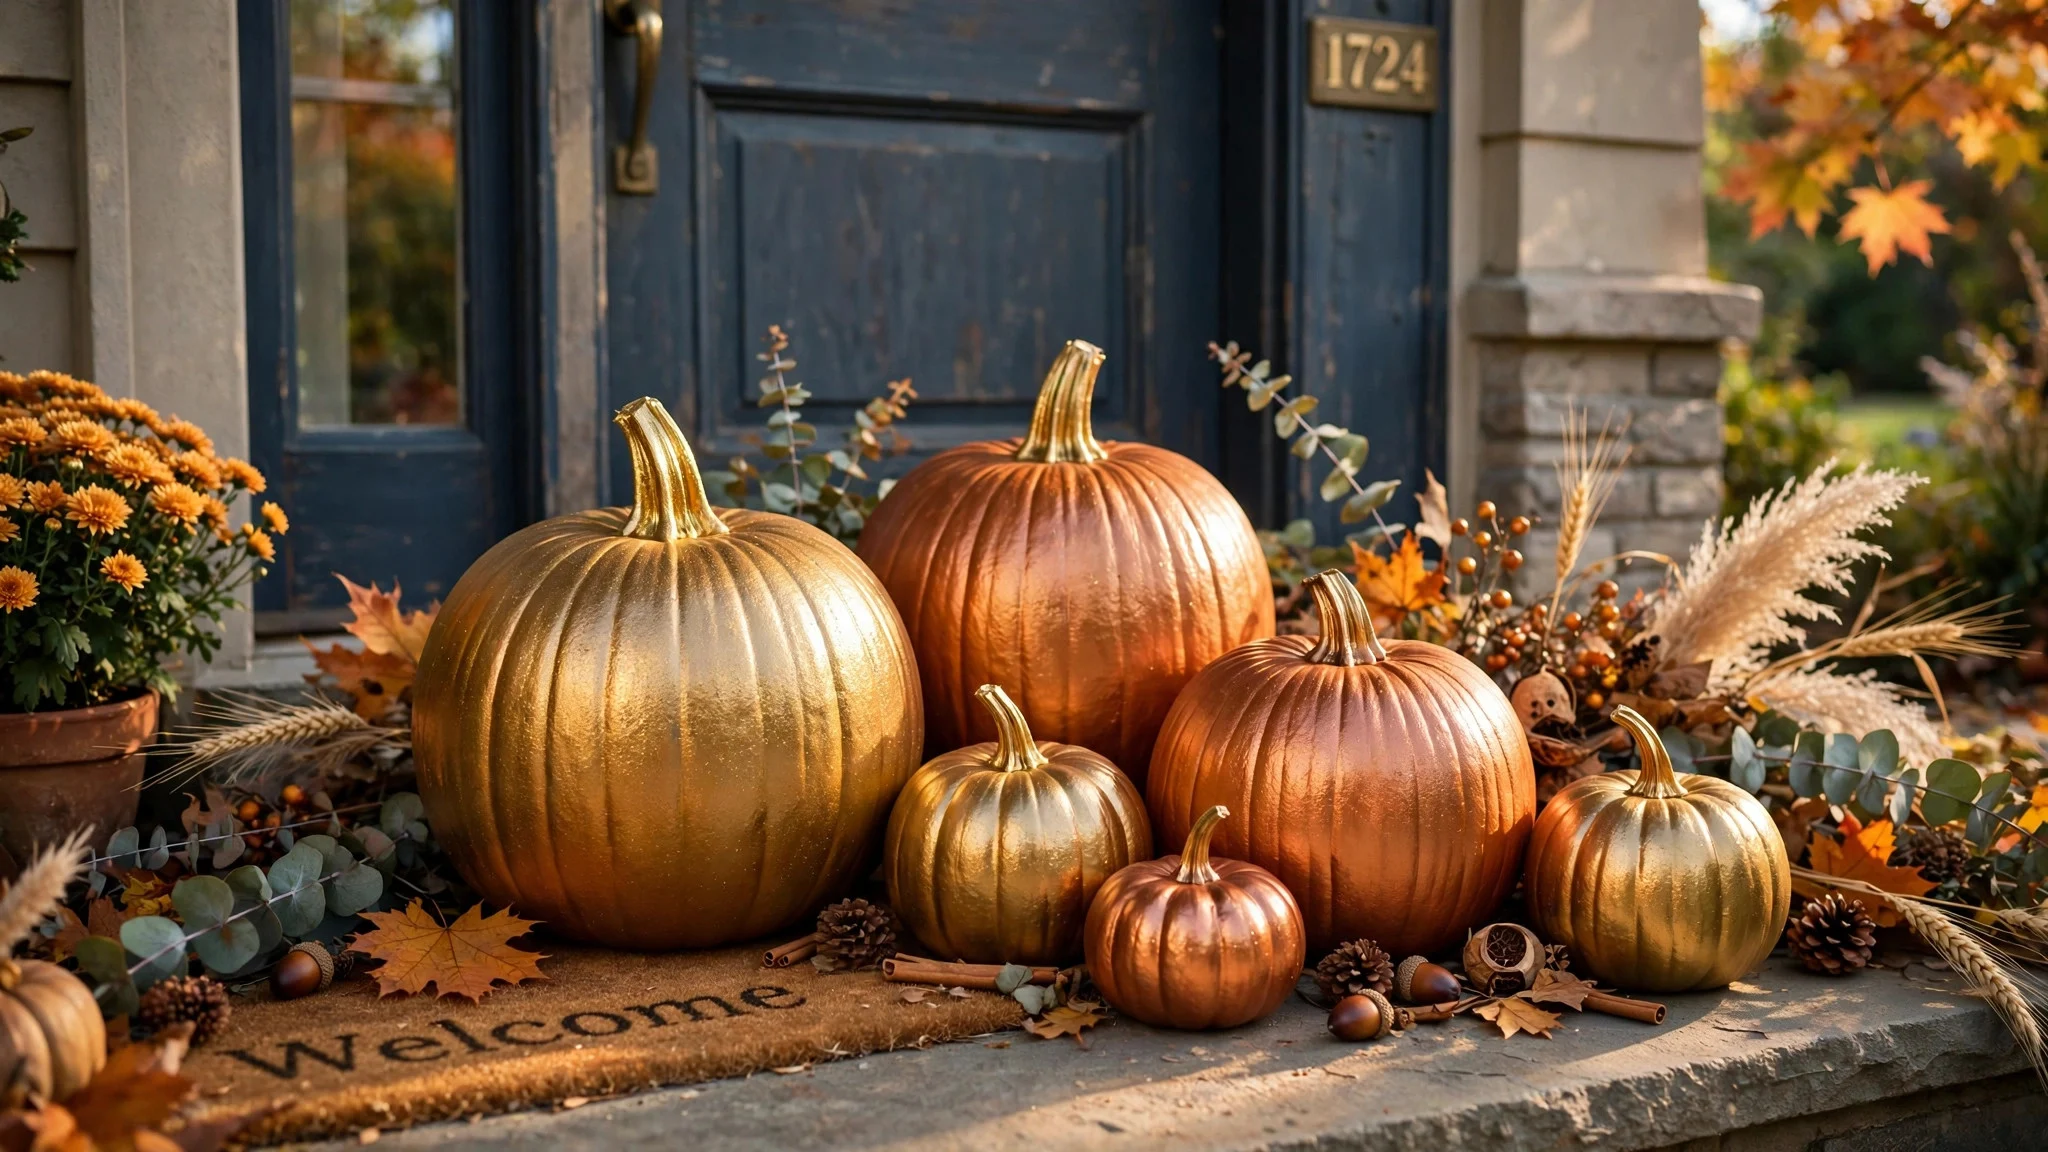
Gold and copper spray paint turns ordinary pumpkins into the kind of glam fall decor you see in magazines. A group of three in mixed metallics, different sizes, clustered on a doorstep, catches the afternoon light in a way that plain orange never does. This is the fastest idea on the list. I sprayed six pumpkins in one afternoon and had my whole porch done before dinner.
How to do it: first, wipe the pumpkins clean and take them outside or into the garage, never spray indoors. Second, apply two to three light, even coats, keeping the can about ten inches away and moving constantly. Third, let them dry fully between coats and overnight before handling. The mistake to avoid: don’t hold the can too close or linger in one spot. I got impatient on my first batch and the paint ran in drips down two pumpkins. Light passes, steady movement, and the finish comes out smooth.
Quick Recap
The best part of skipping the knife is that every one of these lasts for weeks instead of days, so your October decorating actually survives until Halloween. Start with the white-pumpkin minimal look if you want something done in five minutes, try the decoupage or gold leaf if you want a craft afternoon, and go for the topiary or the mum planter if your porch needs a statement. Whichever you pick, you will spend zero minutes scraping pumpkin guts out of your kitchen, and that alone makes this the best Halloween decision I have made in years.