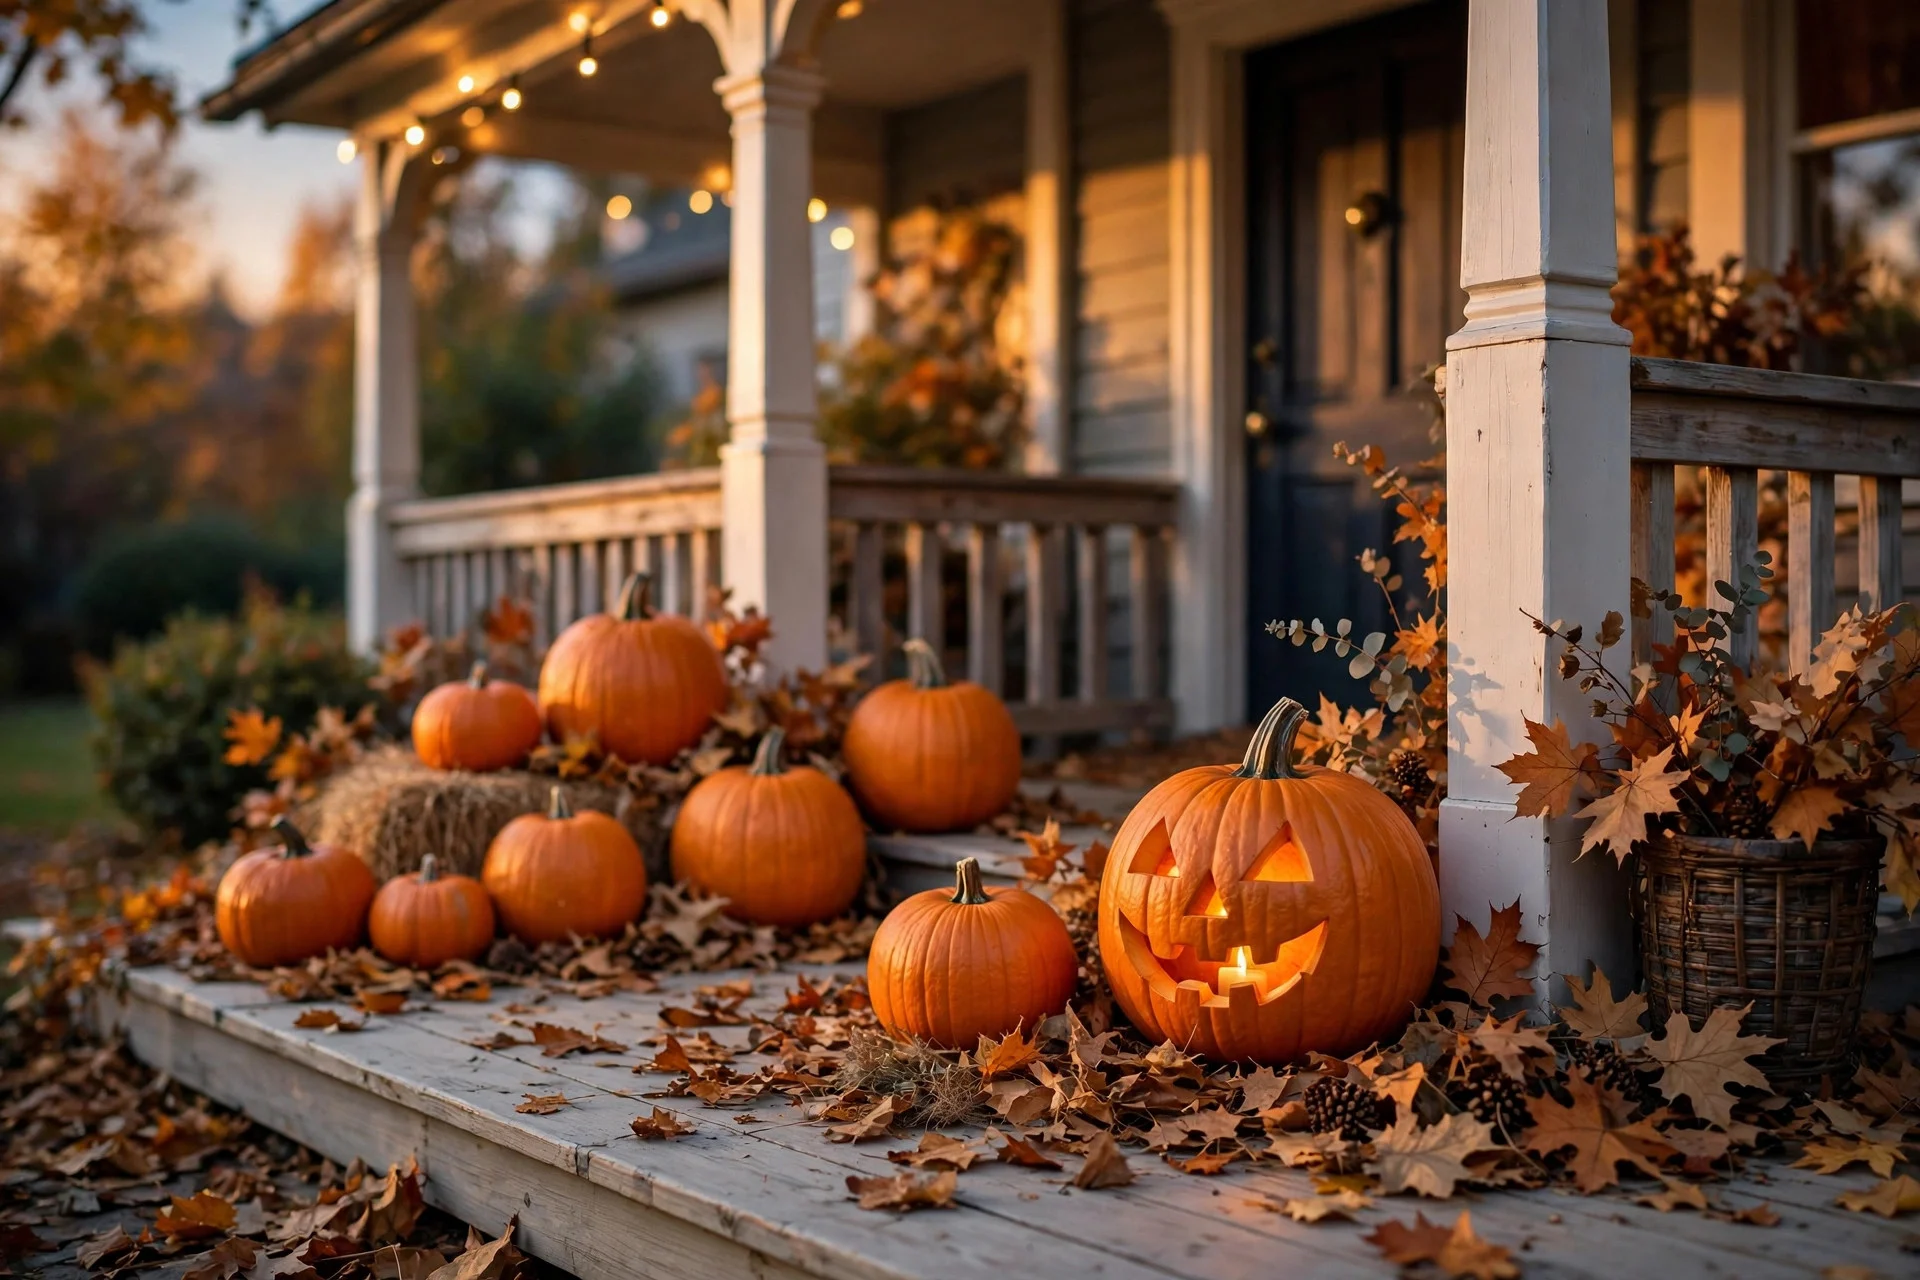
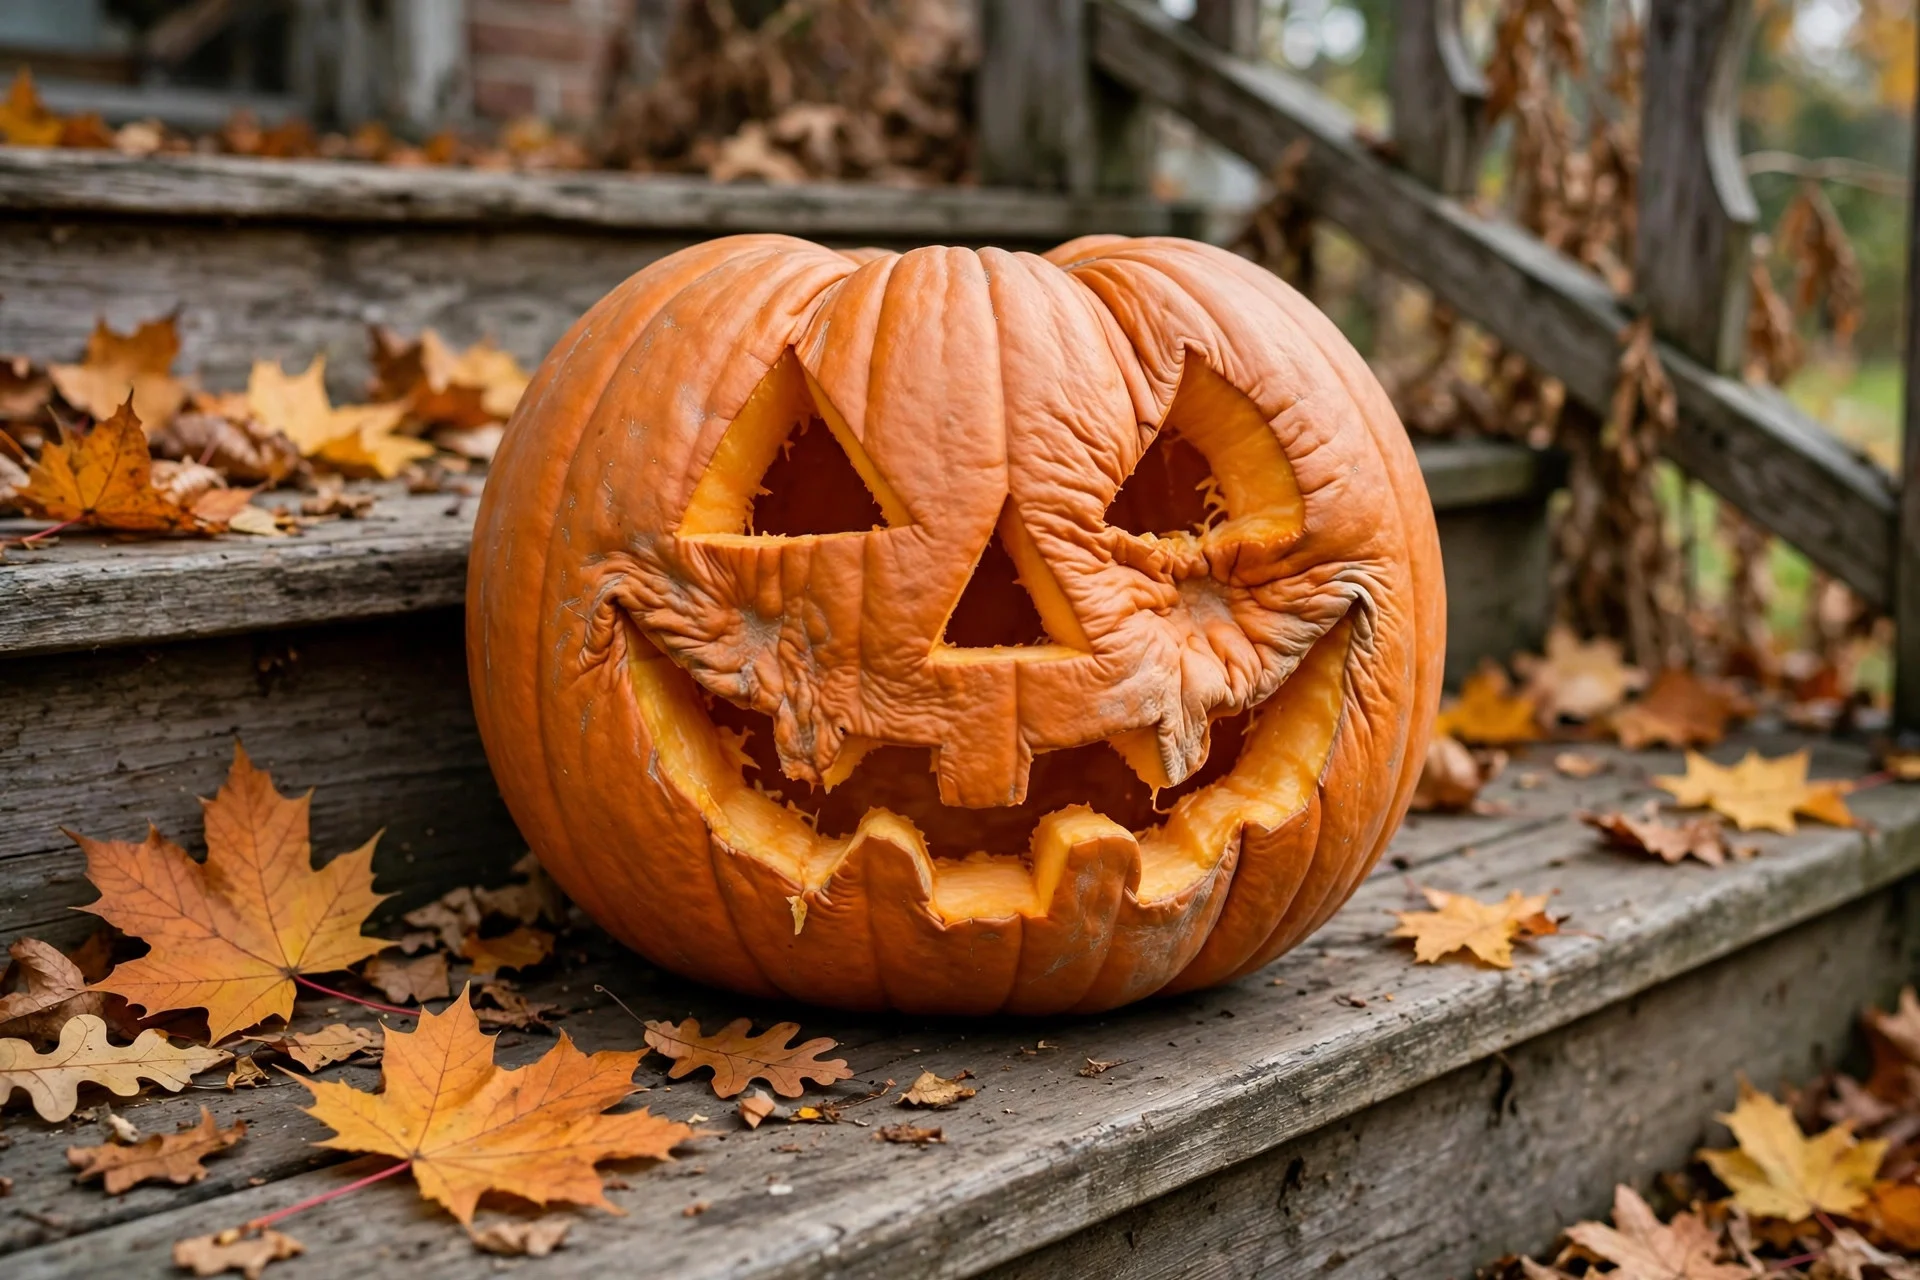
Two years ago I put a carved pumpkin on the front steps on a Saturday afternoon, proud as anything, and by the following Friday it had caved in like a deflated balloon. The face I had spent an hour cutting sagged into a sad, slimy grin, and the whole thing smelled faintly sour every time we opened the front door. Halloween was still a week away. I had picked a good-looking pumpkin and carved it the weekend before, and it still did not make it. That collapse taught me the one thing that matters about porch pumpkins: a carved pumpkin is a piece of fruit sitting outside, and fruit has a clock on it from the moment you cut into it.
The Short Answer: Carved vs. Uncarved
Here is the number everyone wants first. An uncarved pumpkin on a porch in cool autumn weather will usually last eight to twelve weeks, sometimes longer if the weather stays mild and dry. A carved pumpkin lasts about five to ten days, and in warm weather it can be more like three to five. That gap is the whole story: cutting into a pumpkin starts a countdown that no trick can fully stop, while leaving the skin intact keeps the pumpkin’s own protection working for you. Think of the rind as a sealed wrapper. As long as it is unbroken, bacteria and mould have a hard time getting in.
So the real question is how long you need it to last. Carve within a week of Halloween and five to seven good days is reasonable — enough for the main event. Carve two weeks early because you are excited, and you are asking a cut fruit to survive twice as long as it wants to. My rule now is simple: let whole pumpkins, gourds, and mums do the early decorating, and add the carved jack-o’-lantern at the last minute. That pairs naturally with a last-minute porch plan for the final weekend.
Why Carved Pumpkins Rot So Fast
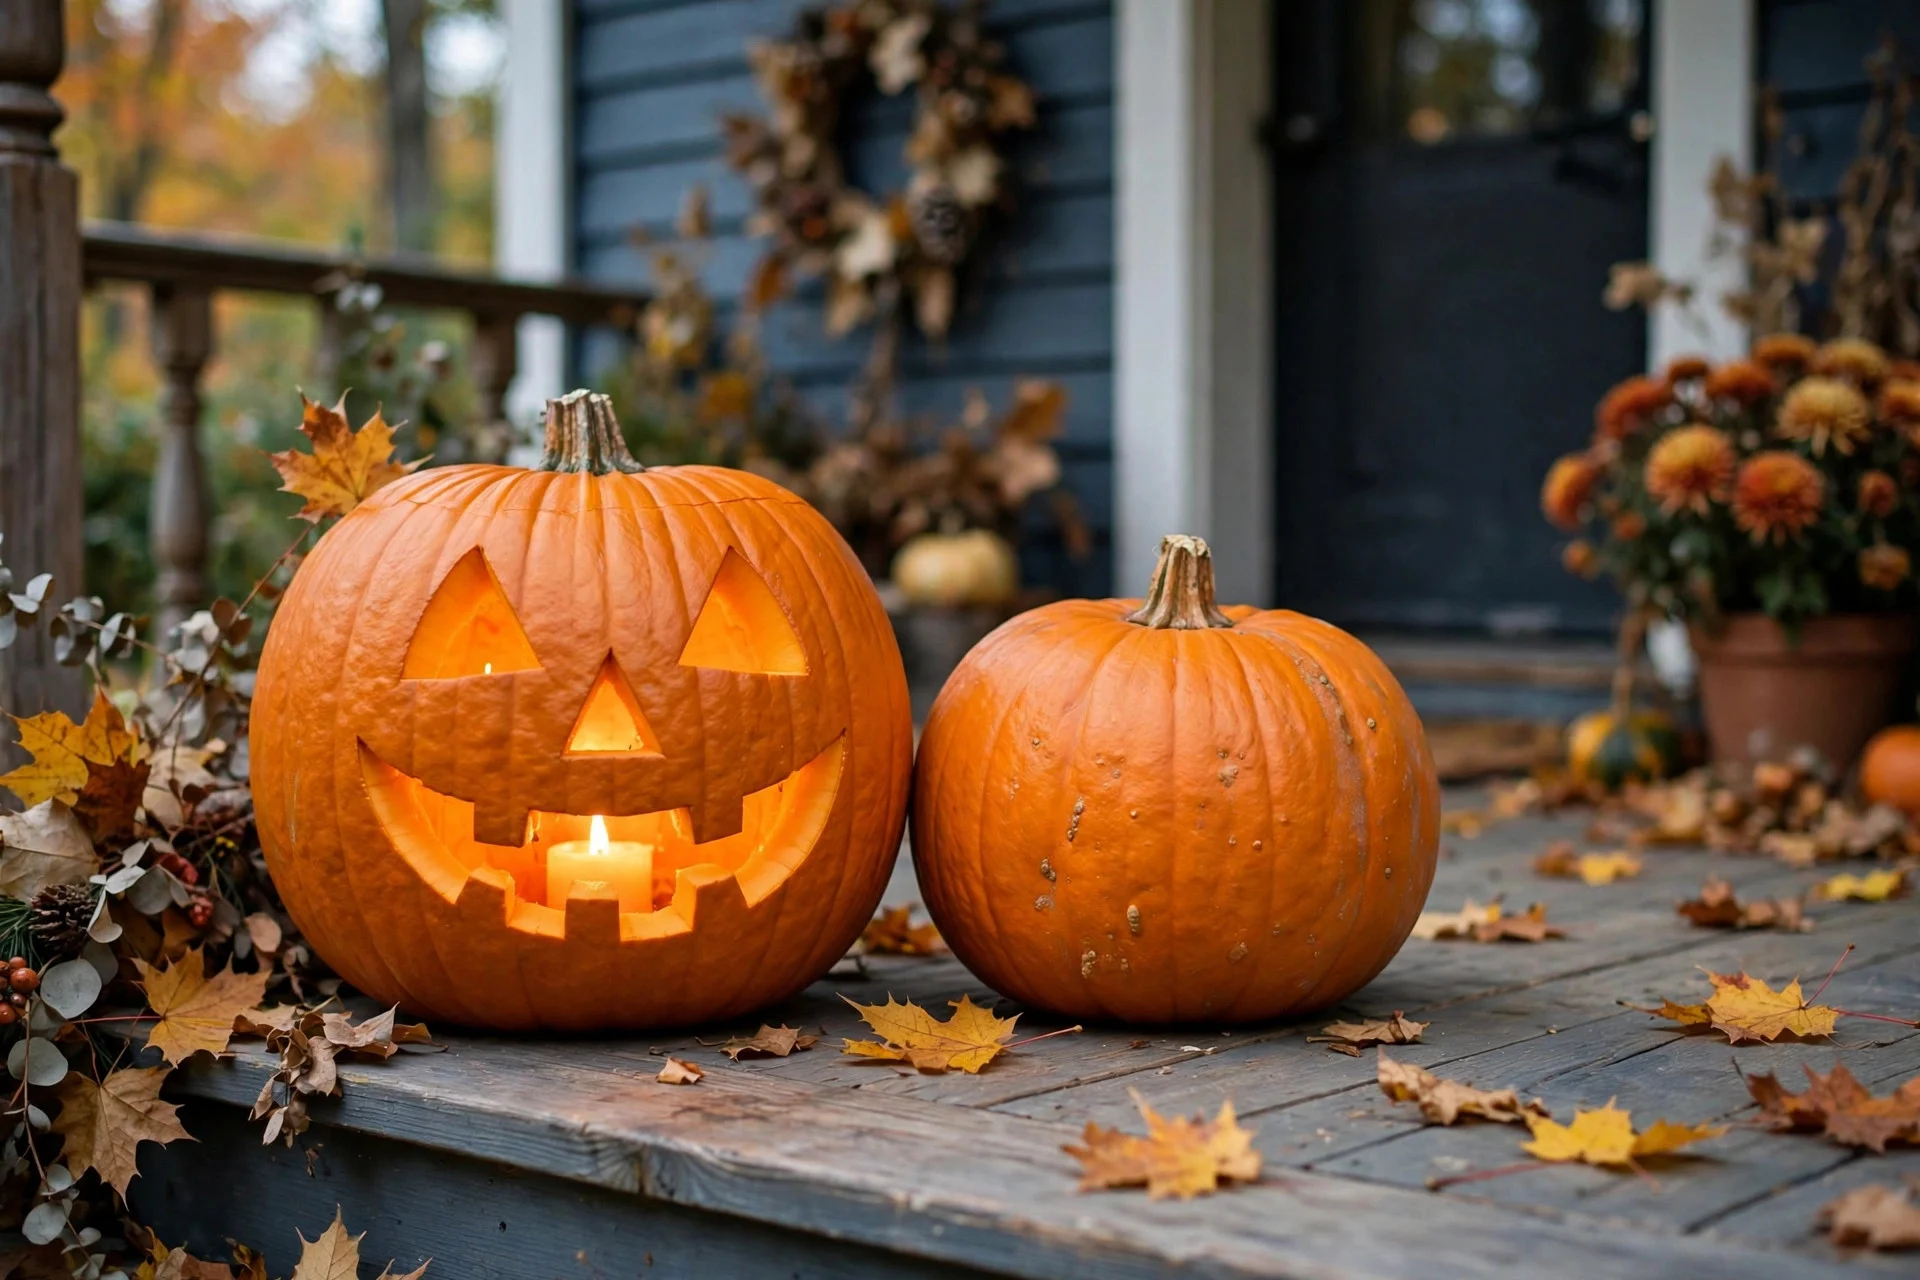
It helps to know what is actually happening inside that carved pumpkin, because once you see it, the care tips stop feeling random. A pumpkin is mostly water and soft flesh — a perfect food source for mould and bacteria. The thick rind is the only thing standing between that flesh and the outside world. Carving breaks that barrier in the worst possible way: every cut edge is exposed flesh, and the hollow inside is warm, damp, and dark, exactly the conditions mould loves. Add a candle, and you make it worse, because the heat warms the flesh and speeds up everything already trying to break it down.
The second culprit is moisture loss, working in the opposite direction at the same time. Cut edges dry out, shrivel, and pull inward, which is why a carved face starts to look pinched before it ever turns soft. One mistake I made for years was scooping the pumpkin too thinly, thinking a thinner wall would glow better. It does glow nicely, but a wall scraped paper-thin has almost no structure left, so it caves in days earlier. Leave the walls an inch thick and scoop thoroughly — a slightly dimmer glow beats a face that caves in early.
What Weather Does to a Porch Pumpkin
Weather is the single biggest variable you cannot control, and it explains why the same pumpkin can last ten days one year and four the next. Heat is the worst enemy. Once daytime temperatures climb above about 70 degrees, rot accelerates sharply, and a carved pumpkin in direct afternoon sun can start softening within a couple of days. Shade is worth more than any preservative spray. Frost is the other extreme: a hard freeze damages the flesh inside an uncarved pumpkin too, turning it soft and mushy once it thaws, and a carved pumpkin rarely recovers from a frozen night.
Rain sits somewhere in the middle. But sitting in a puddle is a different story. Standing water softens the bottom, invites mould, and can rot the base out from under the pumpkin while the top still looks fine. The fix is simple: set pumpkins on something that drains, like a wooden board or a wire rack, and move them under cover during a long downpour. My routine now is three steps. First, check the forecast before carving day, and if a warm spell is coming, delay carving by a few days. Second, place carved pumpkins in the shadiest part of the porch, even if that is not the most photogenic corner. Third, bring them into the garage on frosty nights and set them back out in the morning. The same thinking applies to apartment-friendly Halloween setups.
Picking a Pumpkin That Lasts Longer
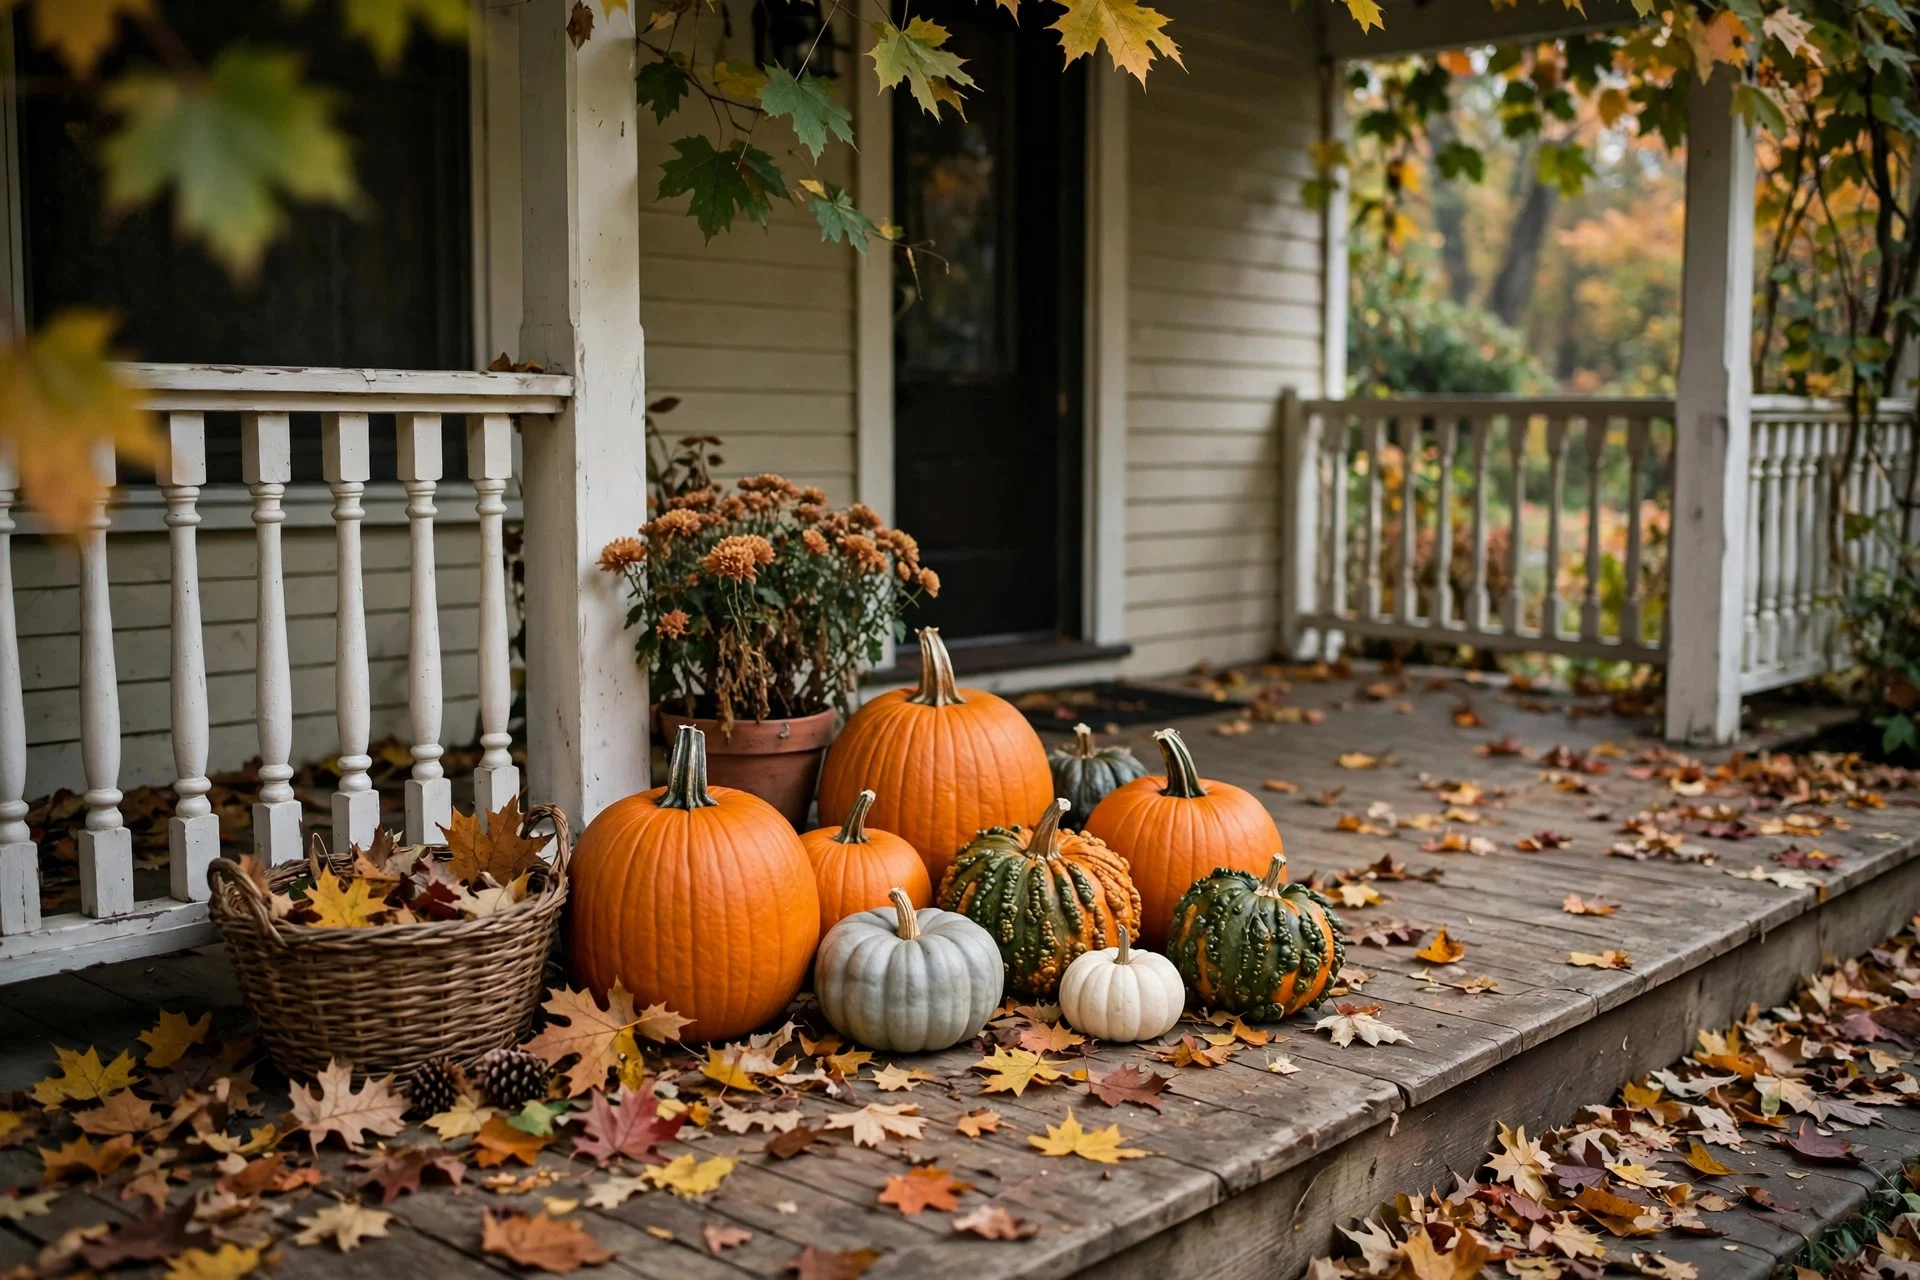
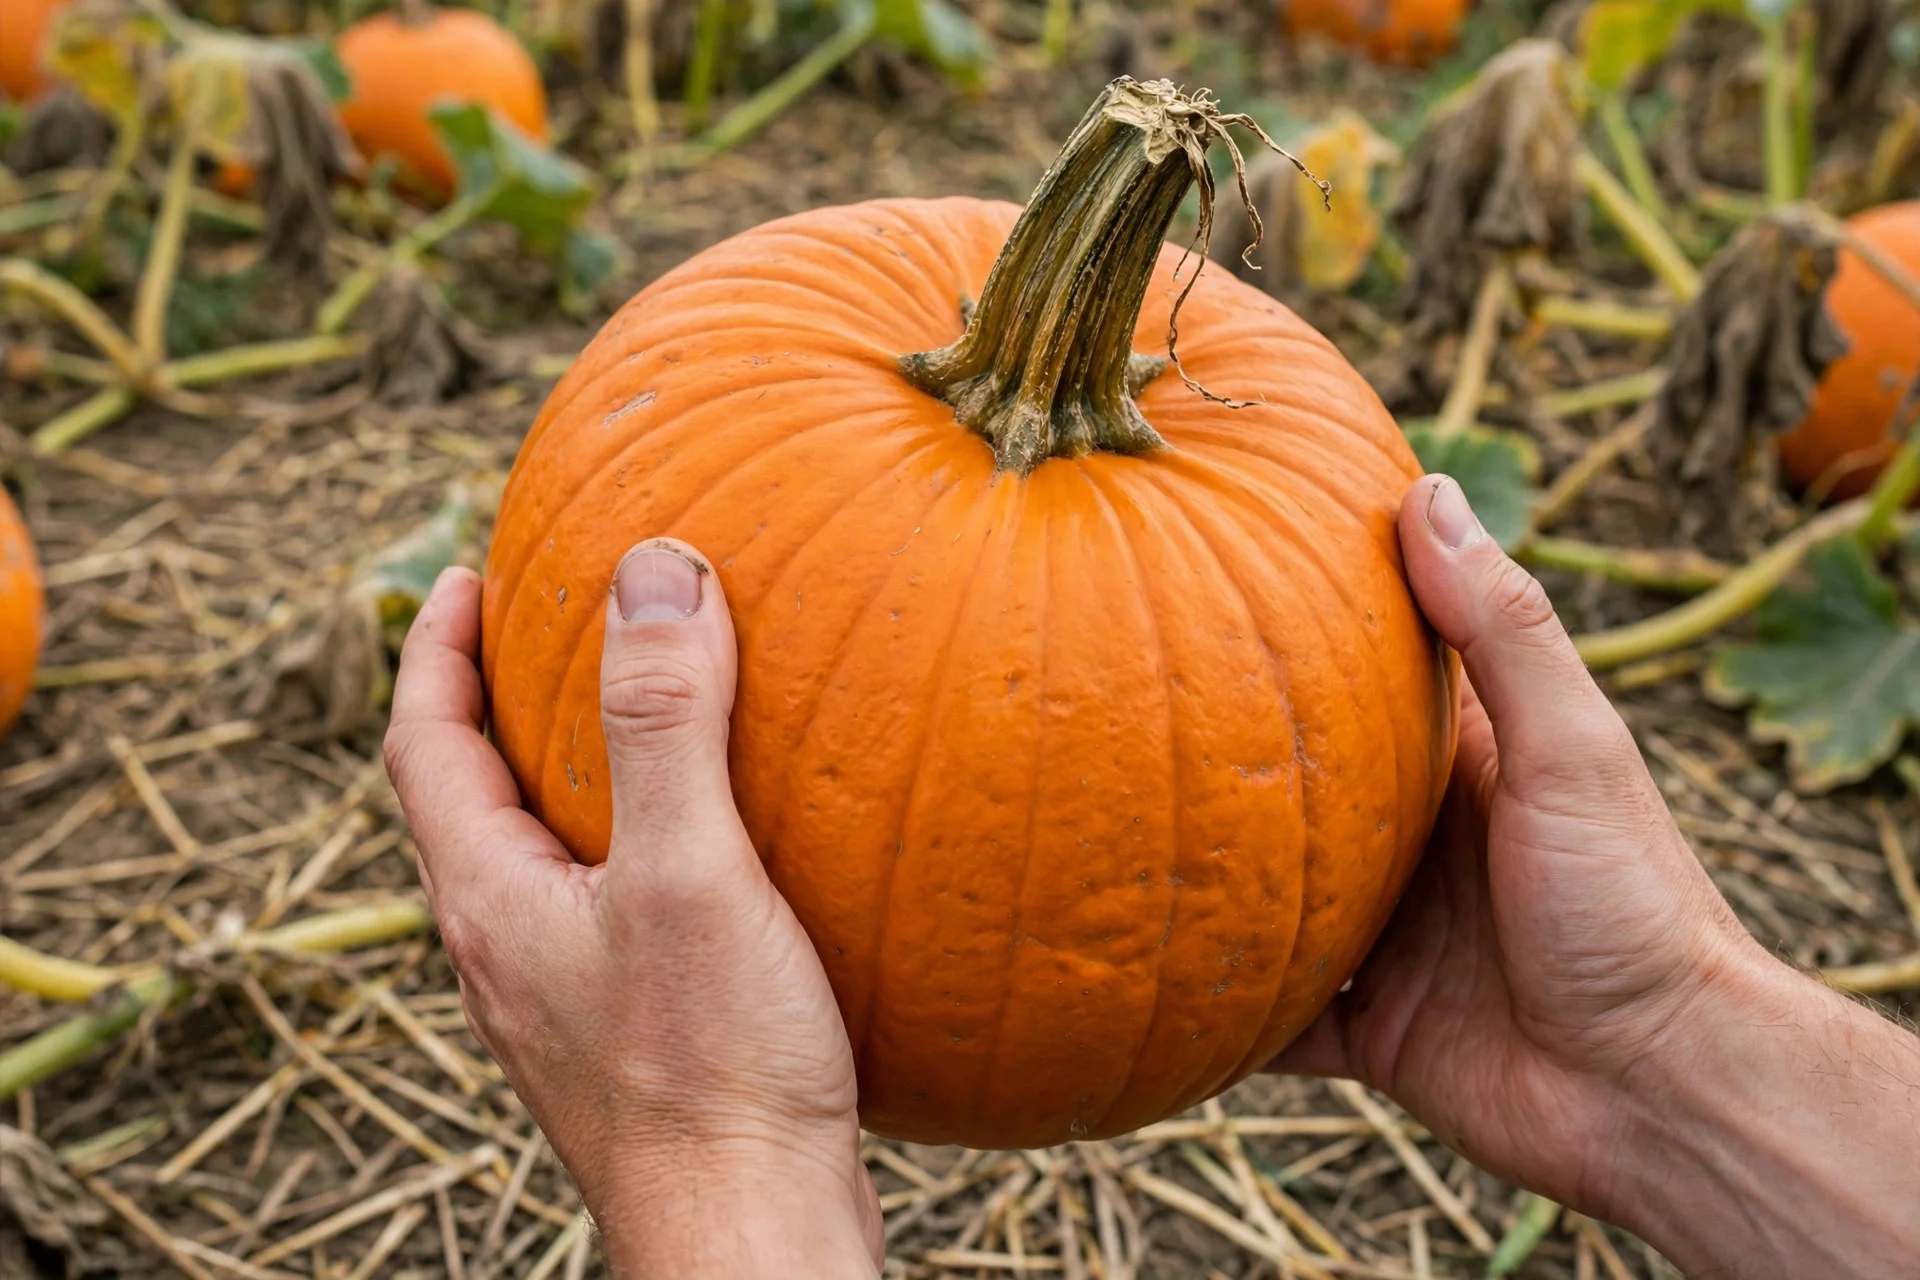
Longevity starts at the pumpkin patch, or the grocery store pile, long before a knife comes out. The best pumpkin for carving is not necessarily the biggest or the roundest — it is the healthiest. Pick it up and feel the weight: a good pumpkin feels heavy for its size, which means the flesh is dense and well-hydrated, not drying out already. Look for a rind that is firm all over, with no soft spots, dents, or dark patches. Press gently with your thumb in a few places; if any spot gives, that pumpkin is already starting to break down inside, and carving will only speed it up. Check the stem too. A firm, attached stem is a good sign. Skip pumpkins with a missing or wobbly stem — that is an open wound where rot starts.
One more check that people forget: look at the bottom. Set the pumpkin down and see if it sits flat without rocking, and check the base for flattening, bruising, or damp softness from sitting on wet ground. The classic mistake is falling in love with a shape — the tall, dramatic one, or the perfectly lopsided character pumpkin — and ignoring a soft spot on the back. I have done it, and I have regretted it every time, because the pumpkin always rots from the spot you chose to ignore. Pick the healthy pumpkin first, then find a design that suits it. While you wait for carving week, a tasteful Halloween look built on whole pumpkins keeps the porch looking finished.
Prep Tricks Before It Goes Outside
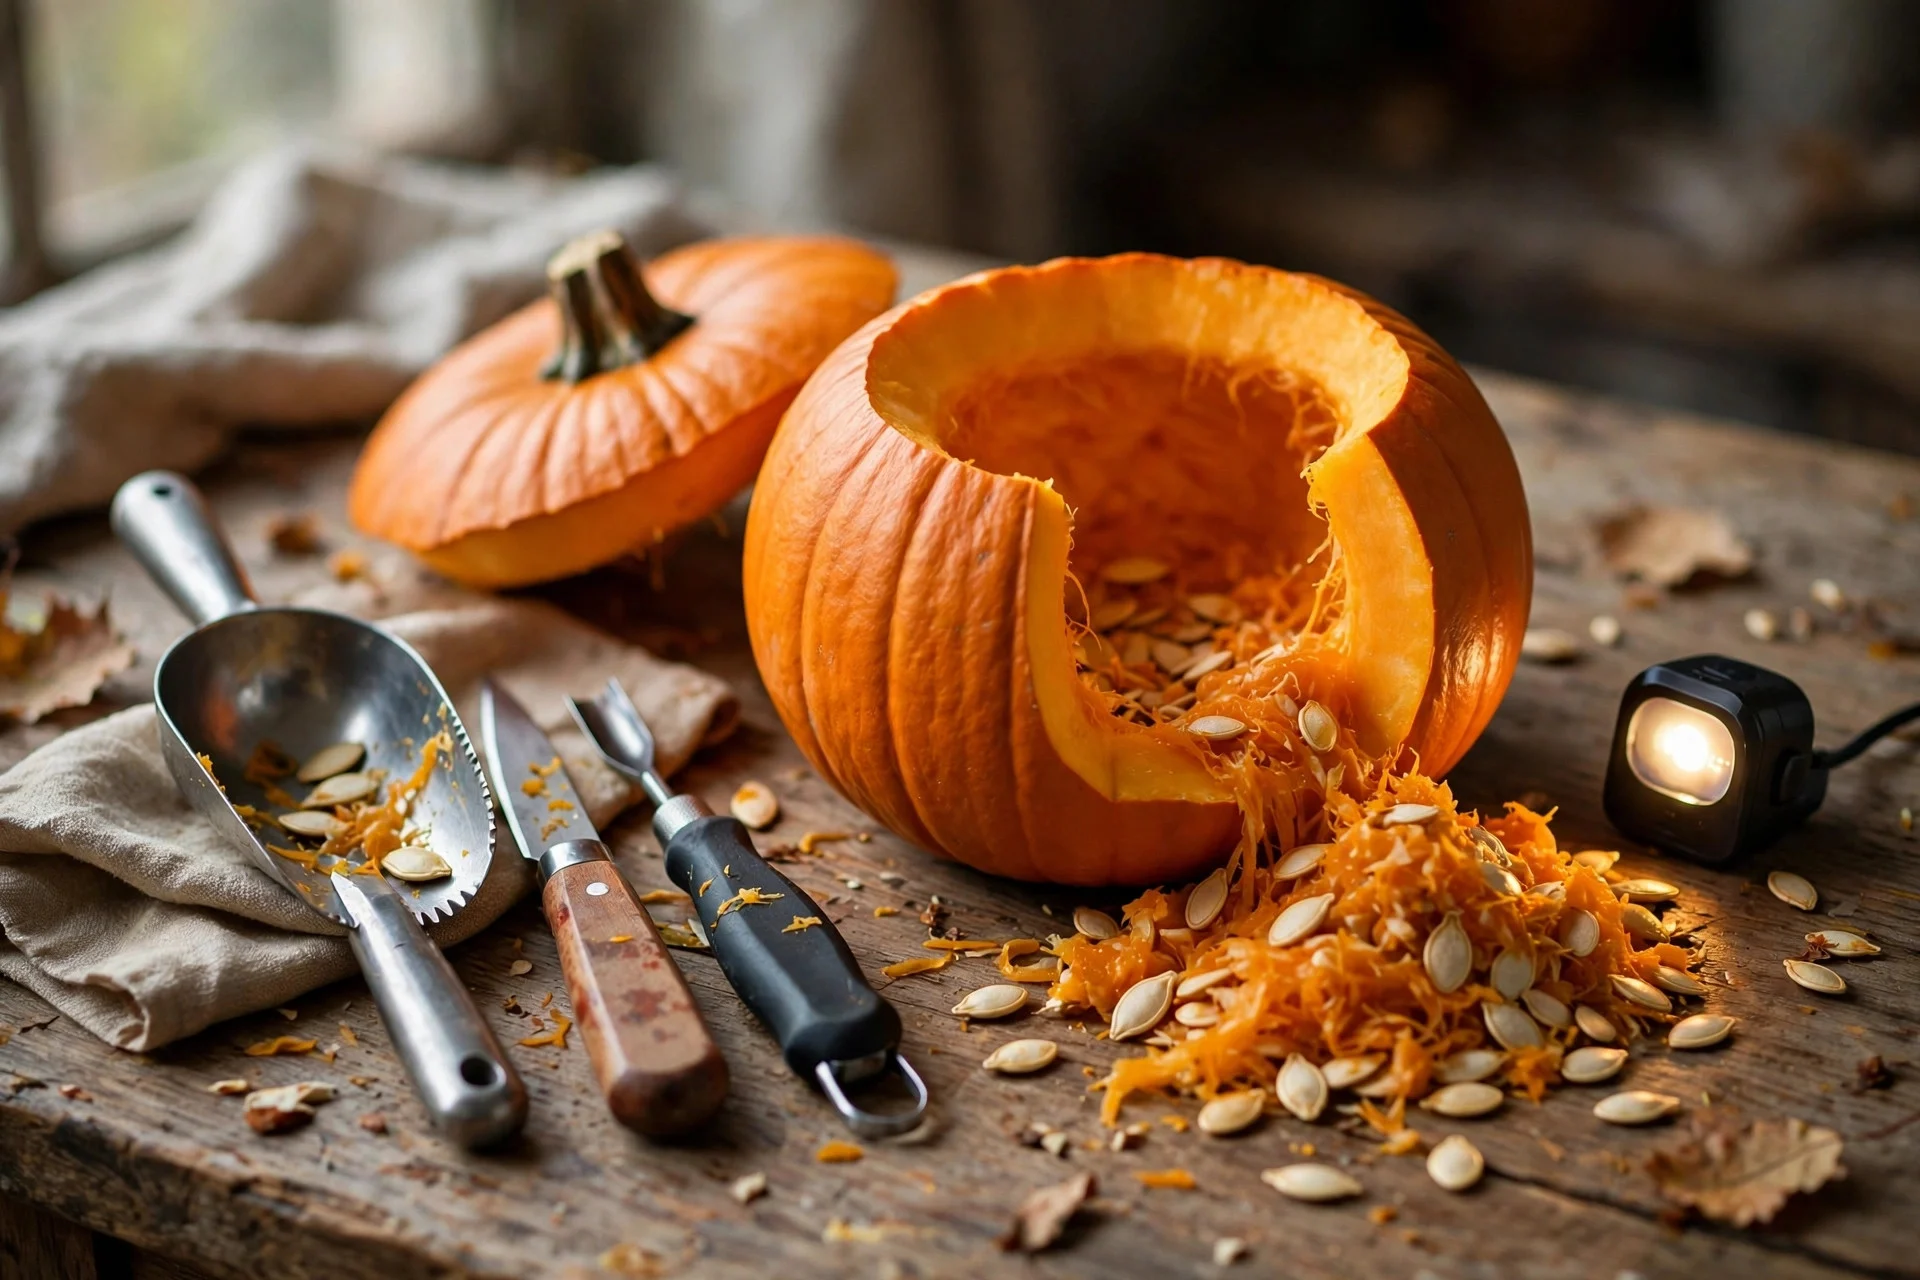
Once you have a healthy pumpkin and you are ready to carve, a little preparation genuinely helps — just not as much as the internet sometimes promises. The most useful prep is the least exciting: clean your tools and your hands, scoop thoroughly, and keep the inside as clean as you can. Leftover stringy pulp holds moisture and gives mould a head start, so scrape the walls smooth and remove every bit of loose fibre. A diluted bleach rinse or a vinegar spray on the cut edges can slow surface mould for a day or two. They are cheap — a dollar-store run covers the rest — but they only disinfect the surface, they do not preserve the flesh. I use roughly a teaspoon of bleach in a quart of water on the cut edges, and I never soak the whole pumpkin for hours, which can waterlog it and do more harm than good.
The prep step that made the biggest difference for me was not a spray at all: it was switching from a real candle to a battery-operated light. A candle heats the inside of the pumpkin every evening, cooks the flesh from within, and dries the cut edges faster. A small LED light gives you the same glow, lasts all evening without a flame, and keeps the pumpkin cool. Another small trick: rub a thin layer of petroleum jelly along the cut edges after carving. It seals in a little moisture and slows the drying, though it will not stop mould. Think of these tricks as stacking small advantages — clean scoop, light bleach rinse, sealed edges, cool light — rather than one magic fix. Together, they reliably buy you two or three extra days, which is often exactly the margin you need.
Daily Care That Actually Helps
After carving day, the care routine is short, and most of it is just paying attention. Once a day, give the pumpkin a quick look and a gentle press. If the cut edges look dry and are starting to pull inward, a light mist of water or a reapplication of petroleum jelly will perk the face up for another day. If you spot a small patch of mould, wipe it off with a cloth dampened in diluted bleach water, and let the spot dry before the pumpkin goes back out. Do not panic over a little surface mould — it is normal, and catching it early keeps it from spreading across the whole face.
The daily habit that matters most is moving the pumpkin when the weather demands it. On a warm afternoon, shift it into the shade. On a frosty night, bring it into the garage or an unheated room — not a warm living room, where the heat will speed up rot, just somewhere above freezing. On a rainy stretch, lift it off the wet step onto a board so the base can dry. Simplest version: carve late, keep it cool and dry, check it once a day — and avoid the usual Halloween decorating mistakes.

Signs Yours Is Done — and What to Do With It
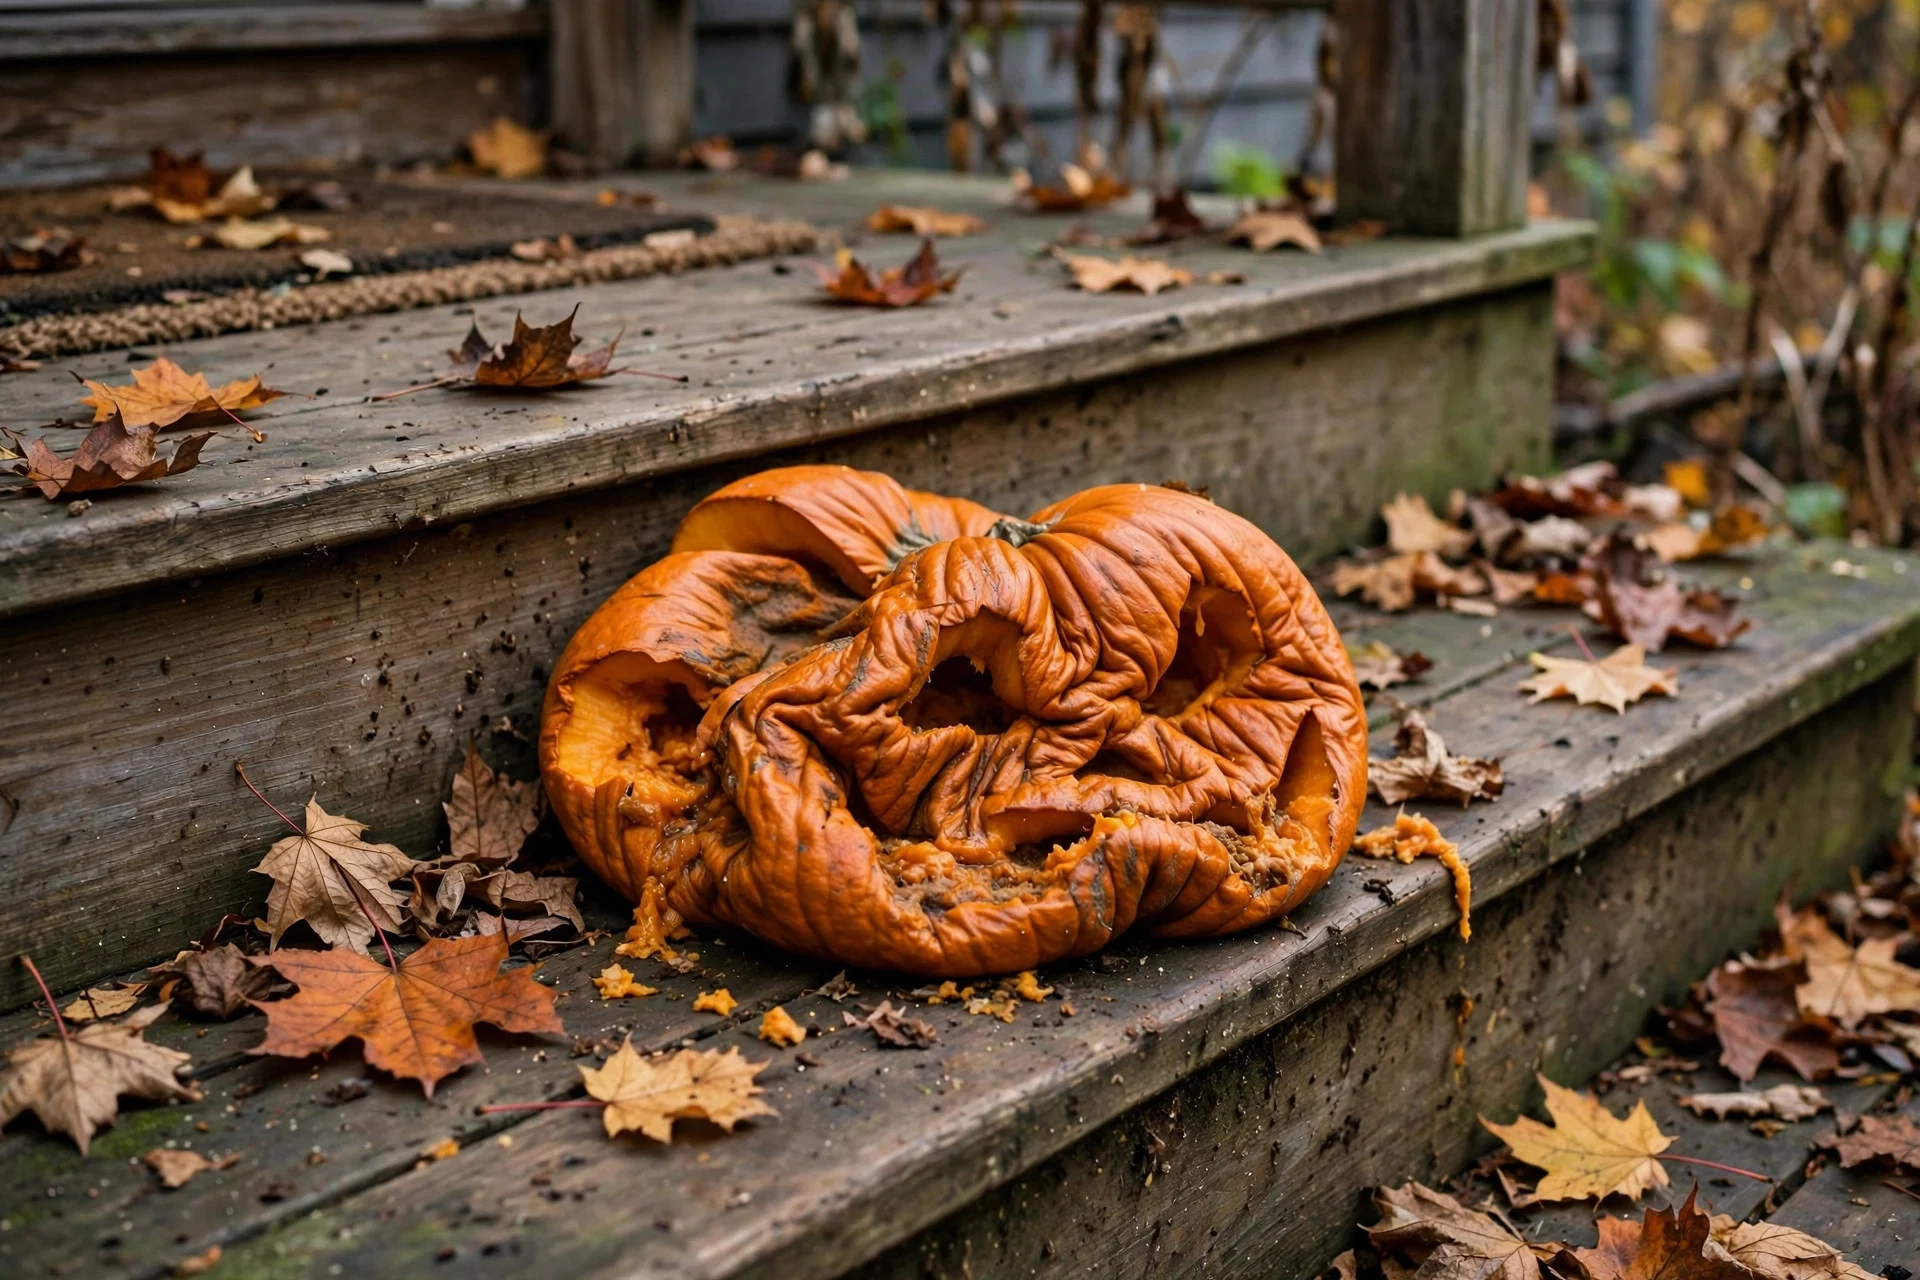
Every pumpkin ends, and knowing when to call it is better than letting a collapsing pumpkin sit on the porch for a week. The signs are hard to miss once you know them: the face sags and the features lose their shape, the flesh feels soft and gives easily under a gentle press, dark patches spread from the cut edges, and the smell turns from faintly earthy to sour in an unpleasant way. Fruit flies gathering around it are another clear signal. At that point, no bleach or petroleum jelly will bring it back — the structure is gone, and keeping it out only attracts insects and stains the step underneath.
Disposal is simple, but do it properly. Do not put a mouldy carved pumpkin in the compost if it has paint, glitter, or candle wax on it — scrape off decorations first, or bin the painted parts separately. A plain carved pumpkin can usually go in green waste or a home compost heap, where it breaks down quickly, or you can break it up and bury it in a garden bed. If you grew up hearing that pumpkins are good for wildlife, that is partly true, but do not leave a rotting pumpkin in a park or woodland — it can spread mould and disease to wild plants, and in many places it counts as dumping.
Making an Uncarved Pumpkin Last Past Halloween
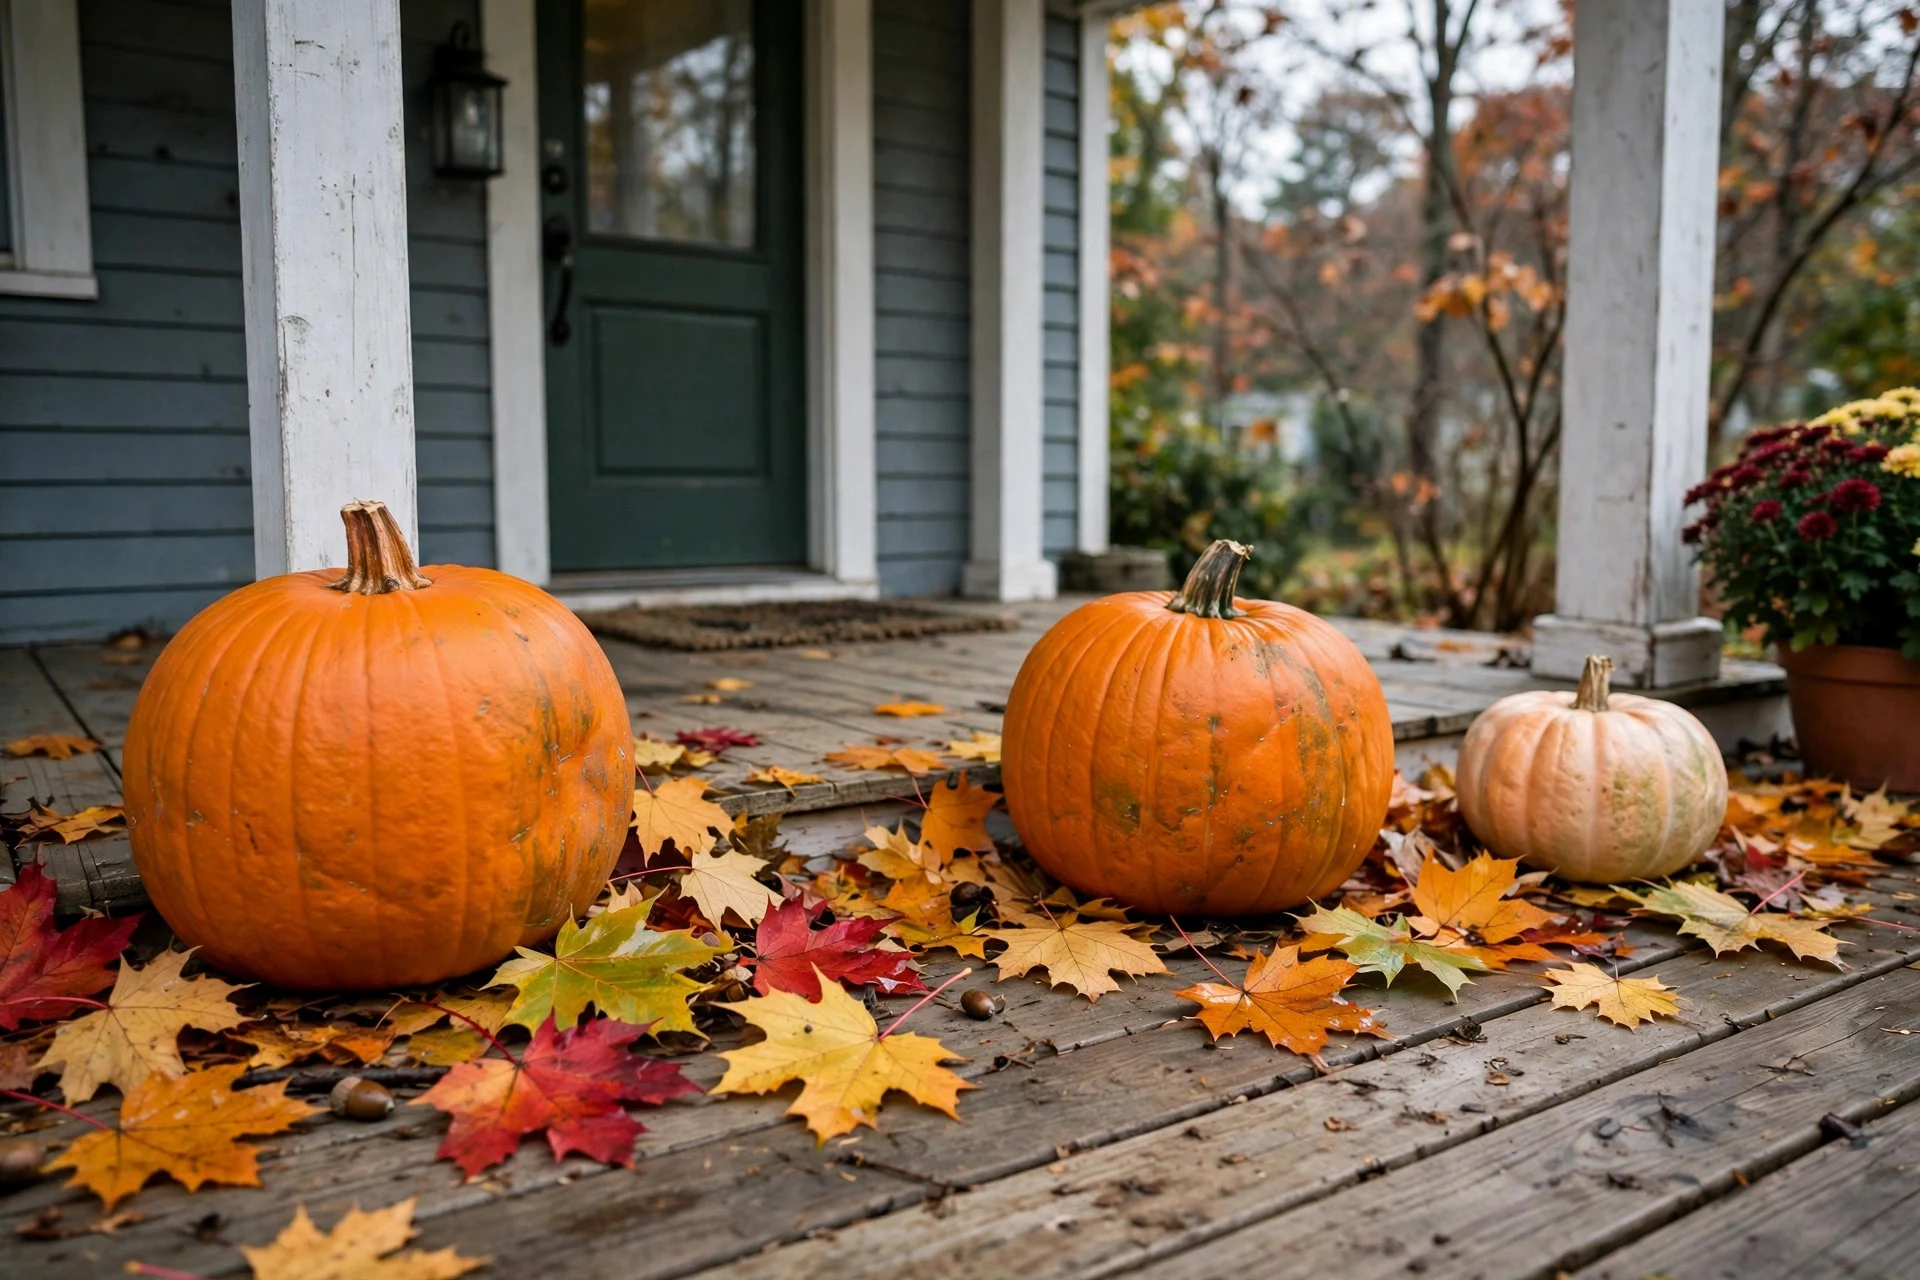
If you love the look of pumpkins but do not want the carving countdown, uncarved pumpkins are the easy win — and they are far more flexible than people think. An uncarved pumpkin kept cool, dry, and out of direct sun can easily last through Halloween and well into November, sometimes into December, which makes it the backbone of a porch display that does not need replacing every week. Keep it off damp ground, rotate it occasionally so one side is not always facing the sun or the damp step, and wipe it dry after heavy rain. If you want to decorate it without cutting, paint, markers, or glued-on decorations all work, and they do not break the rind at all, which is why no-carve pumpkin ideas last so much longer than carved ones.
The real bonus is what happens after Halloween. An uncarved pumpkin that is still firm can simply stay in the display and transition with the season — swap the spooky bits around it for autumn leaves, lanterns, and harvest colours, and the same pumpkin carries you toward Thanksgiving without a single new purchase. That is exactly the kind of reuse that stretches a decorating budget, and it fits the same thinking as reusing fall decor for Halloween night rather than starting from scratch each holiday. The one thing to watch is frost: a hard freeze can damage even an uncarved pumpkin, so on freezing nights, bring it into a garage or cover it with a blanket.
Your Porch Pumpkin Checklist
If you remember nothing else, remember this short list, in the order you actually need it. Buy late and buy healthy: firm rind, heavy for its size, intact stem, no soft spots. Build the early display around uncarved pumpkins, and save carving for the week before Halloween. Carve with clean tools, scoop thoroughly, leave the walls an inch thick, and skip the real candle in favour of a battery light. Set the pumpkin in shade, off damp ground, where air can move around it. Check it once a day, wipe off early mould, and mist or seal edges that are drying out. Move it under cover for heavy rain and into the garage on frosty nights. Retire it the moment it sags, softens, or smells — then compost it and enjoy the fact that it made it to the night that mattered. Carve late, keep it cool, keep it dry.